In normal times I usually post a Christmas Hussarette......well, it's not normal but we all need cheering up I think, so I hope a cheeky smile from Amélie will help!
Amélie - A Christmas Hussarette
From an original painting using water colour brush pens and fine liner pen on Bristol board
by Chris Gregg 2021
No background story this year - a Hussarette just for fun. “Amélie” is based on one of many poses by real horsewoman, “Five feet of Fun”, Emily who modelled for me way back in 2012 with her horse Bob. Amélie is wearing the “undress uniform” (waistcoat and breeches) of the French 7th Regiment of Hussars around 1807 when Napoleon’s Empire was at its Zenith.
For a reminder about Emily and Bob’s modelling performance please see
and
Many of my usual wargaming and military art associates will have received this through the post (overseas ones may be delayed in transit I understand!), So for everybody else here she is with my very best wishes for 2022 and heartily felt gratitude for all the page visits and lovely comments throughout 2021
The original of "Amélie" without the "Merry Christmas" is available for sale at my usual very modest price - please contact me if you want more information. If you have not seen my Military Art on my website lately please take a look
Chris Gregg Art - Welcome
Now about that Wargaming......
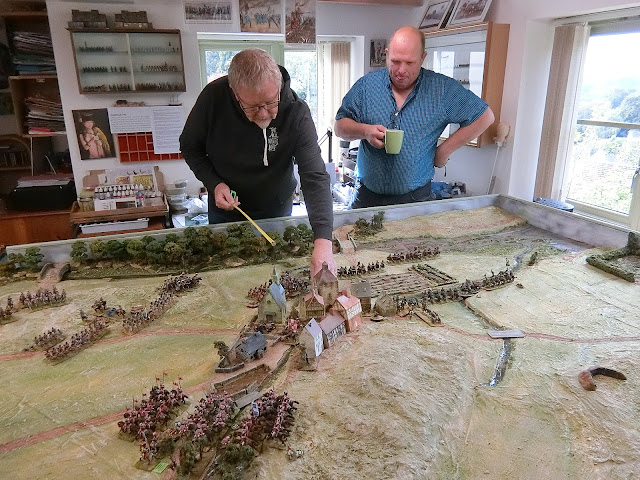
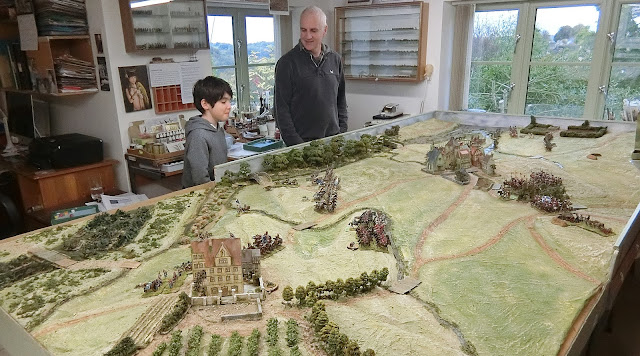
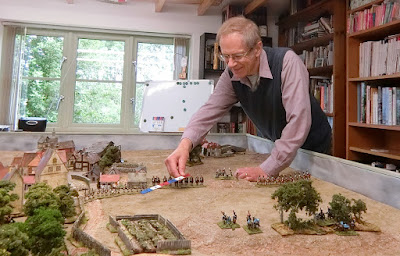
In the UK we were banned from meeting in our homes till mid -May. So with my usual mates we arranged several games here in the Cotswolds in late May and mid June. You'll have seen from blog posts all those were based on variations of my customised Battle of Brampton terrain. While that table was up I had a mini campaign over three days of
Seb's soldiers with my grandson. Fortuitously his isolation because of COVID at school threw us together with the time and space to do it with his classic 25mm Napoleonic collection.
Seb's mini campaign set in an imaginary Gloucestershire in 1806
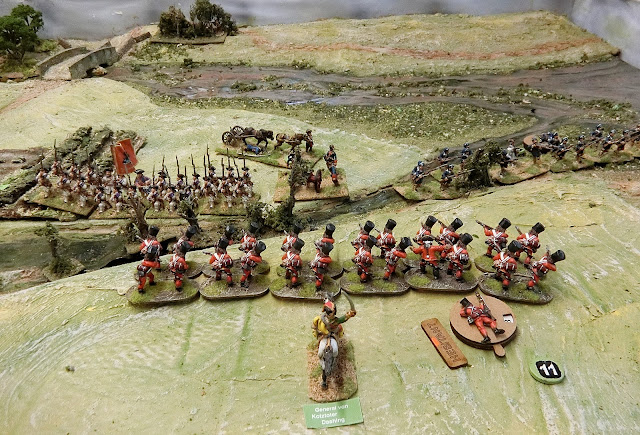
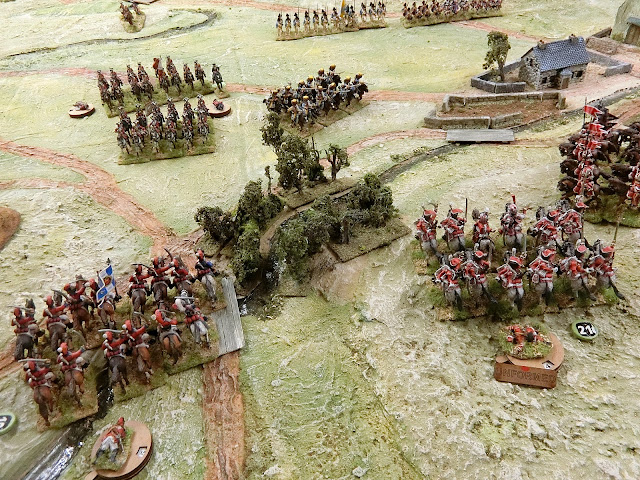
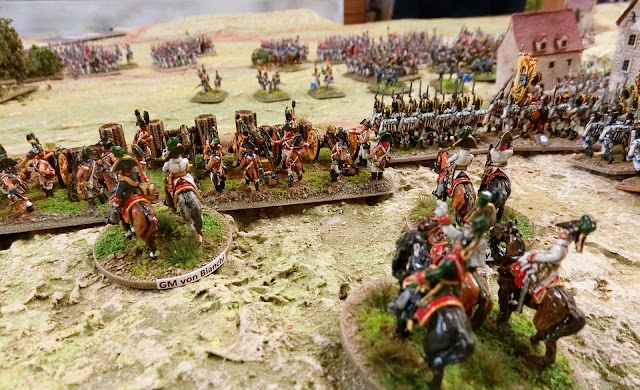
Here is a selection of random photos from the three battles fought near Cirencester. Duke Sebastian of Purton beat me soundly in the first two and I held him to a draw in the third. Consequently the wicked Lord Bathurst just held on to Cirencester but felt very chastened by the experience!
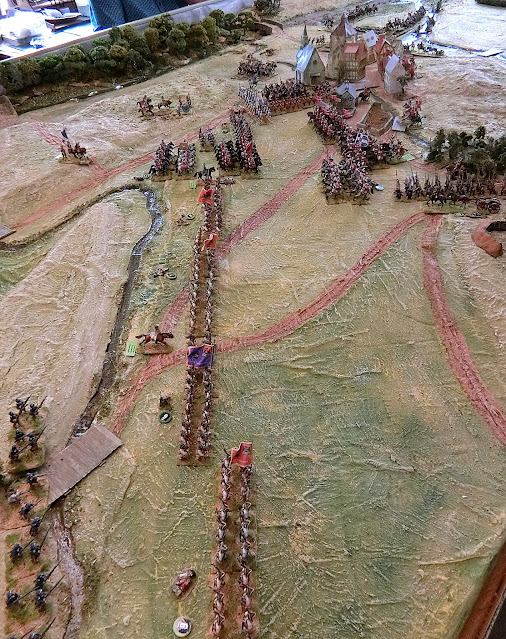
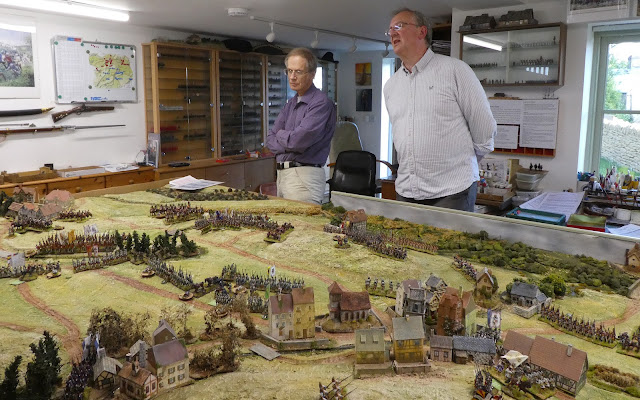
I then got into serious planning and building mode for the Battle of Langensalza refight and I have made four blog posts on that so I expect you are sick of it by now! In answer to those who worry that I go to a lot of trouble to make a sculpted terrain then it gets dismantled - fear not. This one has been adapted ad nauseum and I have had about 8 games on it since the first. I will give you snapshots of some of them and ask that viewers use the comments to say if they would like to see a blog post on any of them. Nearly all have scenario documentation you could use for your own games as a variation on my themes.
Langensalza II, February 1761
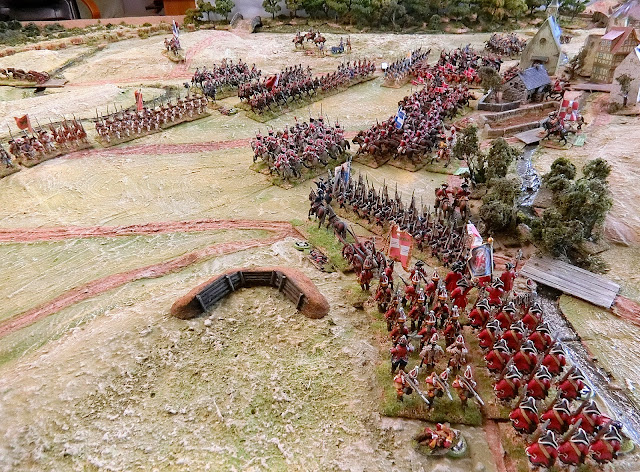
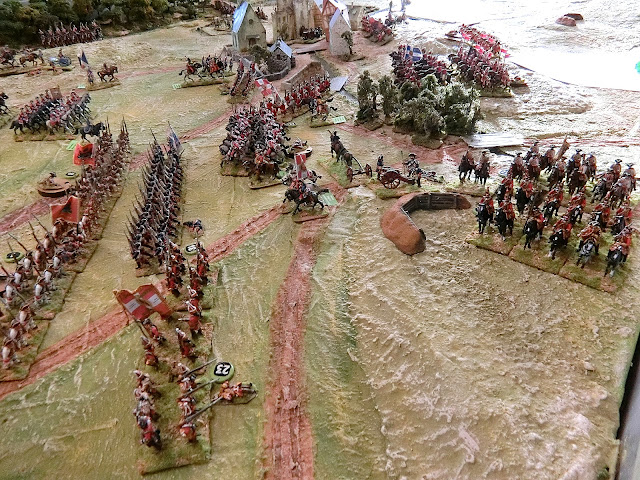
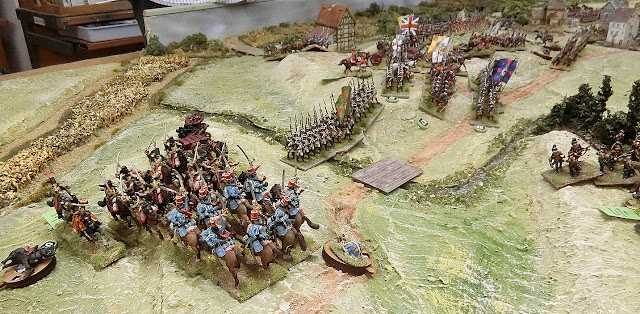
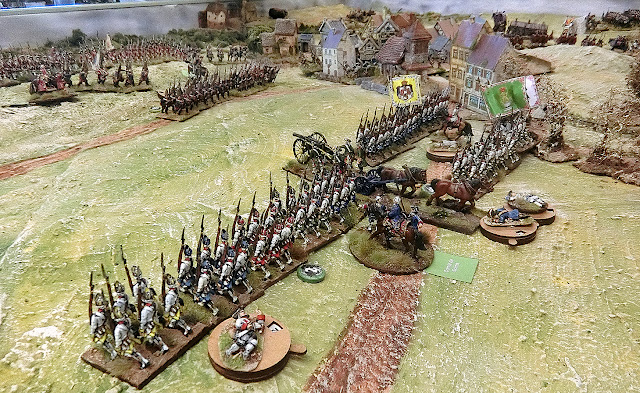
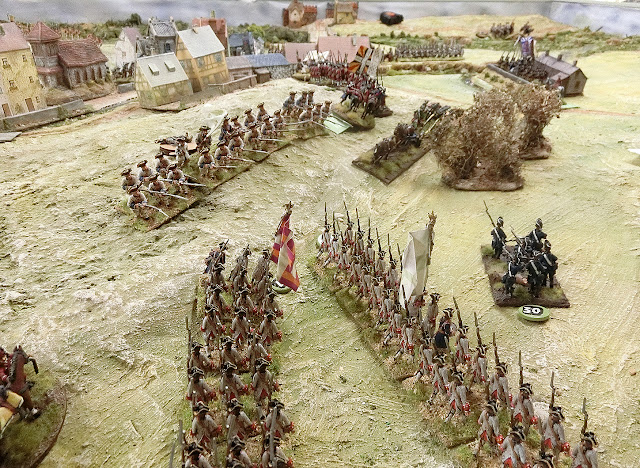
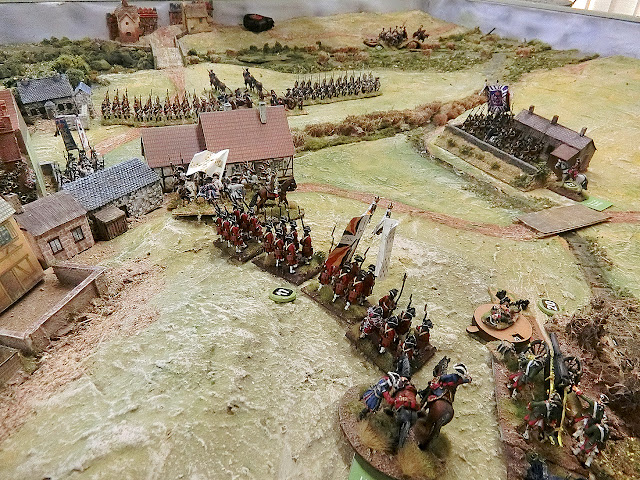
I mentioned in the last post that I had got a contingency plan up my sleeve for Day Two of playing if we needed it. Well, we did. Kevin and Ken came with their orders of battle and plans, to be joined by Paul B and Guy. We used the same terrain and rule amendments as for Langensalza I but I projected it on a week from the historic Allied victory and imagined the two heroes from my Savoy/Reikland Imagi-Nations having been hired by the French and Allies and just happened to meet in battle. Count Gregorius von Grunburg had to defend a supply depot by the town against about 5 columns of enemy French/Savoyards under the Duc de Deuxchevaux coming from lots of directions to converge on their target. All the figures for this one were from my collection.
 |
| Bit of a party atmosphere that day after the "big game " was packed away |
 |
I try to use the pink-clad Battenburg infantry whenever Imagi-nations gaming gives me an excuse!
We recognise diversity here! |
 |
| .....and a redoubt |
 |
| Every good Imagi-nations game deserves a good cavalry bust-up |
Battle of Schlusselburg, April 1761
Readers may recall that at the end of the fist post on the Langensalza terrain I invited anyone who could get here to join me in an "Honours of War" game on another variation of this terrain. It was with some trepidation that I waited to see what, if anything, would happen. And I hit the jackpot! Don McHugh contacted me and I invited him and his long standing partner in crime, Andy Claxton, to join me in mid October. Don is a veteran of 18th century wargaming and wanted to see if HoW would give him what he was seeking in that era nowadays. Some may also know Don from his many official "Rapid Fire!" WW2 scenarios.
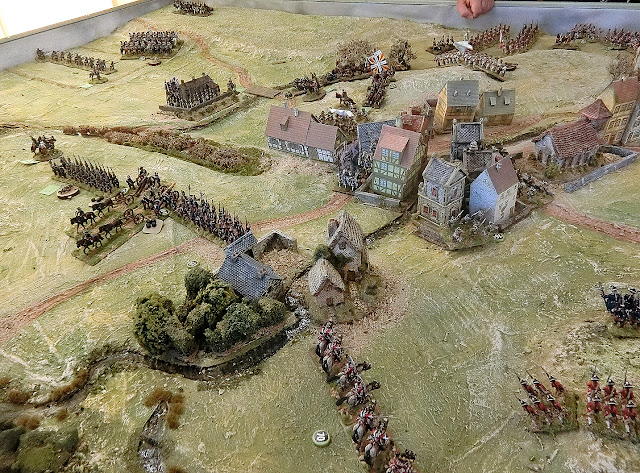
Again using elements from the Imagi-nations armies, I concocted a situation where a "disgraced" Count von Grunburg was back on his estates in the south-west German province of Reikland. The French/Savoy force was this time led by the Chevalier de Neuvalee, and their aim was to capture a key Schloss and vineyard as well as the wine trading town of Schlusselburg. A forward Grunburg contingent of poor quality troops commanded by the famous Major General Countess Natasha Gruzinskaya, together with her regular cavalry brigade, was to hold off Neuvalee until Grunburg could arrive with good quality reinforcements.
Schlusselburg I
 |
| Don adjusts his defenders of the Schlusselburg gatehouse while Andy watches like a hawk! |
 |
| Countess Gruzinskaya's cavalry has emerged from behind the town to meet the French cavalry |
 |
| The Erprinz Grenadiers and Bogenhafen Grenadiers lead the reinforcing column |
 |
| Grunburg heavy cavalry join at the right as afternoon sun illuminates the table |
Don and Andy expressed enjoyment in the game and felt that HoW might offer them a good way back into Seven Years Wargaming. A good days' work as far as I was concerned, and they treated me to a pub lunch!
Schlusselburg II
I'd met JP at the Cotswold Wargaming Day and he is a follower of my blog, and patron of my friend Kevin East's excellent figure painting service. One thing led to another and I invited him and Charlie to play on my table. They were unfamiliar with 18th Century wargaming so HoW was completely unknown to them, nor the differences between this and their usual Napoleonic extravaganzas (such as
this one). They came to Oakridge in late October. Same scenario and only slightly reworked forces, but it proved a very different game.
 |
| Above and below: All the French cavalry were massed on the right flank. A couple of Hussar regiments were dismounted to help the light infantry take the Schloss and vineyards |
 |
| Both sides used the extreme flank for mutual light infantry fire exchanges |
 |
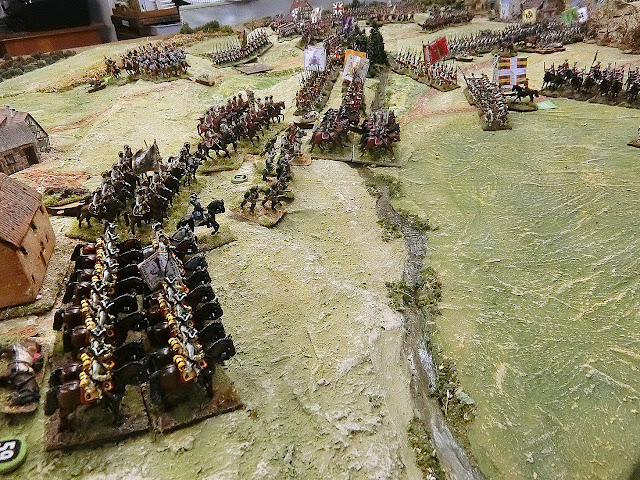
| Once again the cavalry faced off near Schlusselburg town |
JP and Charlie teamed up to beat me soundly at my own game. - but the main thing was they said they had a good time as their intro to the wonderful world of 18th Century Imagi-nations.
The Battle of Altstadt - Bavaria 1809
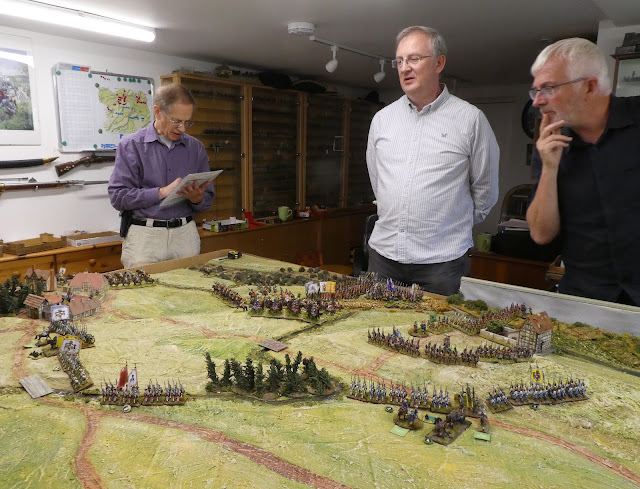
During our refight of Langensalza Paul B was telling us about his 18mm armies for the 1809 Austrian Napoleonic campaign and how he uses General d'Armee rules to play games solo on his relatively small table. Kevin got in on the conversation and, before we knew it, we had persuaded Paul to put on a game at my place over the broad expanses of yet another adaptation of the Langensalza tabletop. This happened in early November. Paul was content to let us deploy in a central 6 x 6 zone but that also gave plenty of room for outflanking should we need it. Apart from the opportunity to see Paul's lovely AB figures on my sculpted terrain it was a chance for Kevin and me to have a second go at Gd'A...so a game on my learning curve.
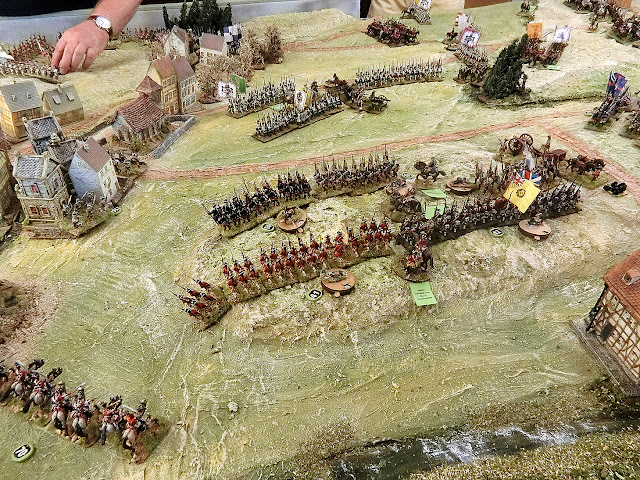
Put simply I had a fairly ordinary quality Austrian rearguard trying to hold a line of communication against what appeared to be a significantly larger and better French Division. As we used "blinds" it was difficult to tell at first. We had a lot of action, but as seems to be the case with Gd'A, not enough major losses soon enough to get a proper result. I felt as if I was getting a losing hand building up when time came to call a halt. I hope you agree the photos look great, and this is just a small sample.
 |
| Austrian commander behind his fortified hilltop battery |
 |
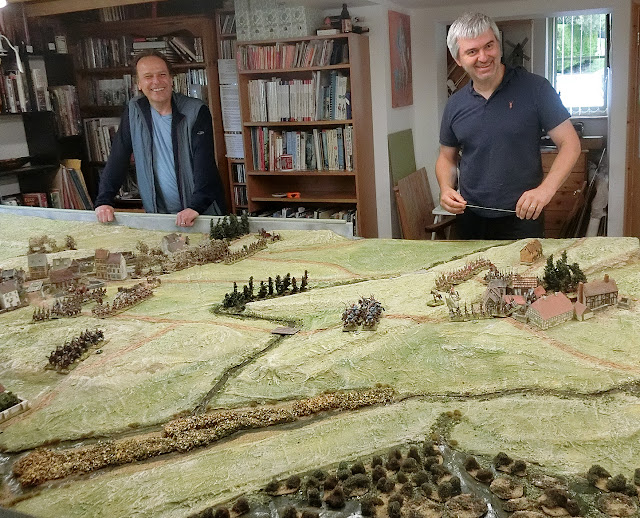
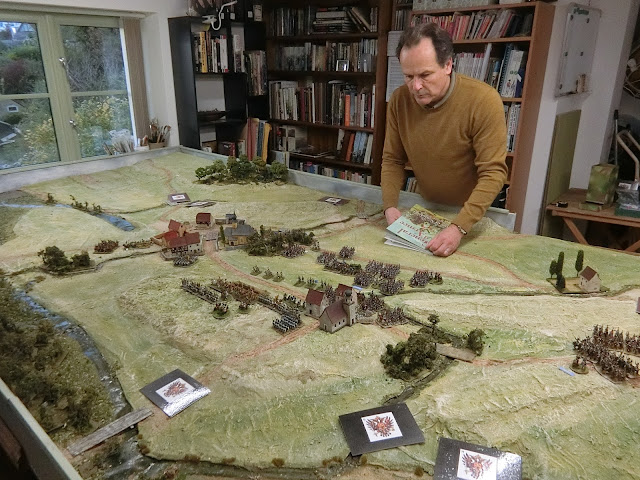
| Kevin clutches the rule book prior to his main attack going in on my village and hill. Austrian blinds in the foreground sheltered by hill slopes |
 |
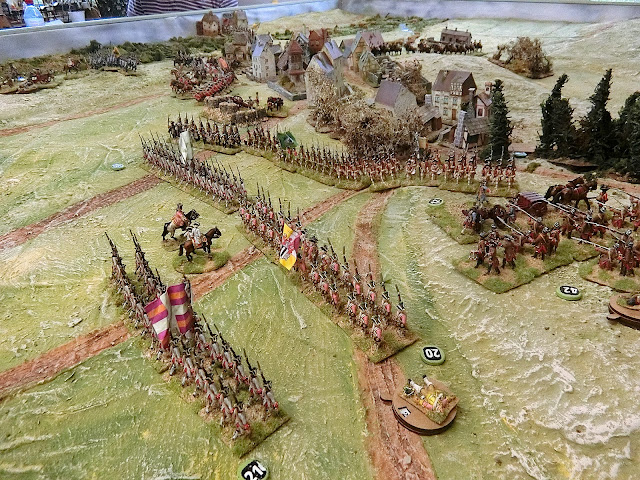
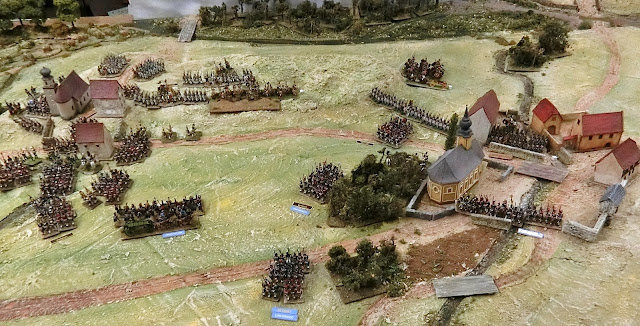
| View from the French side. A secondary attack on Altstadt is making slow progress |
 |
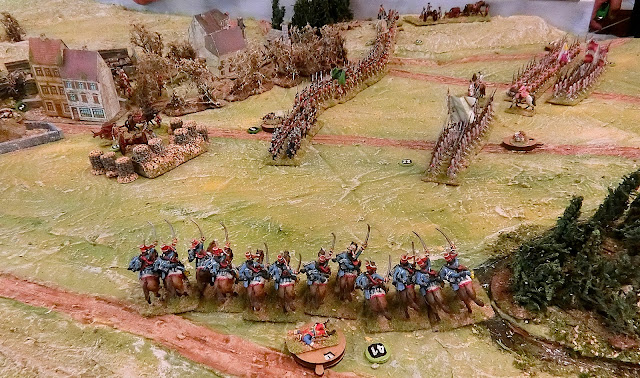
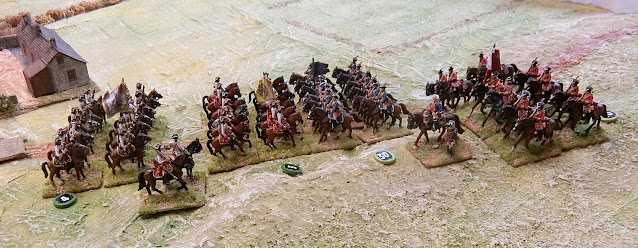
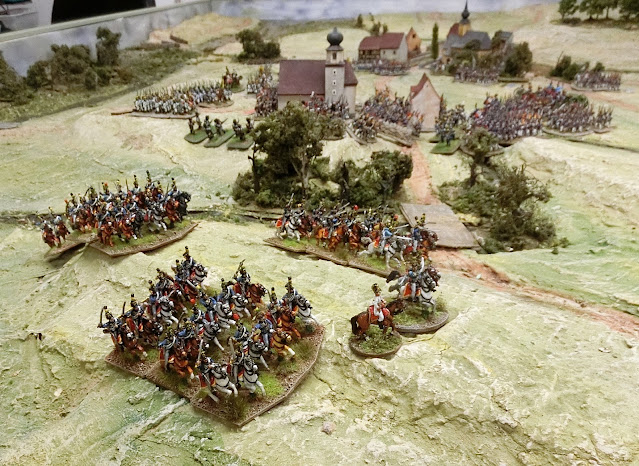
| Beautiful Austrian Hussars emerge from out of my "blinds" on the right flank |
We must do another sometime as I think the effects of these sort of units on my terrain are great. So much so I have revived some AB's tucked away in my drawer and spent some ridiculous sums (for me anyway) on acquiring more so I can join in the 1809 fun using the "Thunder on the Danube" trilogy for the history, and Michael Hopper's wonderful scenario books to help me focus. More on that when I've made progress hopefully.
Euan's first game
In amongst these games I found I had a selection of my 18th Century units on the table during the week my other grandson Euan came to stay. We were talking about his cousin's "Seb's Soldiers" set up and I asked if he wanted to have a go. Euan loves model making but is not really into "military" things as such, but he said he'd like to. I showed him some clips from Borodino in Bondarchuk's "War and Peace" to give him an idea of horse and musket warfare. He took to it very well and we got through about 6 moves with 5 units per side and he beat me fair and square.
With the kind of sang-froid only 10 year old boys can summon he sagely commented "It was far more interesting than I expected". I take that as a tick in granddad's box.
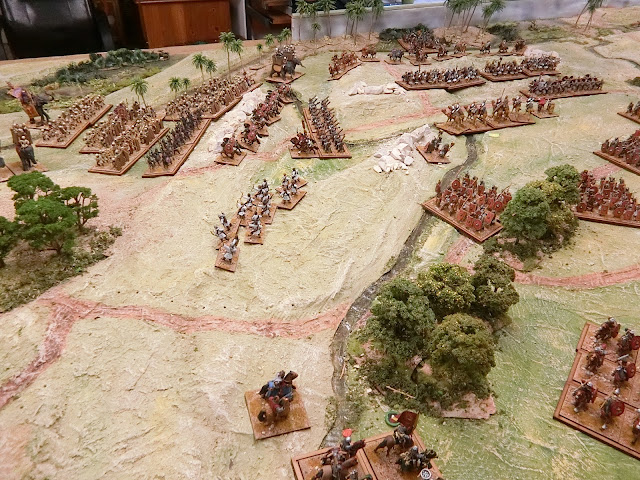
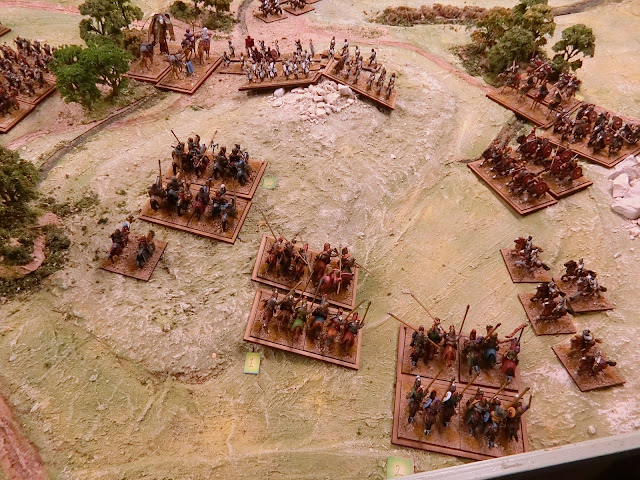
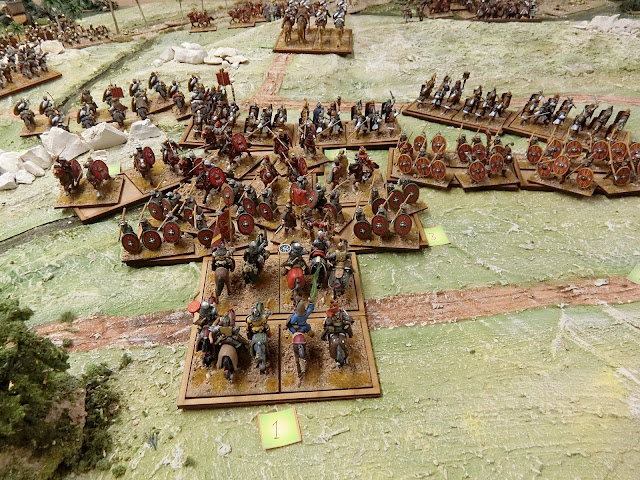
The Battle of Misiche 244 AD
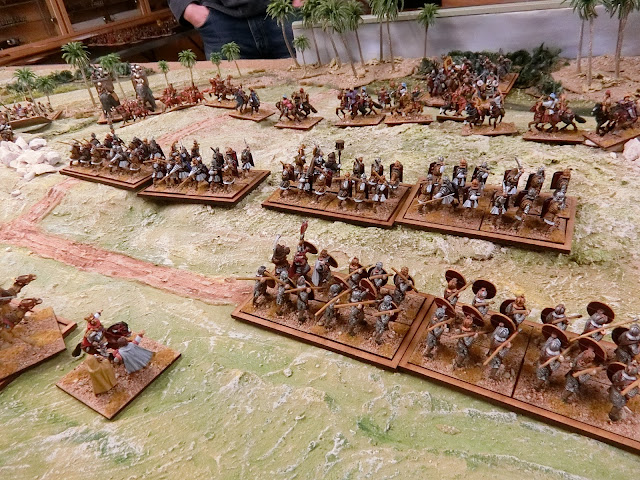
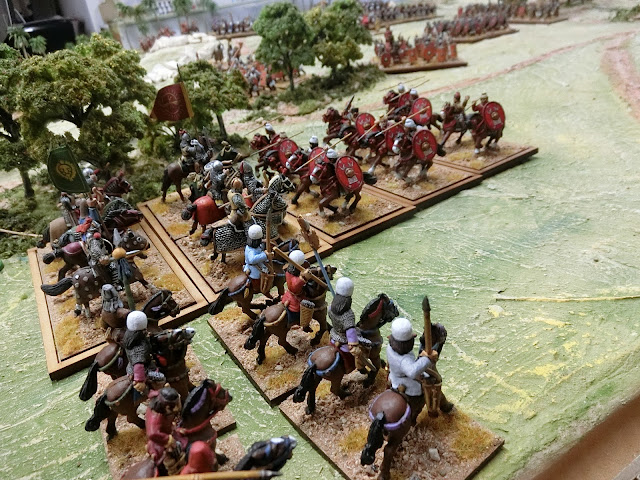
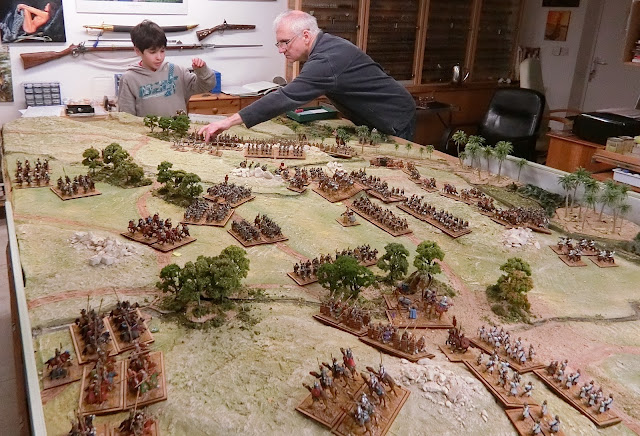
Finally, flatteringly, JP said he'd like to stage one of his own games on my terrain and, always enjoying a scenic landscape challenge, I happily accepted the idea of my dear old Langensalza valley now being turned into the Euphrates for a clash between 28mm Romans and the Sassanid Persian Empire.
This one took place in mid December and was to use "Hail Caesar" rules. I asked around but it was too near Christmas for most of my friends, except Ken, who, like me, was happy to try Ancient wargaming after a gap of many years. JP made me the Roman Emperor Gordian III and Ken was my "ally" Philip the Arab, the Palmyran ruler. We had to make progress up river and through a screen of Sassanid's....or so I thought.
It turned out that my Romans should have just stood firm and deployed for a set piece battle and let the Sassanid's come at us, but I did not realise that and tried to press on with my objective to break through them. Mistake ......eventually I got beaten in detail and broken up; and Gordian's person was looking like a corpse or a prisoner just as it turned out Ken's objective had been to encourage that situation and become Emperor himself. So Ken won, Charlie's Sassanid King Shapur achieved his objective of stopping the Romans, and me?......Well I had the satisfaction of playing with JP's excellent toys and learning that Hail Caesar seems a very good set of rules for this kind of game in the hands of an expert Games Master like JP.
 |
| JP advises while Ken scrutinises the Roman/Palmyran column screened by light troops |
 |
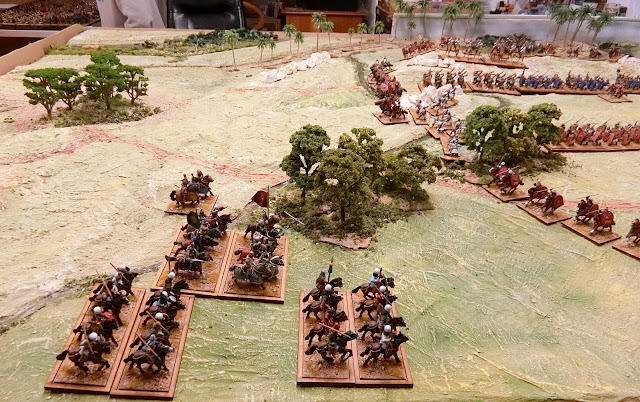
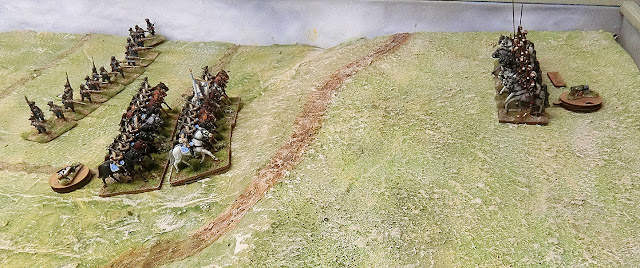
| Sassanid Cavalry soon arrive to work round the flank |
 |
| And then my cavalry scouts reveal a massive block of Sassanid infantry across my path |
 |
| Legionaries turn to gain the high ground and try in vain to see off crowds of horse archers |
 |
| On the other flank my outnumbered Auxiliary cavalry clash with the Sassanid Cataphracts |
 |
| Fortunately my stalwart Palestinian clubmen hold the rocky high ground against the Persian hordes and force JP to help his son reform their line |
 |
| At the rear a heavy attack by Sasssanid cavalry pins Ken down just as the baggage was about to catch up with my main column. Ken actually saw most of them off and "saved" the baggage. |
 |
| Cutting a long, rather sad, story short this is Gordian in the final throes of defence as his veteran Legion cracks about him, fighting on two fronts |
Well, that was something a bit different and you can see an excellent video version of it on JP's YouTube channel here
I hope you've enjoyed this quick run through of my last few month's wargaming. It certainly proved eventful and busier than a normal year! As I said earlier please let me know if you'd like more on any of these games and I'll see what I can do.
Happy New Year and thanks for following this blog and all your kind comments.
Chris G
