Showing posts with label Honours of War rules. Show all posts

Monday, 12 December 2022

Battle of Althorp - 26th December 1745: Part Three - Boxing Day Desserts

 I hope you have enjoyed this short series so far. If you need a reminder of this, the biggest battle in Guy's "what-if" Jacobite Rebellion, the previous part is here.

(As before - main text by Guy Barlow, explanations in picture captions, and helpful asides in italics (!), by me)

Day Two

The first five moves  on this mid -Winter "Boxing Day" had taken us from 8am to mid morning, but with 1200 figures for the two players and their "umpire-assistants" to deal with it had taken us all of the first day 's play to get that far. "Bonnie Prince Charlie" for that Day One was Ken Marshall who could not manage a whole weekend this time.  So Steve Johnson came up from South of Bristol for the day and picked up the Young Pretender's "Crown". 

At this point the Scots/French force, though it had suffered a lot, was gaining momentum and merely lacked overwhelming strength in any one sector.  Richard/Duke of Cumberland was defending well but his line was shrinking. Guy and I had to figure out what to do about the reserve brigades we had lined up for each side. With Steve/Prince Charlie obviously wanting a good game I was in favour of bringing the French reserves on very quickly so he would have the confidence to attack. To balance this I proposed that Cumberland receive a message telling him his reserves had been delayed and suggesting that he save the army by an orderly withdrawal. Knowing Richard of old I guessed he'd make a professional, well controlled and 18th century style attempt at this while being heavily pressed.

Guy had other ideas though, and he wanted to prevent an outright victory for either side in order that his campaign could continue on to his desired dénouement somewhere nearer London. So Guy wrote two hand written messages (see them here) which we gave to the respective commanders, who obviously had no idea of our actual deliberations. Neither did I really, as Guy kept his "neutral" intention close to his chest and trusted in the players' interpretation of his solicitor-speak letters and the fate of the dice! He knew neither side would get reinforced today!

CG

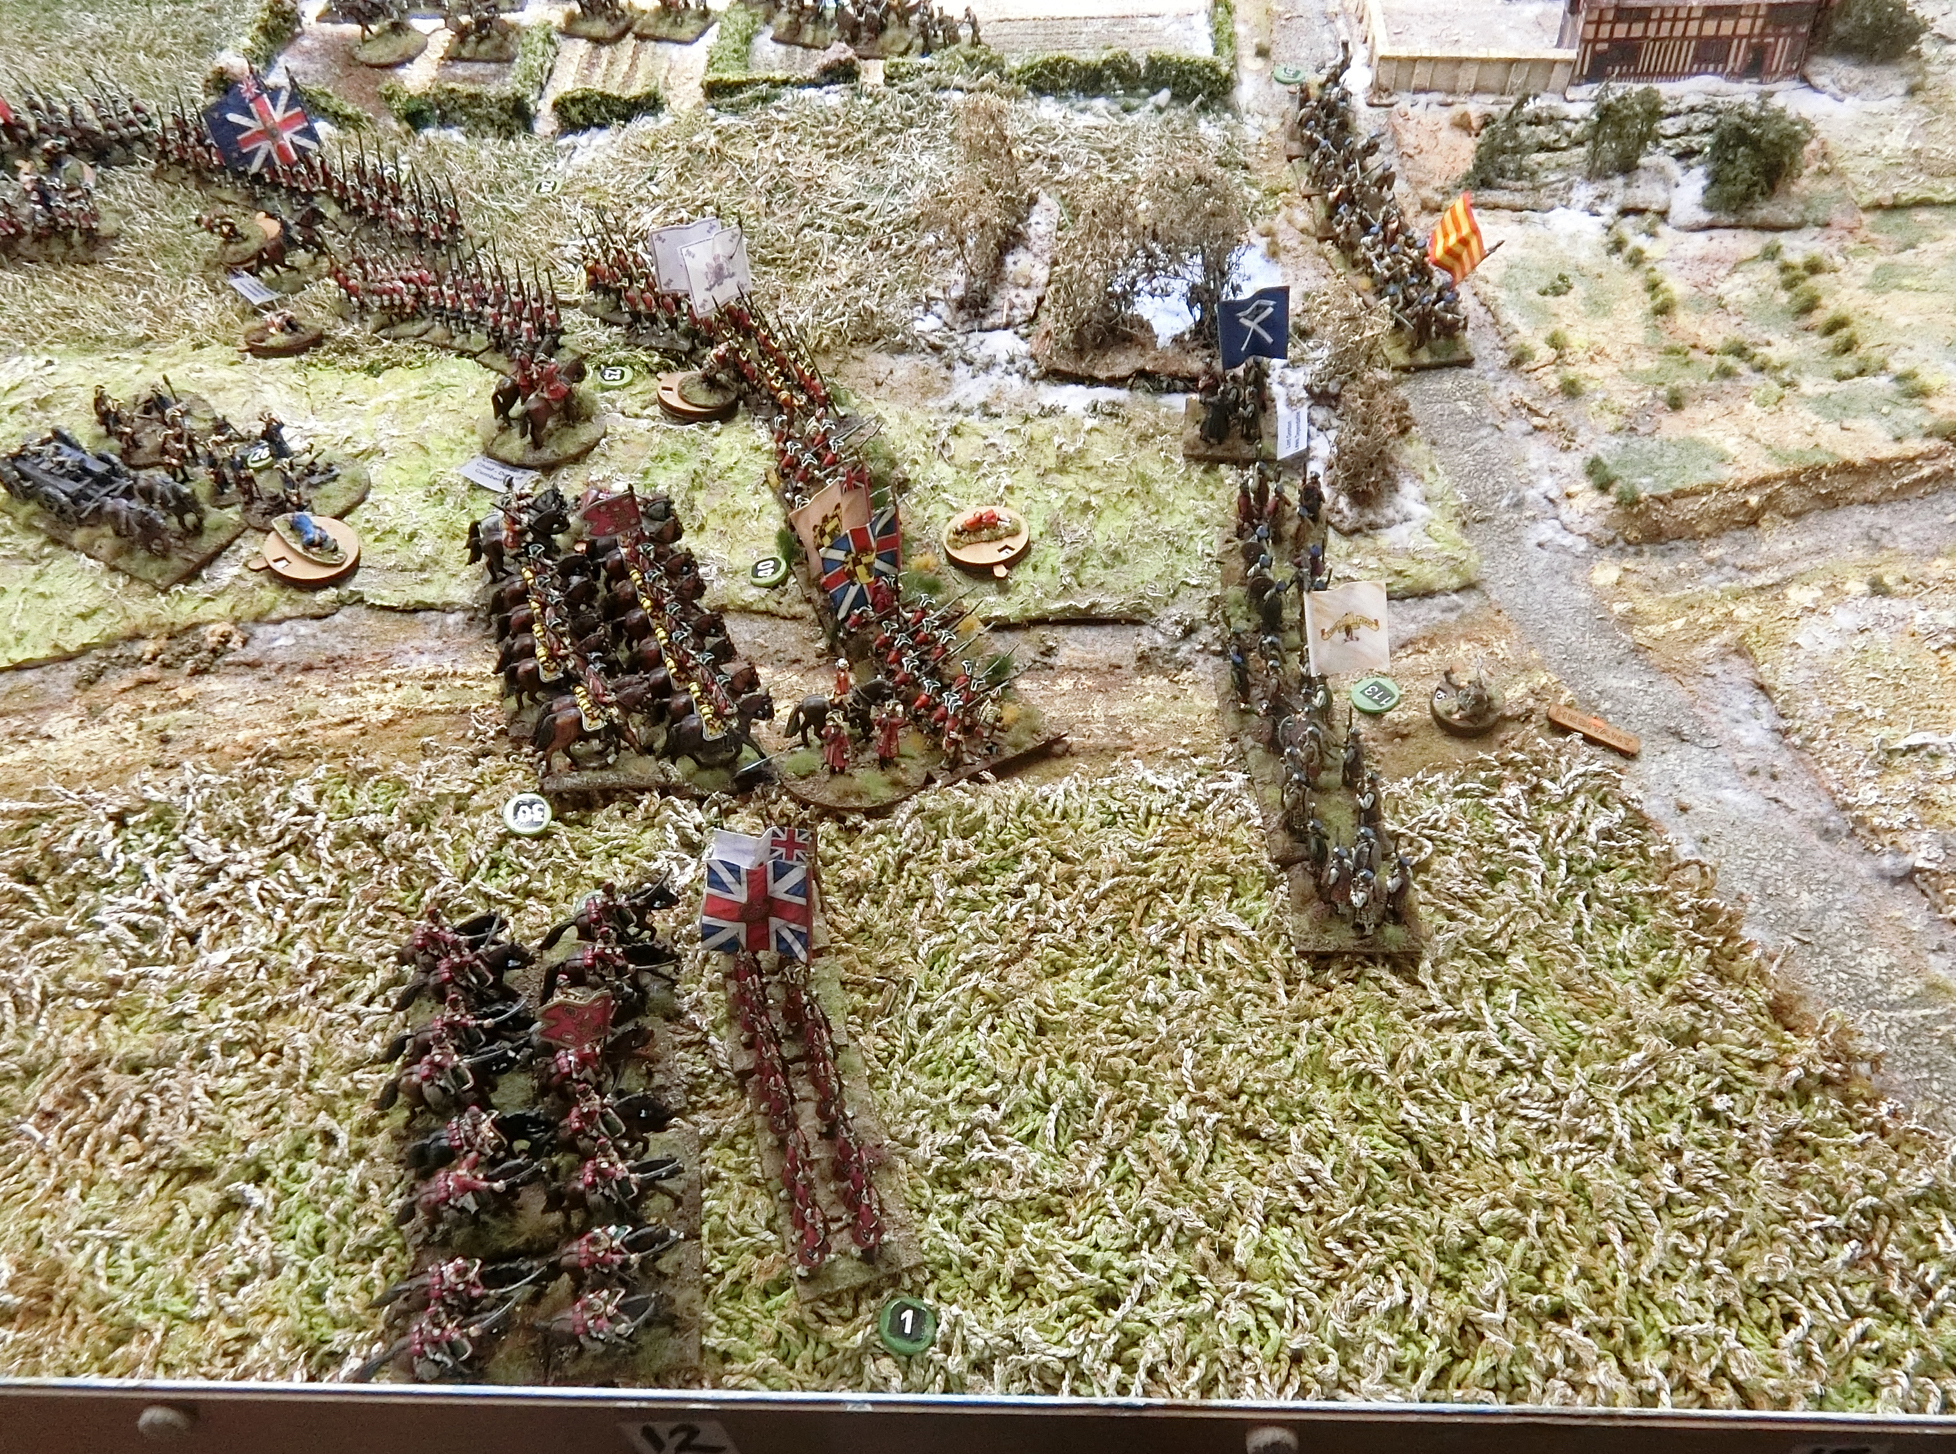
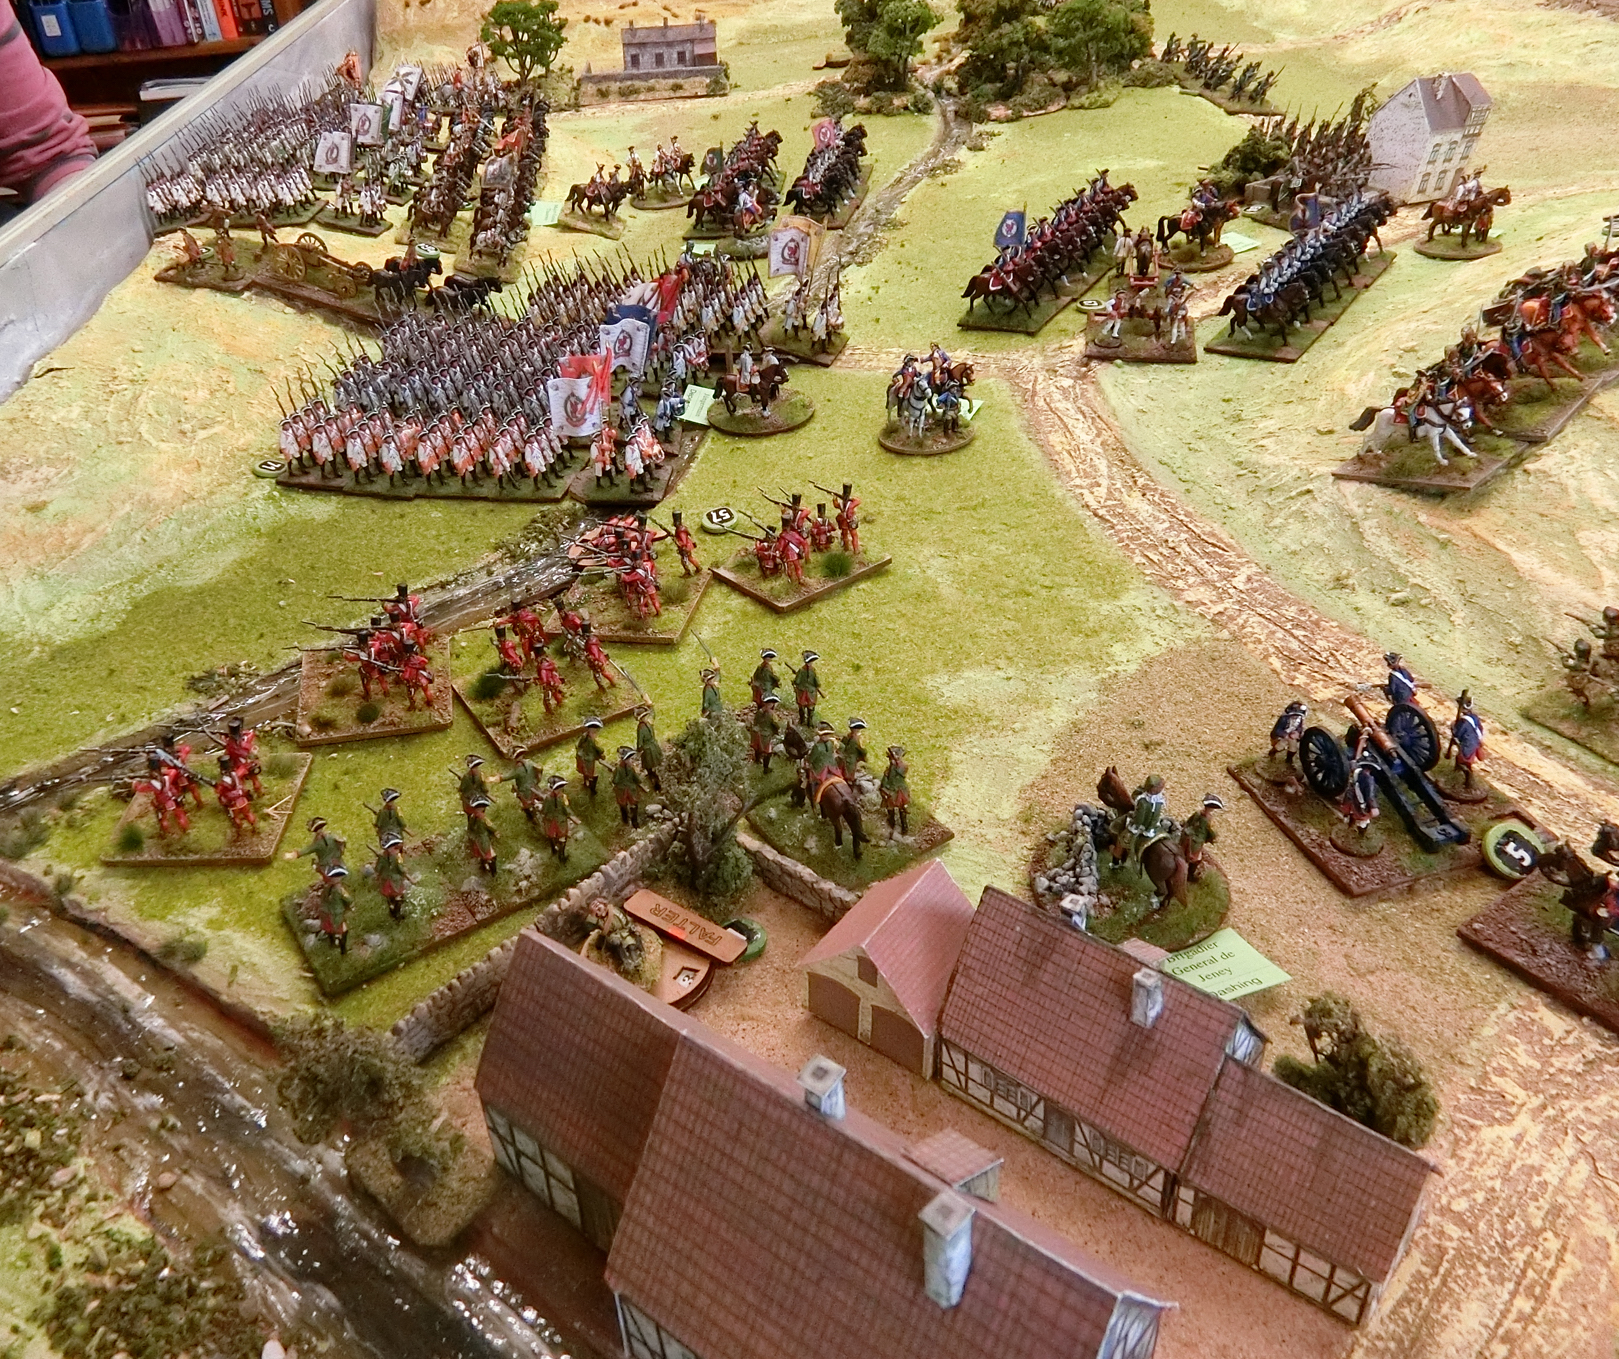
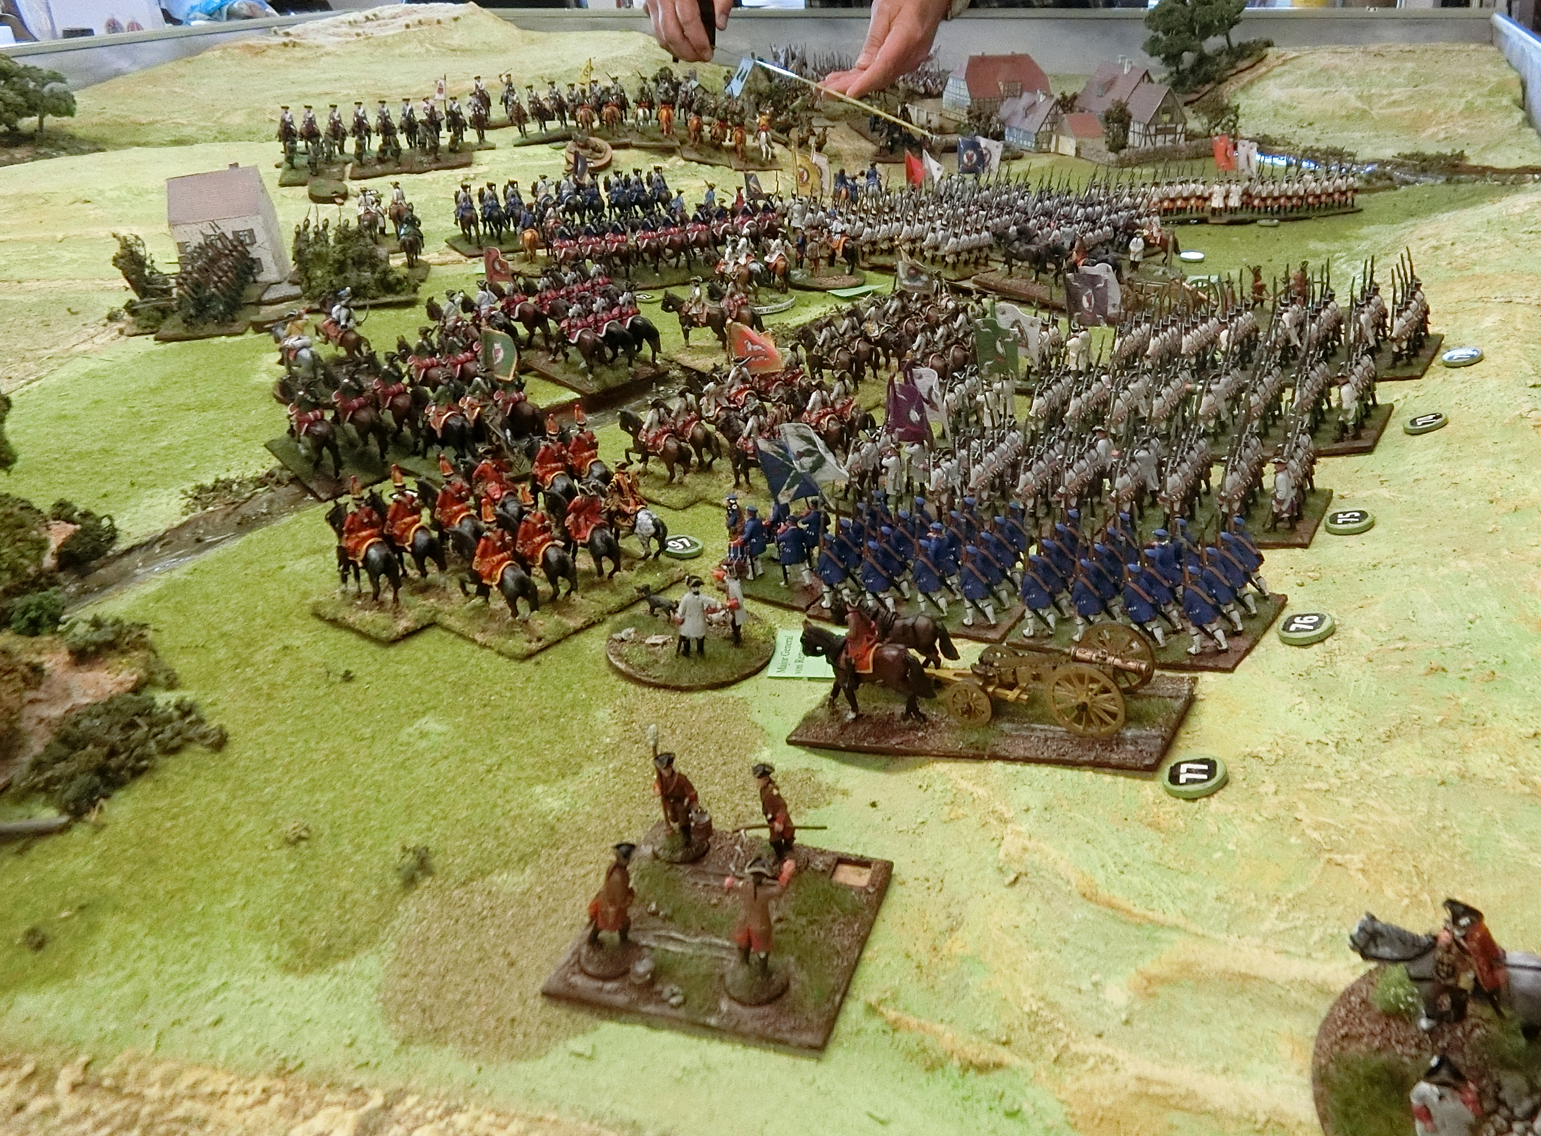
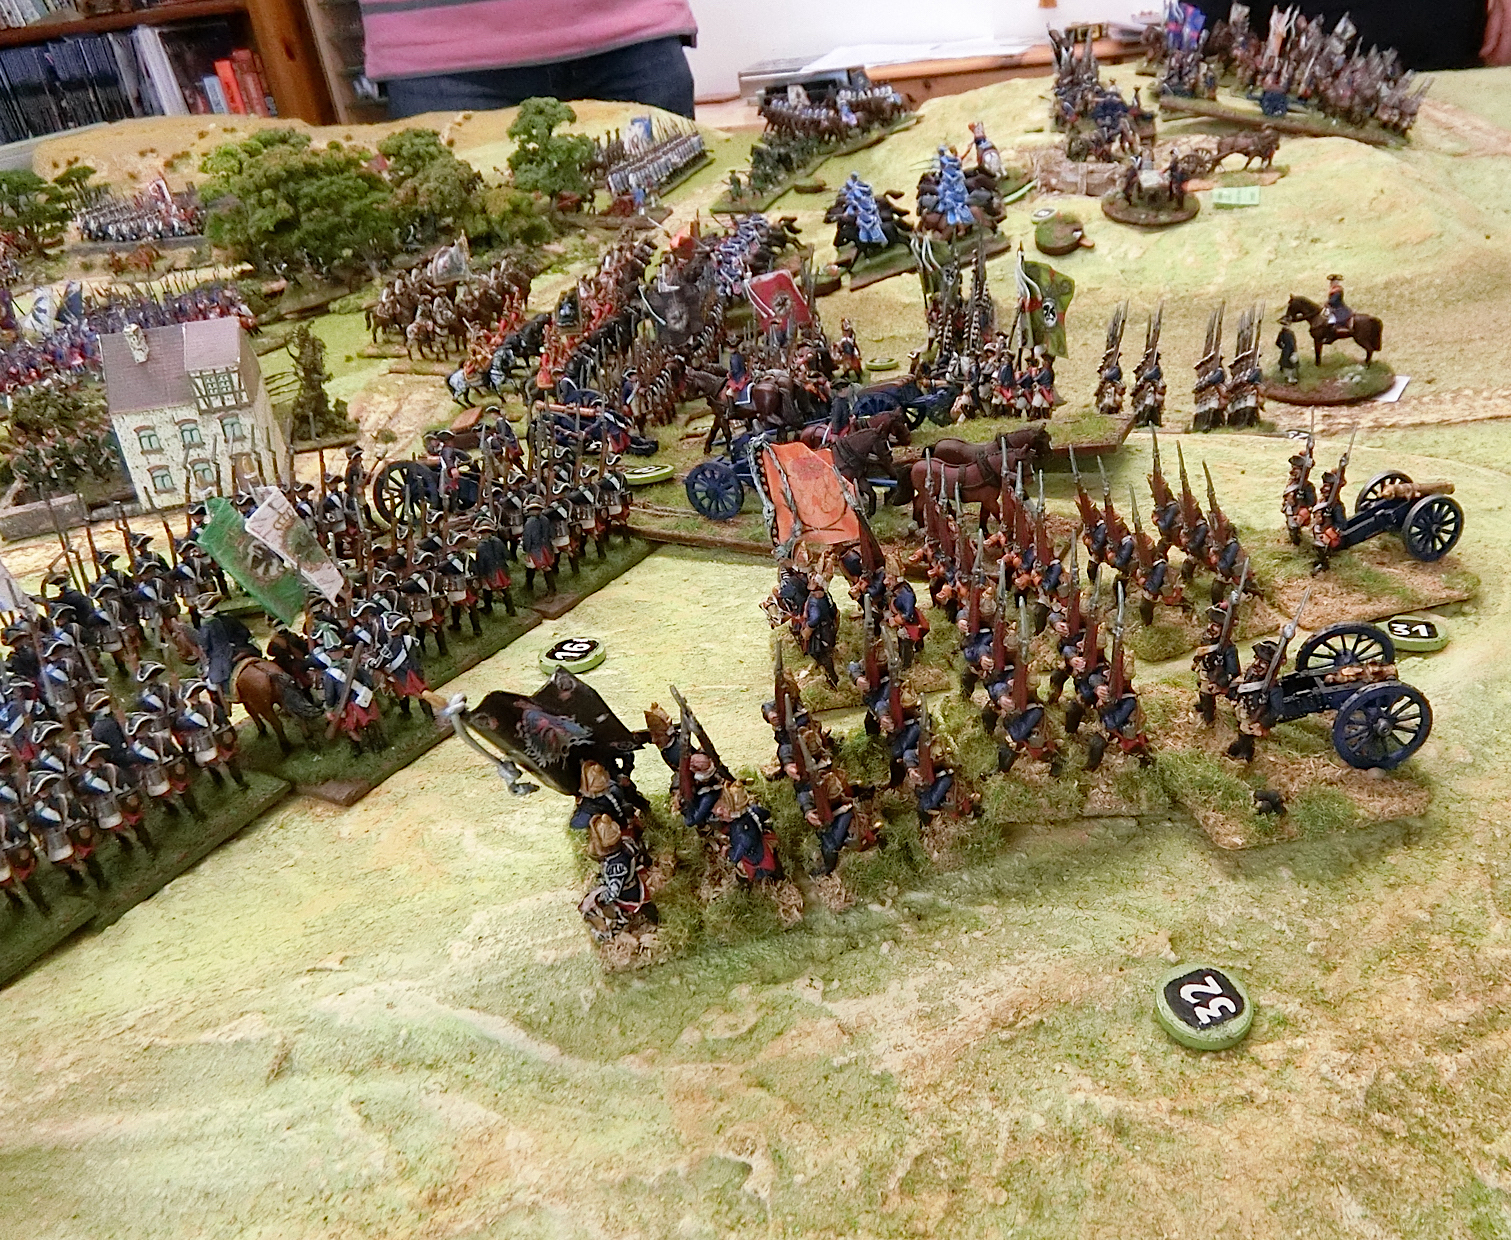
View near the start of Day Two, a detailed tour in the photos below
No matter how "serious" the game it seems to be laughter all the way when Steve's at my table!

The government left flank cavalry had either died, fled or were just retreating disconsolately. The villagers of Harleston were now the last bastion holding the flank!

The line of regular troops ended at Harleston Church with a worn Grenadier battalion

Reforming government units form the second line near Duke Ferdinand of Brunswick's left-central position

On the other side of the frozen village pond some Highlanders are eager to return to the fray, but behind them other battered clans are collecting muskets and reforming. In the distance small cavalry units are using the sunken lane to shelter from artillery fire while the two French line cavalry regiments are brought up. At this point they face a very thin-looking British defence
At the government right-centre the "Advance Guard" which had come on as reserve and moved towards Althorp Manor, has been withdrawn to form a second line and hold the flank. In the Manor Garden the mortar battery is under attack
At the extreme right flank it actually felt a bit precarious for Cumberland. The exultant mix of Highland and Lowland clansmen were looking for opportunities to pick off weakened and isolated government units. The Scots 43rd Foot are in the foreground as the government right flank holders

On with the narrative by Guy:

Turn 6

<<We were then moving towards the climax of the battle. Despite winning the initiative, the French commander allowed the government forces to move first. This was unforeseen and led to much rather rude Gaelic mutterings from the flanks (by CG as assistant!). The government forces had received orders that their overriding mission was not to imperil the army or allow it to be defeated. Further, a message had arrived saying that the government reinforcements had sighted and were shadowing the French reinforcements and both sides were unlikely to see fresh troops.


The Government forces therefore started a modest withdrawal to strengthen and consolidate their lines. The shortened frontage only made the task of the Jacobites harder. Meanwhile, the Jacobites pressed on by attacking the mortar battery, but in a true Samson v. Goliath moment the plucky British gunners picked up their muskets and somehow survived to be able to withdraw and reform. 


There was further ongoing considerable attrition in the Franco/Jacobites ranks. In the West, inferior lowland units tangled with the 1st Foot Guards in the gardens and exchanged volleys, with the inevitable result. More French units were lost in the centre from ongoing artillery attrition.  The result was that gaps started to appear in the French lines which had to be plugged by reserve infantry and some small Scots and French cavalry units . 


In the centre the Grenadiers de France break under canister fire from two light batteries

Steve's allowing his opponent the initiative meant Richard had the chance to bolster up that weak point  opposite the French cavalry......

......who would soon be taking casualties from long range artillery fire

At Harleston the one remaining government cavalry regiment heads towards the centre to find more fruitful cavalry ground 

Each government brigade had a battery of light guns. Combining with the threat of musketry volleys it meant that nowhere in the central area was safe for the French to attack


By the Hunting Lodge woods a German mercenary battalion was the next unit to break from long range attrition


On the government right flank, however,  the loss of units and the need to contract was causing a bit of confusion. Cumberland in person is organising the line and he has no units spare here to back up the Guards and Grenadier brigade which is suffering a Scots charge. The mortar battery has retreated safely with 4 Hits and is saluted by the nearby generals for blunting the Scots advance.

View from the French - it looks like their opponents are in a bit of a mess - if only they were nearer!
 Note the Lowland unit with yellow saltire flag is engaging a Guards battalion at the corner of Cumberland's line.......


.....but they were easily pushed back by the elite infantry

French casualties from an earlier hour are being recovered from under the influence of the French Commander in Chief

Reformed Highland clans on the Jacobite right now return to the scene of action. The villagers of 
 Harleston await the onslaught with trepidation 

This arial view shows the reforming government line very well.
Beyond Harleston church, fields and woods Richard has created an L-shaped
 killing ground in anticipation of multiple French and Scots mounted units trying
 to break his line there

Above and below: The rather sad state now of the whole French central line. All the brigades have suffered units lost and none feel strong enough to advance across that open ground into artillery and musket fire. A couple of double moves on Command Initiative dice would be good! Even so the French guns have forced back one of the redcoat battalions to their front.

Turns 7 -8


Artillery continued to fire along the lines with the government guns rather more effective than the inferior Jacobite ones. At the NW corner of the battlefield there was a last highland charge against the 43rd Foot (an inferior regiment here today and subsequently became the Black Watch). The 43rd were supported by 2 units which allowed them to send the highlanders back, although they also had to retire. A fresh British unit filled the line. 


A Highland clan attacks the good folk defending Harleston who held the hairy Scots at bay for one round of melee but went down on the second. This was still enough to put the Highlanders going back to reform on 4 Hits


On the other extreme flank a similar Jacobite charge went in against the loyal Scots 43rd Foot.....

.....however this wider view shows that a mixture of setbacks, reforming and close terrain had inhibited Steve's ability to get enough troops up the ridge quickly. That icy pond was a nuisance.

This clan under the Earl of Cromartie was broken, and so too was the 43rd. But the government line had plenty of reinforcements at this end

Richard doesn't look very happy, but in fact by late morning
on this Boxing Day the battle was turning in his favour

Slow but steady losses from the Jacobite guns was reducing units on the
government left so the line could  no longer reach beyond the church and
still retain that "killing ground" angle. Opposite, the French cavalry are
 hopeful of an opening

View from the French cavalry's position, where the front unit has already sustained 3 Hits.........

.....with de Saxe Lancers by their side and Baggot's Hussars and the Princes Lifeguard waiting to give support; meanwhile the Scots guns pound away wherever there is a gap

Near the centre the French are once again on the advance, trying to support the faster moving Scots

Le Duc de Grammont backs up the advance bringing forward his reformed battalions

Above and below: the advance from the Hunting Lodge of the Foreign Service brigade under the Marquis de Souvre  constantly met a wall of British fire. Now Lally's Irish regiment falls victim to it

The French Guard Brigade had not been able to make any progress, maybe now there was a gap for them?

Turns 9 - 10


In the rest of the line, the government commander continued to hold his position and the Franco/Jacobite force after a modest advance against the village of Harleston to eject some troublesome yokels armed mostly with scythes, came to the conclusion that victory was not going to be achieved that day. 


All, however, was not lost. The Jacobite army was still between Cumberland and London. The Jacobites had severely mauled the government cavalry which meant there was no pursuit. In the fading light the Franco/Jacobite army withdrew, and the 2 armies lost contact. 


Looking West up the battlefield from Harleston pond the observant viewer will see that one of the large French cavalry regiments has been forced to withdraw from artillery fire losses. The Jacobite and other cavalry are all small and/or inferior so I think we all knew now that Prince Charlie's efforts on this flank were doomed


On the Althorp Manor flank the Jacobite thrust up the ridge was looking distinctly lacking too


The Chisholms had lost a Hit when Cromartie's ran through them giving them 3 Hits and therefore a Minus on everything till they could recover. I denote three Hits with an orange marker for quick reference


Cumberland has managed to steady his line, but it's still scrappy and nearly all these battalions have suffered hits. It's now about 1 pm and several have been in action since 8 am


Aftermath

The government forces were left in possession of the field which allowed Cumberland to claim a victory but………..


It was certainly not a crushing defeat of the rebels as demanded by the King. Large quantities of ammunition had been expended and supplies were running low. The Jacobites were now between them and London, their principal point of supply. 


The result was also not particularly satisfying for the Prince. Whilst the combined Franco/Jacobite army had fought well, and at one stage certainly seemed to have the government forces on the ropes, it was perhaps illusory. The government battle lines had never really been challenged and a number of fine French infantry regiments had been destroyed. For the first time in the campaign his troops had not achieved an overwhelming victory. The British/Hanoverian government troops from the continent were certainly a far tougher nut to crack than the troops he faced at Prestonpans and Brampton. The Prince could only claim that they had given Cumberland a bloody nose and the army had withdrawn intact to fight another day. 


However, he has nagging doubts whether the French are trusted allies and will continue to support him? Whilst the route to London is effectively open, if a council of war proposes a retreat to Scotland, this may now be problematic from a purely geographical perspective. Retreat northwards may not be an option.  


One way or another, the campaign continues. The rebels are still loose in central England and the throne is still threatened. 


Above and below: Guy conducts "post match" interviews with the team captains (not the Managers, Royalty is above that):
Duke Ferdinand of Brunswick : <<Vell, I did not catch zee stag for zee Weinachten Jagd but zee high point für mich zis day woz to see zee Grenadiers de France fall beneath mein guns, and to be part of zee masterful control of zee game battle by My Lord zee Duke of Cumberland. It woz, as you sagen in English, "a team effort">>
Lord George Murray: Eh well, the lads surely gave those Sassenach Dragoons a seein' to, jus' like we did tae Johnny Cope. Can't trus' the Frogs o'course, they did naught a' day, what dae ye expec'? As fer that bloody assistant referee runnin' up an' doun oor touchline, he was f***** useless (pardon mae French!). An wen yon mortar crews started tae fire back wi' muskets!!? Och Aye, we shudda bin given' a penartie, nae question aboot it! As fer my high point? Why, that barrel o' 1720 malt whisky "rescued" from yon Earl Spencer's cellar!>>

Man (Unit) of the Match - the British mortar crews for saving the penalty that their demise would have represented on the flank of Cumberland's line.


Postscript


Ferdinand of Brunswick once again received glowing compliments from the King and the army for his steadfastness. 


The Hon John Spencer crawled out of his priest’s hole to survey the devastation of his house. He took the decision that day to rebuild Althorp. The stable boys and villagers called him Hon Cringeling behind his back. He became aware of these derogatory comments and the villagers Christmas boxes were cancelled in 1746. For decades the stories of the stable boys and villagers’ valour multiplied in the local public houses to the extent that in the local folklore, the battle was solely between the hearty sons of Northamptonshire and Scots. 


The British cavalry were again the subject of much criticism. A duel was fought after a Guards subaltern referred to them as donkey wallopers. The name stuck.


The Jacobite troops in the main were further emboldened by their performance and the success of the highland charge. They failed to appreciate one of the lessons of the battle, i.e. the Franco/Jacobite units had great difficulty advancing and breaking a formed British infantry line supported by artillery. They continued to maintain the effectiveness of the highland charge as a battle winning tactic. 


Post battle - the campaign goes on


The Franco/Jacobite forces manoeuvred to join with their covering forces at St Neots and a Council of War was called to decide which direction the army should move. Various options were proposed – a fast advance and attack on London, an indirect advance through East Anglia which would have the advantage of resupply by the French ships, a withdrawal to Scotland, or a march towards Oxford and the Southwest. 


The Government forces dispatched their remaining cavalry to discover where the Jacobites had gone. No conclusive news was forthcoming. Cumberland therefore ordered a forced march towards London. Perhaps the truest indication of what happened was seen in the City of London. The value of Government securities lurched downwards, and gold was in huge demand. Hysteria gripped the streets as rumoured sightings of hairy Scotsmen on Hampstead Heath circulated. The ladies of fashion dusted off their Parisian decolletage gowns and the gentlemen their bottles of Sauternes...........  


The game record shows that the Jacobites won the initiative every turn (Plus 1 as designated attacker) Although the game was not just about army destruction this is a useful indicator (using my 1-5 Army Points per unit system) - In terms only of units on the table "Done For" the Jacobite/French 37 points represents about 30% losses, and the Government 23 is in fact about 20% losses. So bad enough for each commander to be glad of the natural break in fighting allowing a withdrawal

(by CG) Finally, I need to pay tribute to Guy. He deserves great credit for putting together such a complicated scenario, providing most of the ideas and 95% of the figures which made it to the tabletop, compiling the briefs and orbats (under guidance from me), and being lead umpire for two days.   Thanks a lot Guy, wonder what next year will bring?


Sunday, 12 June 2022

The Battle of Madling 1753: Part Three - Day Two and conclusion

 I left readers with a view of our battlefield at  dusk on the first day here, in which a Ducal Vanguard had gained limited ground within the Electoral territory. The first brigades of line infantry and cavalry were beginning to arrive on both sides.  Those who have looked at Ken's instructions ( here linked again) will have noted that reinforcements are due to arrive at flexible times - subject to dice rolls and only Ken knew how he was interpreting that. We did, however, have a turn record sheet on the wall (see the last photo below) in which at points he judged appropriate Ken forewarned of the arrival one or more moves ahead. So players could have an impending dread of opponents massing by the brigade name but not knowing what or how many troops it represented.  

I have to come clean here and admit that as I was helping umpire that day, and was in the know, I could see that, as the terrain favoured the Electoral defenders, a balanced game should see their force grow more slowly than the attacking Ducals.  In fact this was not happening, yet, on the day, the Ducal attack did look a bit overwhelming, the Electoral players did feel outclassed and outnumbered (they weren't really), the Ducal players did feel as if they stood a good chance of breaking through. Such was the good nature of the players that I never heard a cross or disappointed word all day....maybe it was just us all being overawed as yet more toys packed the table (ouch!), or was it Steve J's never failing sense of humour keeping spirits up? We shall never know, but Ken's great write-up captures the spirit - hope you enjoy it.

As before - my photos and captions, and the occasional clarification in italics.

So let's have a look at who these splendid and contented chaps were

The second day participants - (from left):
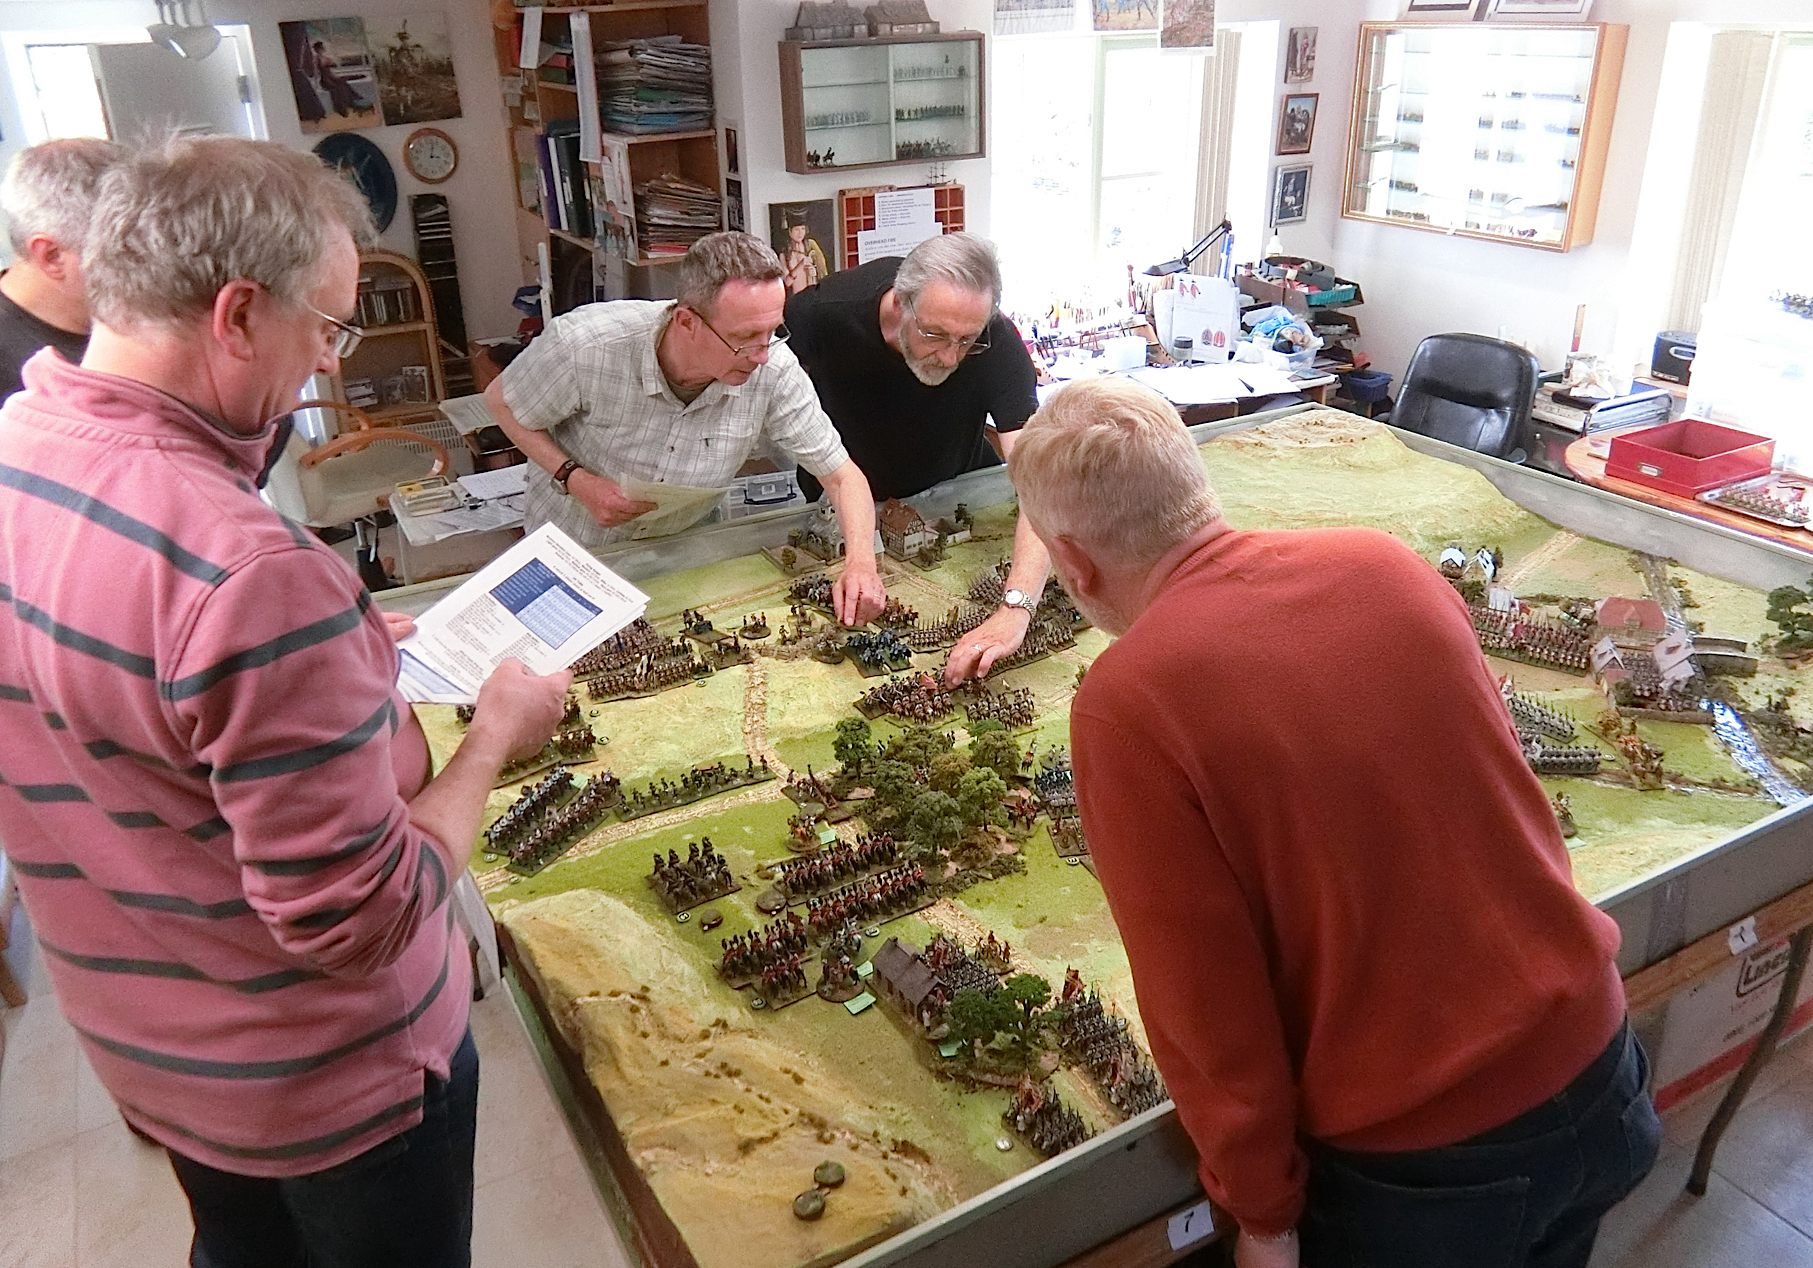
 Keith Flint (Ducal), Ken Marshall (GM), Paul B (Ducal), Steve Johnson, Steve Pearse(Electoral players), CG (dogsbody tea maker)


The view at the start of the second day. The central high ground now has nothing but the (notional) corpses of the previous day's struggle 

The Ducal C -in -C, General Count Guilau, has taken charge of the left flank leaving the tougher job to his subordinate!

Lt General Ulrich has placed himself on the wooden bridge across the Lunzenbach to orchestrate the new arrivals

In the centre the Ducal army hopes to use the hamlet road junction as the jump off point for a major attack uphill. Von Scheither's tired light troops still stand ready

The second day opened dry and bright, and all eyes turned to the West where the Electoral lines looked painfully thin, almost non existent. It was going to be a race to see whether the Ducal infantry could push through the gaps in the line and open a way South before Electoral reinforcements could fill the gaps in the centre of their lines.

Von Scheither urged his jager and the supporting light cavalry on in the direction of the Rosenkrantzhohe but they were too late. As they crested the adjacent hill they were greeted by von Bohlen’s electoral cavalry forming line. Both sides came to a sudden stop and eyed up the opposition, not wanting to be the first to commit to the attack.  

View from the Electoral side of the hill

Over the central hill there is a temporary stand off while new brigades are brought on for both sides

Now the Electoral lines can be seen to be bolstered on both flanks and from Kaindorf
In the foreground the Ducal Grenzers have come back for another crack at the Anhalt riflemen........
......but it did not last long!
Lt Gen Ulrich bravely leads Jungermann's infantry brigade forward into the line of fire

Reinforcements for both sides were quickly appearing. Marching columns of Electoral infantry appeared in Kaindorf and were quickly directed forward to create a line from the Schwedischer Hugel towards von Bohlen’s regiments. 

A strong-looking heavy cavalry brigade bolsters up the Electoral troops on Schwedischer Hugel

On the Ducal side, Jüngermann’s infantry brigade continued their steady advance across the Lunzenbach angling toward Madling whilst on their left flank, Schirmer’s heavy cavalry brigade pushed on ahead to support Scheither’s regiments. Behind them, Ruechel’s cavalry and Rettenburg’s infantry moved onto the table in support. It was becoming clear to Electoral C-in-C, von Stutterheim that the enemy main effort was going to be aimed at his left flank and he was currently outnumbered by four brigades to two. 

Steve J has moved those heavy cavalry up onto the ridge and Keith is bringing yet another Ducal brigade in his centre. On the central high ground a close-quarters struggle is taking place

The Ducal left flank at the head of the Lunzenbach valley


Faced by the Lowenfeld infantry regiment advancing towards them in line, the Anhalt jager retired back from their positions along the Lunzenbach into Madling ready to contest the town. The remainder of the Ducal brigade formed into column of regiments on the left flank of the Lowenfeld regiment and advanced along the road to the south west. 

In the distance von Bohlen's cavalry are engaging von Scheither's lights on the ridge, while the Ducal big central attack is taking shape

The Lowenfeld regiment forms line to try to deal with the riflemen in Madling

They were countered by Lattorff’s Garde brigade forming line south of Madling. A third Electoral infantry brigade followed on behind and angled right to form line behind von Bohlen’s brigade before advancing.

At right the Electoral infantry are expanding the line behind von Bohlen's cavalry who are about to see off the Ducal Hussars. In the foreground the Anhalt riflemen are crossing the Stronbach bridge. What are they up to?


Now confident of support and spurred into action by the need to create space for the infantry, von Bohlen’s cavalry charged forward. Von Scheither’s jager and the light cavalry in front of them caused casualties on the cavalry but were quickly scattered. Pursuing the Ducal light troops downhill, von Bohlen’s regiments encountered Schirmer’s supporting heavy cavalry who countercharged.  Schirmer’s troops made short work of their tired opponents and the remnants of von Bohlen’s cavalry were forced to retire behind their supporting infantry. Buoyed by their success against the cavalry, Schirmer’s troops followed them and charged the infantry.

Above and Below: Von Bohlen's successful but tired cavalry about to be charged by Schirmer's fresh Ducal heavies

Towards Madling the dense Ducal lines are closing in.

Above and below: While the cavalry fight out on the hill the Steves are expertly planning how to complete the ring of steel of their infantry lines. "Hessians" have moved up behind Von Bohlen and a "Hanoverian" cavalry brigade pushes through on the Ducal side


A close up of Ken's gorgeous Prussian/Hessian style Grenadiers and Fusiliers on the Electoral side


An infantry attack goes in on Madling

By contrast action on the Ducal left is developing slowly.....

........but it looks like Electoral cavalry and infantry are building up a counter-attack into the Lunzen valley
The Ducal centre is packed with more arrivals, but in front of Madling Ducal infantry are falling back through each other - not good for "Hits!" 

Faced with charging cavalry, the disciplined infantry presented their muskets and fired at close range. Men and horses crashed to the ground, disrupting the charge. The remaining horses baulked at the lines of unbroken bayonet tipped muskets and Schirmer’s cavalry broke back towards their own lines. 

(I'm finding it difficult to match the photos in the right places for Ken's streamlined text so please bear with me and enjoy his narrative with the pics for atmosphere! - CG)

In the following sequence of four photos Von Bohlen's cavalry have been broken and are followed up by Schirmer's Horse who hit the "Hessian" infantry and are shattered. At this point it looks like Ruechel's cavalry brigade is going to try to back them up. The fourth photo shows they did but are surrounded by muskets.


A great aerial view which shows that while Electoral lines are now a bit ragged they still hold all the significant features

Above and below: the view at this point behind Electoral lines around the hamlet of Mauthaus and along the Sattelbach


At right Jungermann's brigade advances past Madling in a fine looking line but receives canister and flanking fire. Reinhart's brigade dithers behind them spurred on by Lt Gen Ulrich


As the beaten cavalry streamed back past them, the first line of Ducal infantry was approaching Madling, their left flank open to being outflanked by the Electoral infantry. General Ruechel ordered his cavalry forward to fill the gap and charged the outflanking Electoral infantry to delay them and in the hope that they may have more success than Schirmer. They didn’t and although they inflicted casualties on the infantry, his brigade was wrecked.

The demise of Ruechel's cavalry; and Jungermann's infantry are having a hard time too


With the Ducal cavalry now dispersed and retiring behind their infantry, it was going to be an infantry fight (at least near Madling) as they sought to break the Electoral line. The Malsberg Infantry and Lindstedt Grenadiers led the advancing Ducal troops. 

Faced with canister from the artillery to their front, the Malsberg regiment melted away before they could come to grips with the Bornstadt Regiment. Against the most senior regiment of the Electoral army, the Garde Grenadiere, and supporting artillery, the Lindstedt Grenadiers lasted slightly longer before they too were forced to retire. 


The first Ducal infantry attack on Madling has been repelled


Ken's narrative overlooks the exploits in the centre of the field where another brigade of Ducal cavalry (Maj Gen Thuemen) had been lined up to threaten the western end of Schwedischer Hugel and Kaindorf, backed up by two strong infantry brigades awaiting a breakthrough. The following photos show this attack.

Self indulgence - my favourite RSM95 Hanoverians masquerade as the Ducal von Dickmeis brigade and von Thuemen's cavalry are on the right

More of my RSM95 Hanoverians - Thuemen's cavalry charge is met by Electoral Hussars and infantry. It was to prove a hard fought part of the battle of Madling

More Electoral Hussars pile in.....

....watched by reinforcing "Hessian" Fusiliers pulling battalion guns with them

Whilst additional brigades were arriving in support, Count Guilau could also see the Electoral infantry lines thickening and knew it was going to be a hard slog to achieve any breakthrough on his right flank.

This aerial shot shows the difficulties of Ducal infantry before Madling village; the complete Electoral dominance of the central high ground; the cavalry charge towards Kaindorf; and on the far flank at the top of Lunzen valley, Electoral cavalry are moving forward.
Von Thuemen's cavalry are forced to fall back.......
.....exposing Scheither's Grenadiers to volley and artillery fire that finished them off too


The following sequence follows up the Ducal right flank around Madling

The Anhalt Jagers have got in position to enfilade every Ducal advance with rifle fire across the river........

........with predictable results

More Ducal infantry are brought up.......
.....with some artillery support too........
...............but are eventually broken


On the left, the successes of the Ducal light forces from yesterday was working against them. Reinforcements were slow to arrive in support of Cartier’s Advance Guard brigade, having to cover far greater distances (a situation not helped by a dispassionate umpire confiscating one of Count Guilau’s dice after it rolled nine 6s in a row – while he may have needed the help of the dice gods, he didn’t need that much help!). Conscious of the weakness of his position, Lt General Rosen (Steve J) content for his light troops to remain at long range, exchange fire and barrack the Ducal opposition. 

A second Electoral cavalry brigade appeared south of the Schwedischer Hugel and was directed forward in support of Czettritz’s heavy cavalry brigade. Realising he at last held the advantage of numbers, Lt General Rosen ordered his brigades forward. The Kleist Jager pushed forward against the Effern Infantry Regiment who had been under fire from the Electoral artillery all morning. Now cursed by the bad luck dice, they were unable to respond effectively to several rounds of firing from the jager and broke. The heavy cavalry followed up and charged into the supporting Freytag Chasseurs who were also overthrown and pushed back towards Lunzen.

The following sequence charts the progress of the Electoral cavalry attack on their right flank which helped decide the battle.


Electoral Jagers and artillery fire manages to shatter the weakened Effern infantry regiment

Allowing Czettritz to engage the Freytag Chasseurs

Brandenburg's Electoral cavalry then attack the supporting Ducal Cuirassiers of Serbelloni,
some of whom had already broken the Jagers and chased them up Schwedischer Hugel

A mutual exchange of cavalry defeats at the head of the valley.....

But the Electoral side looked as if it had come off best in the end

View from where the senior Electoral commanders had stayed safely on the reverse slope!

And there we pause, as Count Guilau and General Ulrich concede having recognised the strength of the electoral position and their attempt to bludgeon their way past having failed. The Ducal forces will retire blooded but with a large proportion of their army still intact. Congratulations to the two Steves and Kevin, and commiserations to Paul, Keith and Chris. 

An overview at the point we stopped- a decision had been reached

Overall, I’d consider the battle a success although with scope for improvement if playing again. The participants appear to have enjoyed it which is my main measure. Day 1 was required to achieve a partial result and provide the space for the Ducal forces to deploy on day 2, whilst not significantly handicapping the Electoral side. This happened but the subsequent timing of the Electoral arrivals left the Ducal forces with an uphill struggle that they never mastered. 

The arrival of Electoral reinforcements was also key to the result on day 1. If Czettritz’s brigade had not arrived when it did, the Electoral right flank was close to collapse. Omitting a couple of brigades from the Electoral line up would have helped, as would the umpire intervening in the timing of those arrivals. That requires the umpire to be prepared to take on more of a games master role than traditional for this type of game.

The Ducal Army had to retreat and recuperate over Winter

For now, the armies have been returned to their storage boxes, the dice (including the loaded one) are back in their bags, Madling is again a quiet backwater somewhere to the East of the Mur valley and we can await the next phase in the campaign as our two protagonists plot their next moves. 


This photo captures the intensity and concentration which everyone except me showed the proceedings

Afterwords

Ducal

In a small office in the Ducal palace, the Grand Duke waited until Count Guilau closed the door behind him before turning to his War Minister. 

‘So he may have been unlucky, he may have been outclassed or he may have been outnumbered. Either way, we are blocked from moving along the Stronbach and we lack the means to cross it. We will not evict the despot from our land this year’.

His Minister nodded. Years of dealing with his master had taught him when to get concerned, and whilst Count Guilau’s defeat was inconvenient, the Grand Duke had already accepted it and moved onto future planning. There weren’t going to be wholesale recriminations over this setback.

‘Yes Sire. I agree this is a missed opportunity but it does have benefits. We still have most of the army and more importantly the coalition forces were not heavily engaged. When I first heard the news I was worried that our more nervous partners would use this as an excuse to withdraw their troops but I don’t believe that will happen. Most of the damage was to our cavalry and we can rebuild those units over Winter.’

The Grand Duke thought for a moment.

‘Our light troops appear to have performed well. Let them loose over winter to harry the enemy and we’ll see if we can persuade them that the price of our land is more than they can afford. 

For next year we also need a bridging train. Talk to our allies and find out if anyone has those resources. If not, we need to build one. 

And find out about this General von Stutterheim. If we are now faced by an Electoral officer who knows his job, that’s a problem. Previously, although they had more troops, we relied on their officers being incompetent and not knowing how to use them. If they are starting to become competent then we have more than one minor defeat to worry about.’ 

Recognising his dismissal, the Minister stood, bowed and walked towards the door. There was much to do. 

Electoral

In his headquarters South of Tamsweg, the Elector paused his interrogation of his two aides and looked again at the crumpled report in his left hand. It was from von Stutterheim (thanks to Steve Pearse for the report), giving an account of an action around Madling, and the General appeared to be claiming a victory against the Grand Duke. 


Gentlemen at War - Lt Gen Ulrich helps General von Stutterheim
clarify a point in his rules of war!


"Your Highness,


I have the honour to report that the forces, which you bestowed on me the honour to command, have been completely successful in defeating your enemies. The Ducal forces attempted to gain advantage against your Highness’s army by advancing through the valley of Lunzen, and seizing the crossings of the Stronbach at Madling. 

General von Stutterheim"


Our record of Initiative success and when reinforcing brigades would arrive

Both Steve J and Keith have written very nice succinct accounts of their day at this game on their blogs and I recommend them both for a different perspective and loads more photos;
Steve's Battle of Madling


Postscript:

We were very lucky that it was a nice Cotswold late Spring weekend and we were able to enjoy lunch, tea and cakes out on the terrace both days.  Our celebrity local author Keith thought he was off duty, but suddenly, beer in hand, he was assailed by sundry fans clutching copies of Honours of War  and Shadow of the Eagles for an impromptu book signing! Thanks for joining us Keith it was great to have your company and inspiration.