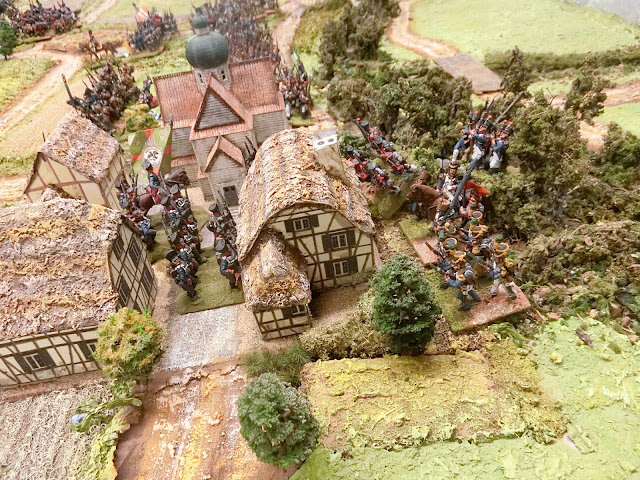
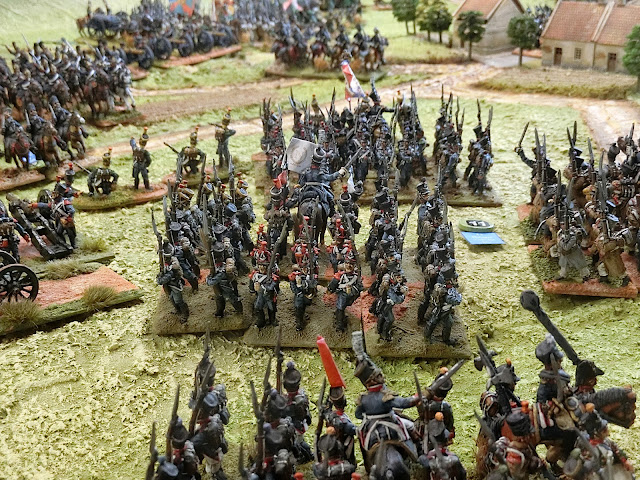
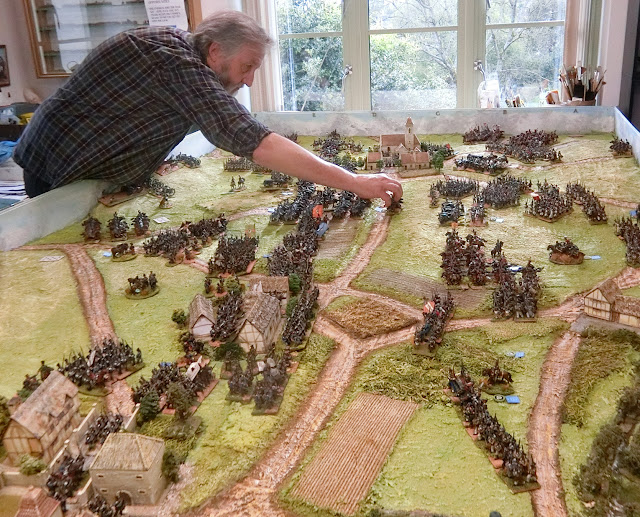
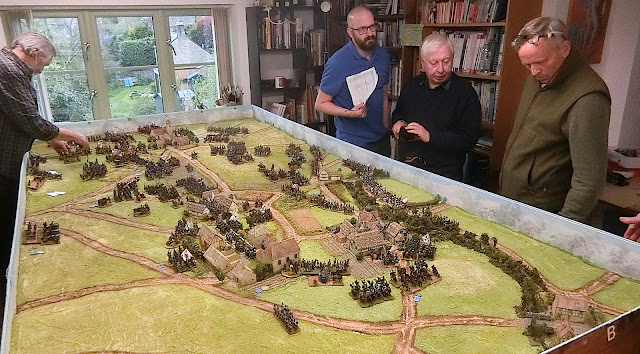
Compared to this post Part One was easy! In that I gave an introduction to the whys and wherefores of doing this massive refight, which took place on the last weekend of April in the Cotswold village of Oakridge. Most of that post is taken up with a straightforward report with loads of photos on how I made the terrain. Thanks to all who have commented so favourably on it.
Parts Two and Three are much more complex and I hope to be able to explain the game as a partial observer, partial umpire. For various reasons I had to spend quite a lot of the time with my back to the table working the map, and also upstairs constantly fetching/carrying and marshalling more troops (and organising refreshments periodically). Tony had arrived on the Friday, and we organised the armies according to his Orders of Battle, linked here, late into the night and early on Saturday morning. Tony worked tirelessly to keep the game going at record pace over two days! Despite my distractions, on Day One alone I took about 130 photos, and I promised myself I'd collate this account with only half of them, yet as I processed the photos I realised what a lot of rich detail I missed during the game itself, and the photos became an unfolding story helping to crystalise my thoughts and aid analysis. So please forgive the quantity I have used in the end. Part Three might prove similarly intense, plus a summary and other thoughts on the whole exercise. Apologies to any of the players if I've overlooked your favourite exploit, or overemphasised any failings - maybe I was just not around at the right time!
The Players
Slightly erroneous calling this a "Cotswold Lutzen". We had a terrific attendance from 9 players over the weekend, plus Tony (from Birmingham) and me, and only 3 of us live "locally". The rest of the illustrious band come from South Devon, Bristol, Wiltshire, and a clutch from points just West of London.
 |
| The Day One crew, L to R: James F (Napoleon and Ney), Francis L, Richard N (French Div Commanders); Guy B, Ken M. (Prussians and Russians), Tony Dillon - game organiser, Steve P (Wittgenstein, Allied C in C), CG (dogsbody). There was to be a 3 for 3 swap with new players the next day. |
Method and a bit about the rulesAs hinted at in Part One we represented the whole of the possible forces by magnetic paper counters on a metal notice board and a big paper version of the map. This gives some idea.
 |
| Overall map with all possible units accounted for somewhere |
Beyond the marked squares everything is not to scale, so Leipzig, where Napoleon and Ney started, is well off the top right corner. MacDonald and Latour-Maubourg about 8 or 10 miles away, Bertrand's Corps about 12 miles to the West, and the Imperial Guard a bit further back than shown, round Lutzen town. All the Russian units (dark green markers) are in fact South of the Prussians and will arrive at the whim of Wittgenstein (Steve) and the Tsar (me - otherwise known as the buggeration factor!)
The players had been advised by email of their probable roles before the weekend itself so they could prepare. The two C in C's were invited to write such orders as might have been possible prior to what effectively was a surprise attack on Ney's outlying Divisions, and a surprisingly effective defence from what the Prussians had expected. Tony had opted for basically starting major formations in their historic positions, but then we would allow the players to write specific relevant map orders as the time and events unfolded. Map movement and any combat was to be resolved by some simple rules devised by me -
here. The players had been sent a set of Tony's (big game) "Napoker" rules with an explanation, but he won't mind me saying that compared to conventional wargames rules they can't be appreciated just by reading. Consequently a quick lesson was given each day and all players seemed to catch on pretty quickly. No point me providing the whole set (two A4 pages) but showing the playing card display sheet for one side will suffice
 |
| Each side had one of these sheets and laid down their cards unseen by opponents each turn, and throughout as new cards were dealt. |
In essence the C-in-C (or more likely the team "committee") looked at the hand dealt to them. 5 cards for movement were put on the bottom line and had to be allocated to major units (such as Divisions) as long as the tactical units within performed in unison. That meant big formations could be manoeuvred until close action when the cards had to be allocated to tactical units only. Hard decisions therefore had to be made and it was a limiting factor which meant not all units moved each turn and thus speeded up the whole game. 5 cards were chosen for the top line and these were used in various ways depending on that side's priorities that turn - eg Initiative for early movement, advantage for Artillery or Cavalry or Infantry, and the "melee" card was a plus factor in any of them. As in Poker, picture cards, Aces etc, were matched against the opponent's for the same category and a certain amount of bluff or blank looks (poker faces!) was part of the fun! Critically, map movement was by a conventional method not dependant on Napoker cards, the only variables being in my head and a dice roll for faster moving units to see if they did one or two map squares per Move. Once on the table any pre-written orders were forgotten as Tony's philosophy is not to restrict wargamers by any artificial command "friction" but let them make their own success, or mistakes! Multi-player games are often good for that anyway.....
Straight away in our pre-game discussion Tony and I realised that Napoker was too variable and fluid to match a set time period during a historical refight, and for that reason I could not be too pedantic about map movement times either. Instead we turned it to advantage to achieve one of our aims - which was not to overcrowd the table with wargames figures just because we could! I settled on one map move being about 20 minutes and as the day progressed I figured that Tony was getting about 50% more moves in on the table, than me on the map. It didn't matter as Tony had empowered me to organise the arrival times and locations of all the manoeuvring off-table groups as I saw fit in accordance with their written orders and all the detracting or mitigating factors we had agreed could affect performance. Mostly I got it right, and importantly, Tony was free of such distractions so he could generate the on-table moves at an electric pace.
 |
| Allied commanders get their initial briefing from Tony |
Opening Moves |
| Steve and Guy commence Blucher's attack on Gross Gorschen |
 |
| Souham's Division tries to stem the overwhelming tide |
 |
| Girard's Division holds back a minimal force in Starsiedel while marching urgently to cover the centre near Rahna |
 |
| French commanders confer while Tony advises on the initial best uses of their Napoker cards on the side table card display holder (example below - it looks a decent hand with a Jack for Infantry and an Ace as "Melee" card.) |
Where was Napoleon?
James is not in the photos above as I had a job for him away from the table. He had to take on his roles as Napoleon and Ney and write orders for the various components of La Grande Armée. They could hear the cannon fire at Gross Gorschen from Leipzig, so swung into action. He sat in the lounge for about 30 minutes and gave me back index cards with the intended plan and orders of march and hoped for points of arrival at or near the table. I had to add on notional time for couriers to get to the commands, troops to be organised on the march, and then proceed with the map work throughout the weekend. Ney was to head for the battlefield and hope to speed up Brenier, Ricard and Marchand's Divisions along the way. Napoleon was to ride to Lutzen and organise his Imperial Guard. Historically this naturally took a few hours and I knew that Richard and Francis would have to hang on a bit longer with only Marmont's nearby Corps as immediate help. Bertrand's Corps had pre-written orders by James to approach the battlefield via Gostau village, and he now matched these on the French left by ordering Latour Maubourg's Cavalry Corps and MacDonald's infantry via Eisdorf and Hohenlohe. It was going to take around 12 to 15 of my map moves (4 to 5 hours game time) for them to get there.
 |
| Prussians have taken Gross Gorschen and Rahna |
 |
| This would become a familiar site - Steve with a tray of new soldiers at the Russian baseline. In response Girard's Division is contesting Rahna and the French battery has now deployed on the low ridge joining Rahna with Starsiedel. James is back - to operate Marmont's Corps |
 |
| Von Roeder's Prussian Guard Brigade arrives South of Gross Gorschen and part of Prussian 1 Corps artillery limbers up to move to a better position |
 |
| Von Klux's and Von Zieten's infantry are pushed out of the villages by Souham and Girard's counter attacks |
First French reinforcements arrive
Below is a photo of the map as it looked to participants around this time. I had covered up the sides with paper flaps which were pulled aside to let me move the counters and judiciously to allow a player to see, when that was appropriate. I'd made the South edge of the table contiguous with the line of the crest of the high ground. Historically this masked the Prussian and Russian approach and continued to do so throughout our game. Wittgenstein's command group had a good view from Monarchen Hugel so I informed Steve as Marmont's troops approached from the West. Once battle joined there I assumed smoke would prevent his foreknowledge of future events. Likewise battle smoke limited any warning to one square beyond the table edge. On the right low hills beyond the Flossgraben restricted the view so Guy had sent 1 Corps Cavalry brigade (Katzler) off the map to scout as far as that watercourse would allow.
 |
| The situation on-table about 1230 game time |
 |
| Prussian 2 Corps cavalry at the baseline eye up Girard's distant columns and come under fire from the French battery |
 |
| Guy moves von Roeder's units to attack Gross Gorschen. At the top end of the table Marmont's Light Cavalry Brigade (Lancers) has turned up |
 |
| While Guy and Ken's Prussians battle over the villages Wittgenstein has brought up von Dorf's large Cavalry Corps - these are the Heavy cavalry in a central position, and the first of Yorck's Prussian 2nd corps is also there |
 |
| Francis forms some of Girard's regiments into square, backed up by Kellerman's cavalry, to show them he means business.....a great target for the Prussian guns |
 |
| "One more step forward and I'm comin' to get you!!!" |
 |
| Klein Gorschen is not yet contested, allowing the French a little respite |
 |
| But von Klux's men approach |
 |
| At the far end the Light Cavalry of von Dorf's Corps are opposing Marmont's Lancers. In the centre Souham's and Girard's troops are suffering and now having to fall back to consolidate a line from Klein Gorschen across to Kaja |
 |
| View of the approaching Prussian cavalry from the French III Corps artillery position |
 |
| Compans' Division of Marmont's Corps moves to protect the flank at Starsiedel but immediately all form squares to deter any cavalry breakthrough that will threaten the arrival of the other Divisions |
 |
| Some relief for the French centre as Brenier's Division marches forward in columns of attack. Another artillery battery is very welcome and they intend to unlimber on that ridge, covered by a skirmish screen |
 |
| Steve and James cross sabres for the first of many engagements around Starsiedel village (difficult for me to photograph that end and I had to await my opportunities for close-ups) |
 |
| The card movement system is now making it difficult for the French to decide priorities with so many new units arriving. Bonnet's Division of Marmont's Corps has to be brought on behind Starsiedel, so all of Brenier's moves en bloc in front of Kaja. That is leaving an unhappy gap in the right centre which a Prussian Hussar brigade looks like exploiting |
 |
| Souham and Girard now have their second position consolidated, just in time to be reinforced |
 |
| With two villages in their pocket Wittgenstein has halted any further advance by Blucher and Yorck and is bringing up more reserves as they slowly approach from the South (still off table) |
Readers might well be questioning why the Prussians and Russians don't press on their attack while the French are struggling. Partly it is to use their Movement cards on the left against Starsiedel, but in fact the Allied plan, not yet revealed to you dear readers, is to gain the villages and high ground and then defend and let the French attack them to be ground down. So far it is going as planned for them.
Action around Starsiedel
It's now around 2.30pm game time and the Allies are succeeding in bringing round Russian reserves, one corps at a time, to their left flank. Their plan is to take Starsiedel eventually but it is proving no easy task with one of Girard's regiments holding that village and two of Marmont's three infantry divisions deploying in the vicinity as fast as they can.
 |
| The French lancers have been forced back onto Compans' squares, and Steve is using subtle tactics of attacking with only one or two "squadron" (300 men approx) formations at a time |
 |
| Hunnerbein's brigade awaits events with the left flank regiments in line |
 |
| Unit 61! - the name/number labels have been transposed with the two Prussian light cavalry brigades |
So this is in fact Number 58 - 2 Corps cavalry...and they are put off from all out attack by the French battery now deployed in the valley just beyond the ridge. Currently the Hussars are sitting in the sweet spot in the shelter of the ridge from those guns and hoping that the nearer ones remain distracted by action near Rahna.
 |
Another view of the Allied left flank.
Dorf's Light Cavalry and Horse Artillery are continuing to pin
Compans' infantry in square.
Bonnet's Division is a bit undecided where best to head yet |
Kellerman's Cavalry contest the centre ground
 |
| All of a sudden a lot happens! Most notably the Prussian 2nd Corps Hussars seize their moment to charge the guns - probably encouraged by the prospects of artillery fire from their left flank and that Kellerman's cavalry brigade has suffered a defeat and is in retreat to their front..... |
 |
| Not surprisingly they sabre and scatter the gunners and then ride on into the flank of the Baden Dragoons........ |


