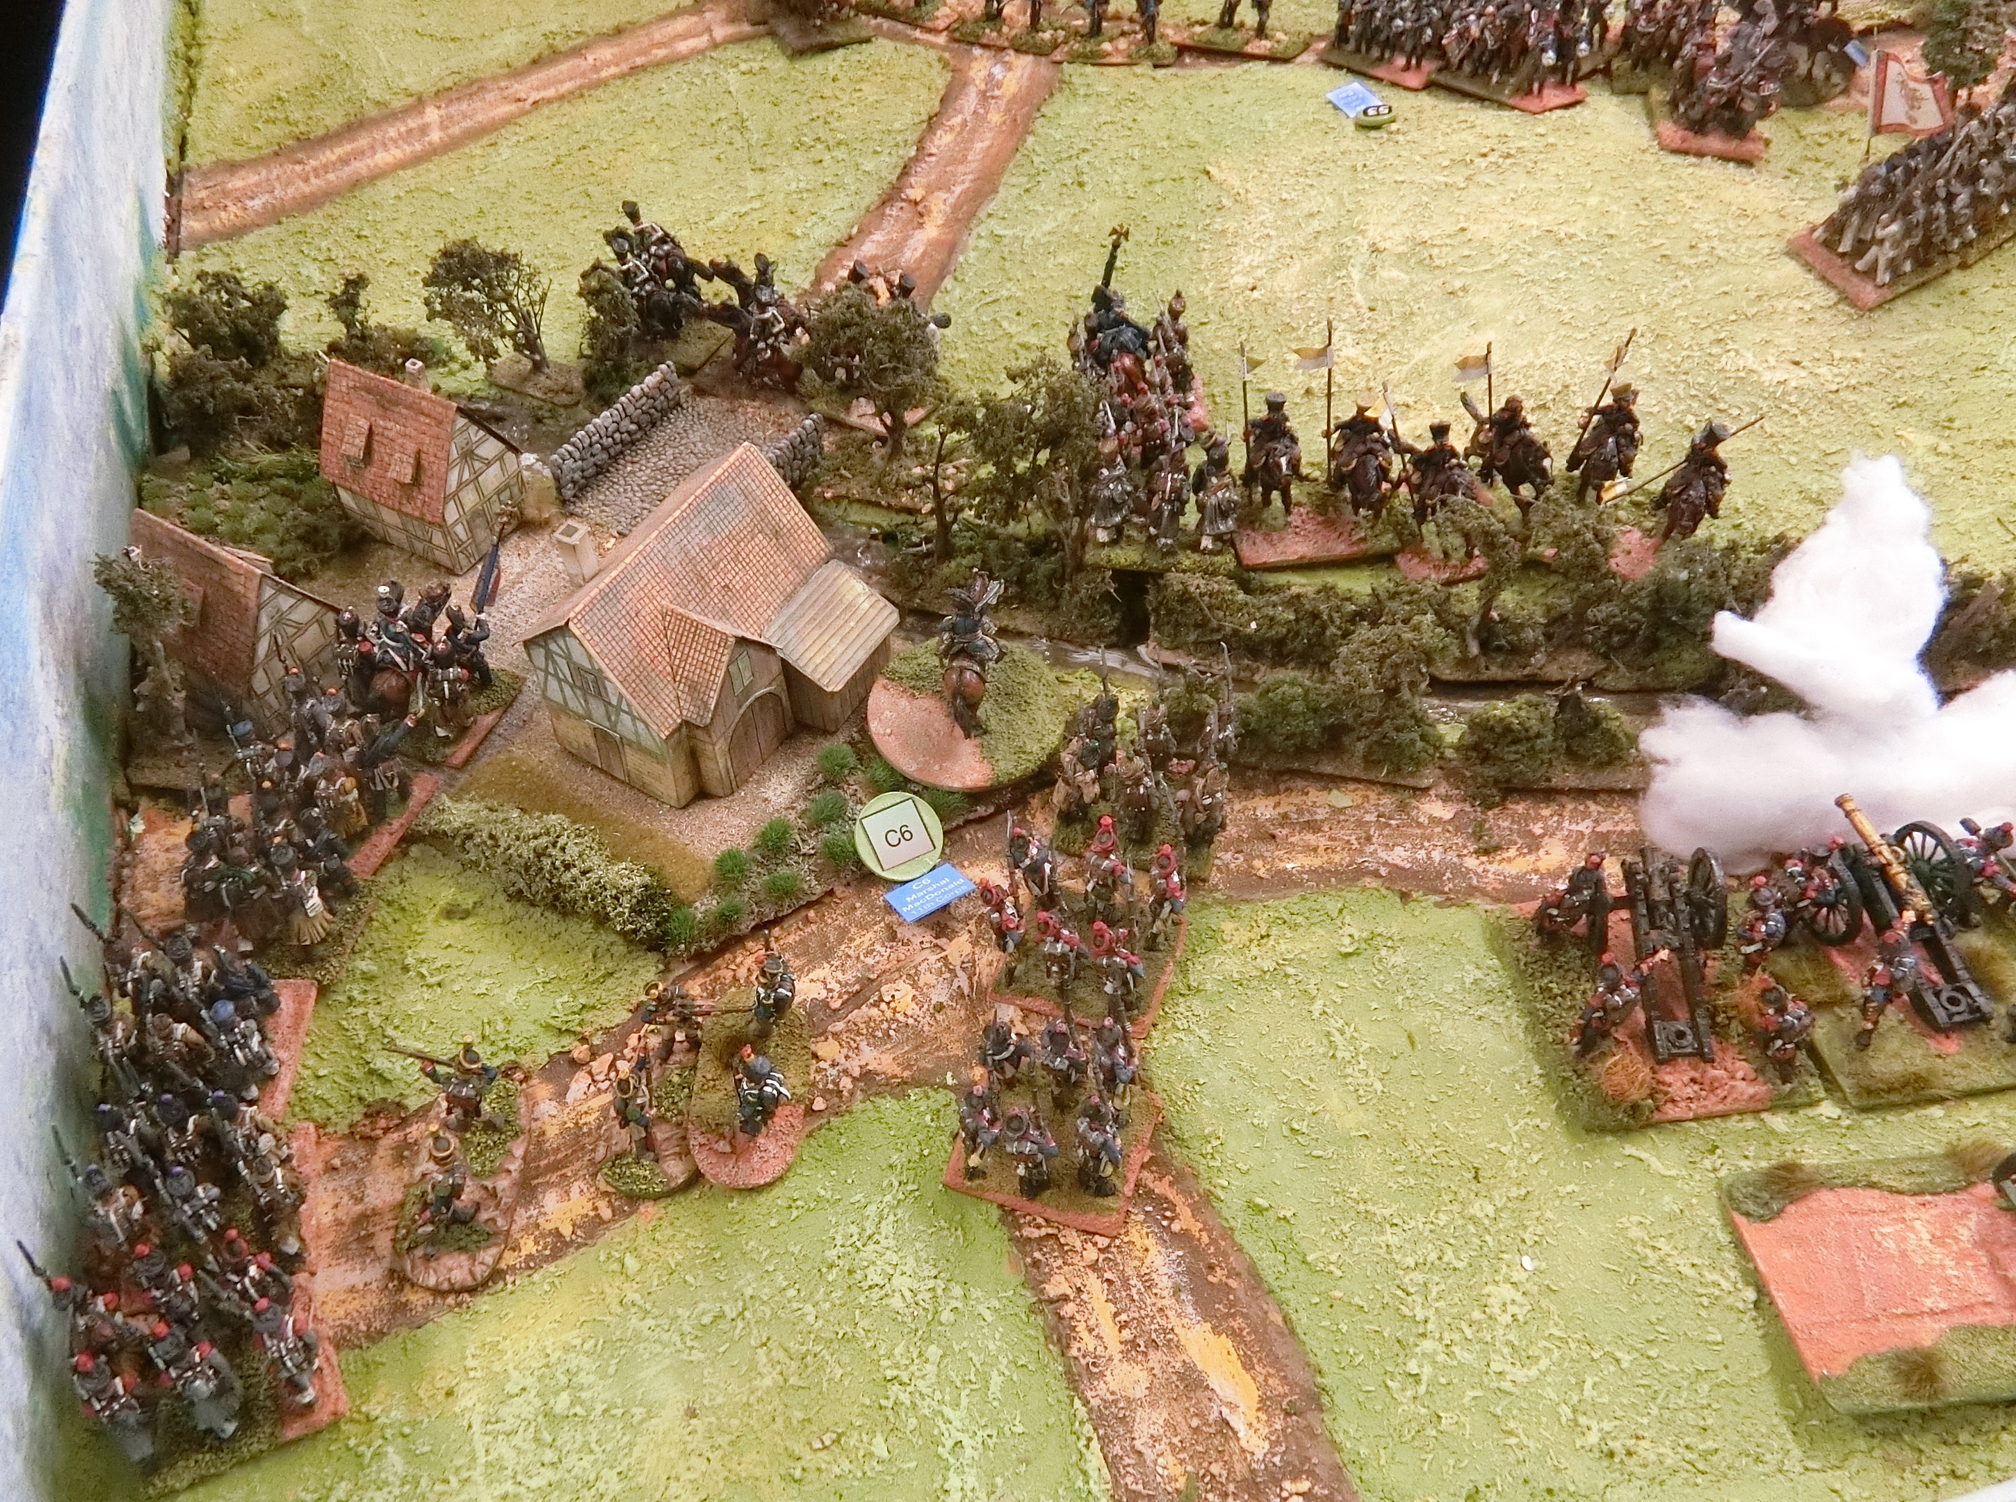
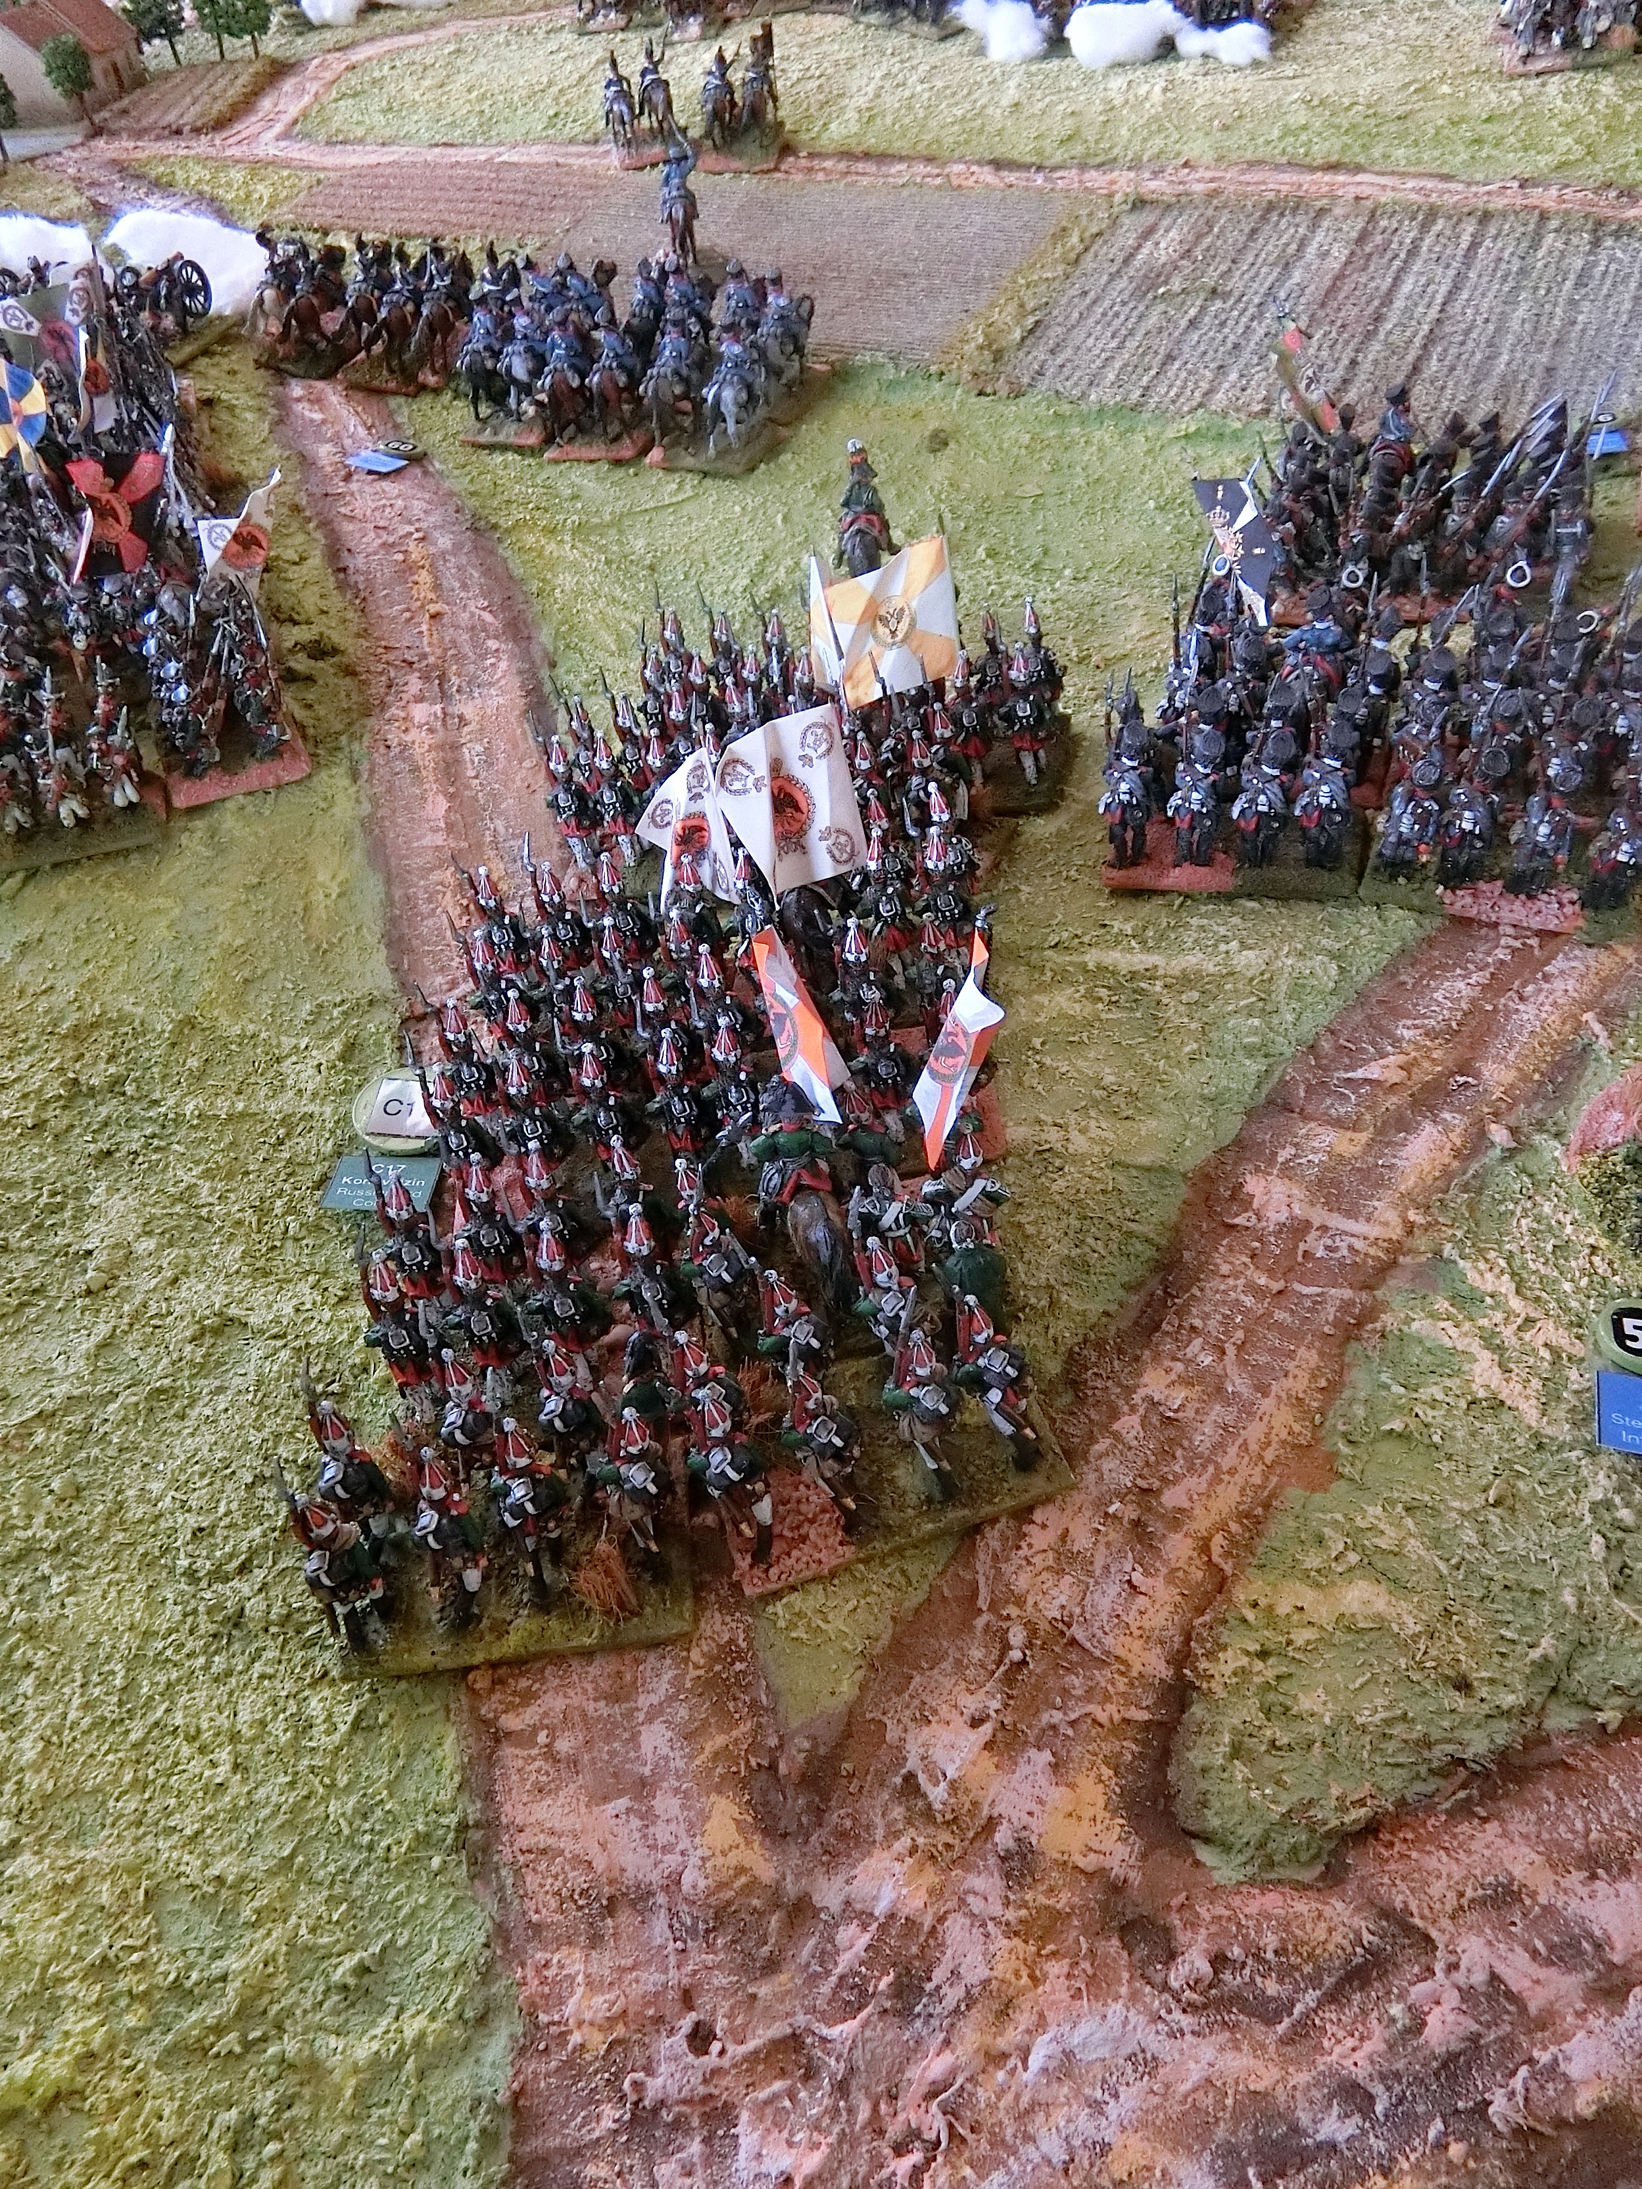
I've finally got round to completion of this saga and those who need it can be reminded of what led to this post by reference to the previous two parts
Part One
Part Two
The orbats and map rules can be found here
This game took place over a weekend in late April 2024, being organised by Tony Dillon on the 12 x 6 foot table, using part of his fantastic 28mm collection, taking in a scale area of about 3 miles x 1.5 miles, and by me on the map expanding the refight area to about 5 miles square. We had 3 players per side on Day One and 3 of those were changed for Day Two. We used Tony's own "Napoker" rules and the time scale, as explained in the previous part, was elastic amounting to about 10-15 minutes per Move on the table and about 20 minutes on the map. On Day Two it became increasingly important to synchronise those times, as you will see. Tony had given me freedom to marshal the off table forces in accordance with the commanders' orders while trying to ensure the table did not get overcrowded - not a straightforward task.
Somewhat inspired by history, and a nod from Tony I had been regulating the Russian arrivals by acting as the Tsar and reviewing each Corps, or similar sized body, south of Monarchen Hugel (just off the table). Steve, as Wittgenstein, was only able to issue them orders when I released them, having ensured every musket and sabre was clean, every plume brushed straight, and every button done up!
French reinforcements try to win back some territory
For Day Two we decided to put cotton wool "smoke" down for artillery firing. It has no game significance but does help focus the viewer on where casualties might be heavier. French on the right and Allies on the left.
Here is the start of the day's play, though it is late afternoon game time. In the distance the remains of a French Division are in square supported by Light Cavalry trying to keep the Russians back from outflanking Starsiedel. However, Russian 1st Corps infantry and artillery are building up for an attack on that village. All across the French centre troops have been constantly thinned by artillery fire and occasional forays to close quarters. At this point it's a case of maintaining territory to bring on the fresh Divisions of Imperial Guard infantry and cavalry. Equally the Russians and Prussians are not strong enough yet to do more than hold the line of the villages - According to pre-game planning shared with the umpires that is their match-winning tactic anyway. Prussian cavalry have been brought in from scouting the Flossgraben to hold the small hill by Klein Gorschen that secures their right flank. That means they've lost their "eyes" on the map for any approaching French from the East. Opposite them Marchand's Confederation of the Rhine troops are looking as if they will begin to form up for a counter attack.

 |
| The Day Two crew: - another mixture of diverse wargaming buddies, from left: Kevin East- French Guard commander; James Fergusson - Napoleon and Ney; Glenn Lowcock - French left flank commander; Tony Dillon - game organisier; Stuart C - Russian reinforcements as available; Steve Pearse - Allied C-in-C Wittgenstein; Guy Barlow - ever cheerful as Prussian Commander Marshal Vorwärts himself; oh, and me |
 |
As can be seen in the aerial shot above,
this Prussian battery kept clearing the enemy off the villages "triangle" |
 |
| ....while this French one did a good job from the low ridge connecting to Starsiedel |
 |
| Looking over that French battery - it is under counter-battery fire too and lost 1 Hit so far. Marmont's Corps holds Starsiedel and a bit beyond, although pinned by Russian Dragoons the Imperial Guard Light Cavalry Division is still strong enough to deter the Russians....but those French squares can't hold for long under fire from the hill. |
Russians receive another corps from the Tsar's review |
| Stuart and Steve plan how to use the two fresh Russian infantry divisions that have just arrived at their respective table edge positions...... |
 |
| .....and Stuart has another one on the lower slope of Monarchen Hugel at his right flank. These are 3rd and 4th Divisions of Russian 2nd Corps (Winzingerode) |
 |
| Something of a standoff at the Starsiedel end where both sides have cautiously formed squares and artillery trade salvos |
 |
Above and below: two views behind the Russian lines. Those two big blocks
of Russian infantry is 6th Division just moving forward |
 |
I asked Stuart for a photo but did not expect a formal pose while he was so
busy deploying a newly solid but "refused" right flank |
Russian reinforcements move to the flanks as Marchand tries to retake Klein Gorschen |
| Why refused? Both Wittgenstein's staff on Monarchen Hill and Katzler's cavalry have become aware of MacDonald's advanced Division (Fressinet), now finally reaching Eisdorf village and bridge (below). They can also detect Latour-Maubourg's Cavalry Corps off the table on their extreme right |
 |
| Glenn commands Fressinet's which has a battery of artillery to help, but he needs to work out how to get across the river in numbers. The Napoker cards will be crucial |
 |
| Meanwhile Glenn also has to press Marchand's Division across the Flossgraben and attack Klein Gorschen. At the far end of the table Compans' Division has been cleared off the corner square (F1) by a couple of Russian batteries. Kevin has brought on the French Guard Heavy Cavalry Division |
 |
Russians are now holding the centre and villages fairly thinly while strengthening
both flanks with the newly arrived Divisions |
 |
| Marchand's Division attacks the Prussians in Klein Gorschen |
 |
| Guy and Stuart move to support von Klux defending Klein Gorschen, while Kevin is busy bringing on the Imperial Guard between Kaja and Starsiedel |
 |
| In the foreground Stuart is using multiple 6 figure "squadrons" (c300 men each) widely to protect the flank from the Eisdorf incursion |
French Imperial Guard marches onto the field |
| Imperial Guard Heavy Cavalry to the front backed up by the masses of Guard infantry |
 |
| A couple of Guard Foot Artillery batteries hasten to the front. The weight of their shot will be very welcome to the hard pressed remnants of Ney's and Marmont's Corps |
 |
| Just when Kevin might have thought he was making some progress the Guard Light Cavalry are confronted by fresh mounted opponents in the form aof Trubetzkoy's Dragoons and Hussars. Temporarily they are held up by some Polish lancers |

|
| Glenn uses Marchand's infantry to surround Klein Gorschen but the first attempt to break in has been pushed back through the woods and across the Flossgraben |
 |
| Stuart has deployed much of 4th Division's infantry in squares as he is worried about Latour Maubourg's Corps which he knows is somewhere off the near table edge. This overview also suggests that masses of infantry and cavalry will soon confront one another this side of Starsiedel. A closer view below which also reveals bad news for the French - that's a Russian flag in the streets of the village. |

High time to show the table map again for a bit of clarification ,with hints of what lies beyond. In Row E at the left can be glimpsed the marker for one of Betrand's Divisions. This forms part of a three- Division Corps which had received slightly chaged orders from Napoleon. You'll recall he was just off the table to the North and near enough for me to take new orders from James with a fast ADC to Bertrand ordering him to drive South from Gostau and take the Russians in flank and rear via Pobles and Kreischau. I was duty-bound to tell Steve that his left flank Divisions could see Bertrand and so he was well aware of the threat in deploying the reserves even off the map. But he stuck, historically, to marching more onto the field of glory!
At the right in Row A another Division of MacDonald's Corps can be glimpsed. Wittgenstein can't yet get a good look at them due to battle smoke but beyond this corner are rolling hills and his aides had made out a large body of Cavalry traversing them, coming his way. That is Latour-Maubourg's 1st Cavalry Corps
MacDonald's first attempt at Eisdorf thwarted
Back to the tabletop action, poor Glenn was falling foul of the restictions of Napoker movement in getting Fressinet's Division across the Flossgraben. Not enough Movement Points available to the whole French army - James had to keep Kevin going bringing up the Guard Divisions. That meant Glenn had no movement to spare for "change of formation" so had to cross in columns of march.
 |
| Stuart was not slow in counter-attacking with his cavalry, and even these small bodies of mounted troops were able to drive the march columns back into the waterway. Three regiments of this Division were destroyed in one Move. |
The French flanking columns become a threat at last
Off-table things were moving at a faster pace now the enemy was near. On the hillside West of E1 and F1 Bertrand's artillery was opening fire on Trubetzkoy's Cavalry Corps in F1. Casualties were light at that range of course and Steve gambled that he would not be attacked directly but by staying in square F1 he was keeping back an enemy Corps and the Guard Light Cavalry to his front.
By now it was evident to the Allies that significant new forces were on both flanks. Latour Maubourg initially had orders to approach the enemy lines from Hohenlohe village and cross the Flossgraben there. But James had also sent a message to this flank ordering a more determined surge South to distract some of the huge numbers he expected of Russian cavalry away from the main action. The map also shows how MacDonald had been thwarted by Fressinet's repulse, for now, from relieving the pressure from Klein Gorschen
Russians try to consolidate gains at Starsiedel and the Gorschens
 |
| On the back foot now, Kevin tries to stem the Russian tide at Starsiedel |
 |
| 6th Division of von Berg's 1st Corps stands ready to reinforce the village. Half of it in squares due to the French Guard Cavalry threat. The rules limited village fighting to one unit per side at a time |
 |
At the Allied left centre the Russian 3rd Corps - Konovnitzin's Grenadiers
are moving up |
 |
| The French right centre looks more stable now.....but Wittgenstein brings forward more infantry and cavalry behind Gross Gorschen, as shown in the following three pics |
By now Steve, as Wittgenstein, was being made well aware by me of the threat to his extreme flanks off the table. I pointed out he could change the general order - which was something like "each Corps moves into a central position on the table as it becomes available", but I think he and Stuart were just enjoying being given a new present every Move of one or more big blocks of Tony's luxuriously classic Elite Miniatures. Well who'd want to keep them on the map when you can play with them on the table? It was a natural wargamers trait to press on and wow the enemy with your physical numbers which was taking over .....with mutterings of "we'll be retreating at nightfall anyway!"
 |
| The Empress Dragoons and the Guard Horse Grenadiers threaten to make life difficult...... |
 |
| .....and on the right flank the Polish Lancers have given way to Imperial Guard Chasseurs a Cheval in trying to hold up that mass of Russian cavalry |
Allies stoic in the face of creeping French flank pincers
 |
| With a large column of enemy cavalry on their extreme right the Allied flank is forming a solid defence of Lancers and infantry in squares. The Tsar has come onto Monarchen Hugel and seems impressed that his rigorous inspections have improved the troops' morale! |
 |
| Fressinet's remaining regiments are getting stuck in with a will now in the Eisdorf bridge area but they are going to need help from Gerard's Division following behind |
 |
| There is a lot to take in with this picture so I will explain below: |
An Imperial Guard Infantry Division at left is pressing the Prussians and Russians at Rahna. Those two Guard batteries are only just about to find deployment space on the ridge - after all this time let's hope they are able to make a difference; and there are still infantry in reserve. For reasons beyond my understanding (the tabletop rules are Tony's baby) single squadrons of Russian cavalry are still able to keep back the mass of French Guard cavalry this side of Starsiedel. The battle for the village rages between French Guard infantry and Russian 1st Corps. In the far distance the Guard Light cavalry are still pinning the Russian Cavalry Corps which is being constantly hit from Bertrand's batteries off table. All the time the semi-circle of Allied gun batteries on the high ground gave a relentless pounding to anything French in sight. That must have been a bit depressing for the French players as there was no allowance in the scenario for low ammo or over-heated gun barrels - they were fast and basic rules.
Summary
Little did I know but this was to be the last "action" photo I took. It was around 3.45pm real time and I estimated we could still get two good table Moves in - enough to make a difference. Game time was about 6.30pm and probably about another hour, or 3 or 4 moves till dusk. The Napoker cards for the next move were dealt, each side took stock as usual. All of a sudden James (Napoleon) said "That's it then" and was round the table shaking hands with Steve and congratulating him on victory.
"Not so fast", was my feeling, but it's worth taking a look at the overall photo of the game table at this point, and the map, and reflecting on why James felt that way and why I, as co-Games Master, did not.
 |
| The blue line marks the foremost French units |
The French position is much as described in the earlier paragraph except this photo shows that all the remnants of Souham, Girard, Ricard, Marchand and other French infantry divisions had been finally swatted away from the whole central area. This left a gaping hole in Napoleon's lines and no reserve there to come to the rescue. Nearly all this damage had been done by longish range artillery fire. Theoretically the Allies could have swept forward to exploit it but they were too far back, too disorganised, and had also had great losses. The one forward thrust by the French is where the Guard Divisions are but at the moment they are fragmented. It needs a bit more time to deploy the artillery and soften up the opposition so the Guard could carry on the attack to where Bertrand would come up behind those enemy batteries around the same time. In the foreground MacDonald's men are in a hard struggle to get the better of Russian 4th Division regiments. The map below should help make the situation look clearer.
 |
| MacDonald still has two fresh Divisions, and Bertrand has three. The latter are now within two moves of striking the Russian rear. Latour Maubourg has moved round across the Flossgraben; just prior to this the Horse Artillery had opened up on the Russian Guard Hussars who had then been attacked by the Dragoon Division. In a close melee, played under the off-table rules, the Russians suffered a setback opening up the threat to Monarchen Hugel. |

Above is the final tally of tactical units destroyed. It takes no account of whether they are cavalry squadrons, artillery batteries or infantry regiments but is some kind of measure of the balance of attrition. Since the whole armies started off with the French about 15% more in men/figures you could say that there is hardly any difference in proportionate losses. The big difference is that all the Allied figures are now on the table apart from two cavalry divisions, and the French have 7 Divisions still off table and in significant positions to alter the result.
I always looked at this refight as a whole exercise, map and tabletop, whereas some of the players seemed to think it is won and lost with tabletop figures alone. That in fact affected their own personal "morale" not helped by the all-or-nothing nature Move by Move of the Napoker system. James had been on the go since 10 am the previous day, writing orders for all elements of the Grande Armee, organising two subordinates on the Saturday and two new players on the Sunday, taking a hand in the on-table play of course, and then when Napoleon arrived having to issue new orders where appropriate. It's no wonder he was tired, and with a two hour drive home to face as well that last Napoker hand clinched the decision for him.
James felt he had lost. Steve and Guy felt they had won. They had stuck to a largely defensive plan on the table and it worked as a wargame since they say they planned to retreat at nightfall having stopped Napoleon. In my opinion, and so far Tony has not disagreed, it was at least a draw and possibly a marginal victory for the French. That view is because the allies could not have withdrawn unmolested. In reality having a fresh cavalry corps on your lines of communication would spell disaster - compare the Austrians in April 1809 at the rout at Landshut.
Conclusion and analysis
At least three decisions on the part of the GMs contributed to the French feeling of "loss":
1. We needed to pare down Tony's rules due to the scale of the game. I had to compromise as my friend was bringing 4000 model soldiers a long distance for my (and others') enjoyment. We agreed on 10" musketry and 48" artillery ranges. Both too long for the ground scale but we felt would give a playable game - they certainly did. But from a historical point of view it was about 12" too much for artillery and allowed the Allies to zone in multiple batteries from the hills and ensure the French never had a single move's let up from losses in the open ground around the villages and Starsiedel road.
2. Looking at the historical accounts I felt a bit sorry for the Allies - outnumbered, outgeneralled, no real idea of what they were trying to achieve etc, and too concentrated to have a versatile alternative plan. The map work and timing were intended to give both sides alternative options should they want them. It was not until about lunchtime on Sunday that I realised the Allies had no intention of using the map options and to them it was to be won on the tabletop. I had tried hard to ensure appropriate delays in transmission of orders and the transit of troop formations, after all we had a whole weekend. In reality the French Guards arrived about mid afternoon and Bertrand and MacDonald/Latour Maubourg late afternoon/early evening. I got the latter right but delayed the Guard too long. A couple of moves sooner could have given James and Kevin the boost they needed to press on, and artillery to shatter some more Allied regiments......who knows?
3. Tony's approach to historical refights is a bit different to mine. He made the offer to put the game on, had a tried and tested set of rules which were quick and decisive, and suggested the battle. My part was to make the tabletop terrain and map. It was clear we would need a lot bigger area than just the 3 miles or so of tabletop. I assumed that Tony would give each side one or more objectives to achieve, more or less in line with history. However Tony told me his approach was not to hinder the players' style with constraints based on historical commander characteristics or too many strategic restrictions. He enjoyed the prospect of "players making their own mistakes". So instead of the kind of wargame briefing I would have done, giving players something specific to aim at, Tony gave everyone a detailed PDF of a published historical account and allowed them to make up their own mind. As you've seen, that led to different concepts of how and when the enemy would be "defeated" and even to a disagreement about who "won"!
Some lessons to learn, or maybe not?
By way of contrast here are two of Tony's photos from his practice game at the West Midlands Military Show in March 24
Anyway, for completeness, (and if anyone hasn't had enough yet! ) here is the summary I sent with photos to all the players two days after the weekend:
"My sincere thanks to Tony for all the effort he went to in order to put on this spectacular game for us (and for giving me an extra workout helping to lift and sort his 23 boxes of 28mm metal troops (phew!!). It proved a bit of a mad scramble at times and he was in full sergeant-major mode keeping the game going over two days for an amazing 32 turns on the table. As you know the map moves were deliberately not in sync to help the "fog of war" but I managed about 22 out of the 25 scheduled so that was quite an achievement too.
As I am the official scribe what I say about the result goes!!
Purely on the table top, by 4pm on Sunday, when James and Tony decided to call it, the Russians and Prussian Allies were clear victors. They had 4 out of the six tabletop villages and the French centre was distinctly bare of troops - but no one but the Allies themselves ever decided that was the winning objective. Since Tony had given everyone the historical background before the start it was evident that the Allies were expected to break through northwards so they could deliver a major blow to Napoleon's flank near Lutzen town. Napoleon's objective all along was to use his flexibility of deployment strategically to surround and defeat the Allied army wherever he found it. As the day wore on it became a question for the Allies of beating the French completely or ensuring their own survival and lines of communication back through Pegau. Steve as Count Wittgenstein decided destroying the French was the best idea and committed every Allied formation eventually onto the tabletop. That in itself was some wargaming feat to be proud of - over 2,200 figures in the end.
But in doing so he had decided not to send any flank forces to head off Bertrand's Corps creeping round his left flank, nor any on the right to forestall Latour-Maubourg's strong Cavalry Corps. The Dragoon Division of the latter showed itself capable of taking on some of the Russian Guard cavalry in an off table clash of sabres and pushing them back.
The French centre still held, now shored up by all the Imperial Guard infantry and artillery, and with the two moves I had expected us to get in by 5pm that superiority would have taken some beating.
So the final result to me, taking the map movements into account as we always intended to do, was an almost exact mirror of the historical battle. The Allies got fixated on capturing and holding the villages (and generally did better at this than their historical counterparts - well done!) but would have no choice but to retreat in the evening to safeguard their baggage and lines of supply.
For what it is worth my final tally of tactical units destroyed was 18 Allies and 21 French. Since all Allied units were on table we have to compare that with all available French units (including two corps worth on the map) and they were about 15% more overall - almost the exact difference in lost units. So neither side can consider it a victory of attrition.
An honourable draw, and all the players can take credit for a game played in a magnificent spirit of bonhomie and determined wargaming fervour, and great entertainment for me as observing dogsbody/waiter/military figure sorter/map controller etc."
 |
| The historical map on which I based my own |
Comments by some of the players
Richard - one of the French Division commanders on Day One
"Thanks, I really enjoyed this game. The pictures of both days are excellent and allow the play on both days to be tracked.
From the photos I agree with your analysis. Although the allies gained a lot of ground on the first day in the villages I can’t see that the attack on the central hill ever really materialised in any strength. With the off board outflanking a retreat would have been inevitable.
I have been reflecting on our performance on the first day. In retrospect I think we lost too many troops through being too keen to attack the villages, causing significant losses to us; and probably occurring through the misleading atypical success we had early on. We made some errors in appreciating the strengths and weaknesses of our hand of cards. In particular we should always have gone for the initiative when we had a good hand. We forgot that in effect casualties can only be inflicted when you have a good hand, so there is a need to take advantage of it even though the tactical situation might indicate that the other side should go first. Finally I did not understand the full value of breaking cavalry blocks up into individual squadrons even at the cost of using more movement cards."
By Francis - the other Day One French commander
"Massive thank you to you all for such a terrific game yesterday Chris. It was a lot of fun and I am sorry I cannot be there today. Will be fascinating to find out what happens today and whether the French really had stopped the rot around the 4 villages! Go team France….Richard and James! Thanks also to the oppo (especially Guy) for being gentle!
Beautiful scenery and figures. The rules worked well Tony and replicated the see saw of attack/counter attack, but a firm hand of umpiring was welcome for those like me who only had a modest grasp of what was going on!"
By Guy (Prussian Commander)
"A cracking weekend. First very many thanks to Chris and Jane for their superb hospitality as always. Second, a Mexican wave of applause to Tony for umpiring and supplying the troops. Talk about herding cats at times.
I’m sure Chris will do a detailed report and loads of photos in due course but in brief (according to the allied propaganda department), the Prussians/Russians ended up holding all four villages in the middle of the table. The ground in front of the central villages was at the end bare as the massed Allied guns just blew away that central division and hurled back the Saxon attack. We followed the basic plan of seizing the villages, getting all the batteries into position on the hills asp and then fighting a defensive battle and it seemed to work especially with Steve using his cavalry aggressively to thwart any real deployment by the French. He also took out 2 French batteries. Huzzah! The French tried to move in from the right allied flank, but they really didn’t have room to deploy their troops. Ditto in the centre where the French massed Guard guns never really had the opportunity to deploy.
So, champagne and schnapps in the allied camp tonight."
By Ken (Day One Allied subordinate)
"To echo Francis's comments, thank you for your company at a very enjoyable game on the Saturday and I hope today's continuation proved equally as enjoyable.I'm on tenterhooks to find out the result as it was finely balance when we finished in the evening and I wouldn't even hazard a guess as to which way it was going to go.
A special thanks to Tony for a challenging and fun game, and to Chris for the hospitality and very attractive terrain."
By Stuart (Day Two Allied subordinate)
"A big thanks to you all for todays gaming, but especially Chris and Tony for running affairs. Below my blog where you can see the piccies I took of the action."
By Kevin (French Imperial Guard commander)
"Not having participated in a grand manner style game for some time I rediscovered what a delight it was to see a spectacle such as this. A wonderful collection of figures on terrific terrain with unique gaming rules that all made for a great time with convivial company - what's not to like?!
Particular thanks to Tony and Chris for all their sterling efforts. Very enjoyable hospitality was had too!
A great day!"
By Glenn (French Day Two left flank)
"A memorable day with a real flavour of a grand scale battle.
Big thank you Tony for... fantastic troops, preparation in advance and enthusiastic guidance through the rules on the day.
And Chris, as ever, great host, great battlefield.
Glad to have met you all (the Sunday teams) and I hope we will catch up again.
I have been thinking about the events on Sunday...
In spite of bad luck dealt by the cards on the day, I think the French did better than the immediate impression. As I mentioned to James and Kevin, we did retain command of the hill to the centre so effectively holding the centre which is the path toward Lutzen. We weren’t given any specific objectives for the action but since it was a historic battle then historic objectives must be accepted – and we all received the Osprey book giving full details. Since the Allies had been stopped in pushing through the field and with no clear path opened for them to do so, plus noting that to the north east of Klein Gorschen there were reinforcements to strengthen that flank to prevent the allies from heading for Leipzig, the broader picture was not especially favourable for the Allies. I feel they made the classic gaming mistake of focussing on the field of battle in front of them. They spent their time enjoying the good picture cards dealt, blasting the French to east and west, while losing sight of the broader historic view; and this was despite the fact that this broader field of action was being conducted for all to see on the wall map. Many times I looked at the battlefield and wondered why the Allied centre didn’t push forward, but it never did. In effect, the French achieved the result of distracting the Allies. Just some little reflections! Vive la France!
Overall, a special event and a special day."
(By CG - honest folks, I didn't pay him to write that!)
 |
Just for fun I got the Artificial Intelligence system I use with my
art to have a go at "18th century village in Lower Saxony"
Not bad! |
Final Thanks by CG
Well they have said it, and it certainly was memorable. After we'd packed his car Tony and I sat in easy chairs with a glass of beer and had a nice reflection. The rules are indeed strange to those used to standard wargames but he felt it went pretty well. As for me, I'm in awe of a set of rules that can keep so many people occupied for most of the time and get 30 or so moves in over about 12 hours actual playing time and the best part of 4000 figures across the table. Great thanks to Tony for his ability, stamina and sense of humour, and to all the players for their hard work and good will throughout, and for all their contributions, material and spiritual to a great atmosphere. It was a lot of hard work, and since then I've been pursuing a mad Napoleonic project of my own - to refight the battle of Abensberg here in August. Much more on that later!