Althorp game - The Origin
This game took place in mid September and had been trailed on the blog back in March as part of my 2022 programme of custom-made terrains. Dedicated readers will recall I committed myself to build the central part of the Waterloo battlefield for JP in August, and the "how-to" on that is here. So there you can see the table built from the bottom-up and finished in its June 2015 (too?) brightness. I told Guy Barlow he'd have to adapt that battlefield for his Jacobite game only a month later and he came up with a brilliant suggestion. In his "what-if" 1745 campaign the Jacobite Army had reached the English Midlands by December 1745. He decided that the area round the Althorp estate near Northampton would fairly be represented by our Waterloo field. Handily the village of Harleston was just about the right scale distance away to take the place of La Haye and Pappelotte, with the manor taking up the footprint of La Haye Sainte and a bit extra.
The main challenge for me was to fit in making, within a month, the buildings and change the terrain from Summer fields to 26th December in the chilly English countryside, and include a week's holiday in Northumberland. We did not want full snow for obvious reasons but I promised to give it a different feel. This blog post attempts to show you how I did it.
 |
| Steve J and Richard enjoy a joke at the start of Day Two of our weekend of a wintry-looking Battle of Althorp |
As a reminder here is the map I provided to Guy for him to plan the scenario and from which I took the extra detail we needed - the buildings, winter trees, frozen ponds and the formal but dormant garden. The dark brown line shows the 12 x 6 foot table limit though we allowed deployment outside that area. at the start.
Althorp Terrain - The Buildings
I'd never had the chance to recreate an English stately home on the wargames table before and the "duchess" and I had free entry to Althorp Manor with our membership of Historic Houses. As we could pass that way en route to our northern holiday it made sense to make a brief visit. However Guy and I had done a bit of research and I knew that the present day edifice is about 1780, too late for 1745, so could I find out anything useful?
 |
| Old Harleston cottages |
I quizzed a guide on lots of things and he was very helpful. The estate is vast, way beyond the miles of perimeter walls I had seen (coincidentally not far off the brown lines on my map), and Harleston village is owned by the family, and properties rented out. I noted there are two parts to Harleston, a large one on the main A road (roughly the northern road on our map) and a more rural one about a mile South. I had to ignore that and compromise for our purposes, but hey, this is not history it's a "what-if". Most importantly he confirmed what I suspected, that the big house there in 1745 would have been the original mid 16th Century Tudor manor. Evidently that was upgraded, expanded and clad in fashionable Georgian brick and decoration in 1780. But wait - what of that magnificent square stables and coach house? Surely contemporary with the upgrade? No it was built around 1730 and was one of the grandest stables in England. So I would have to make a reasonable facsimile of that.
 |
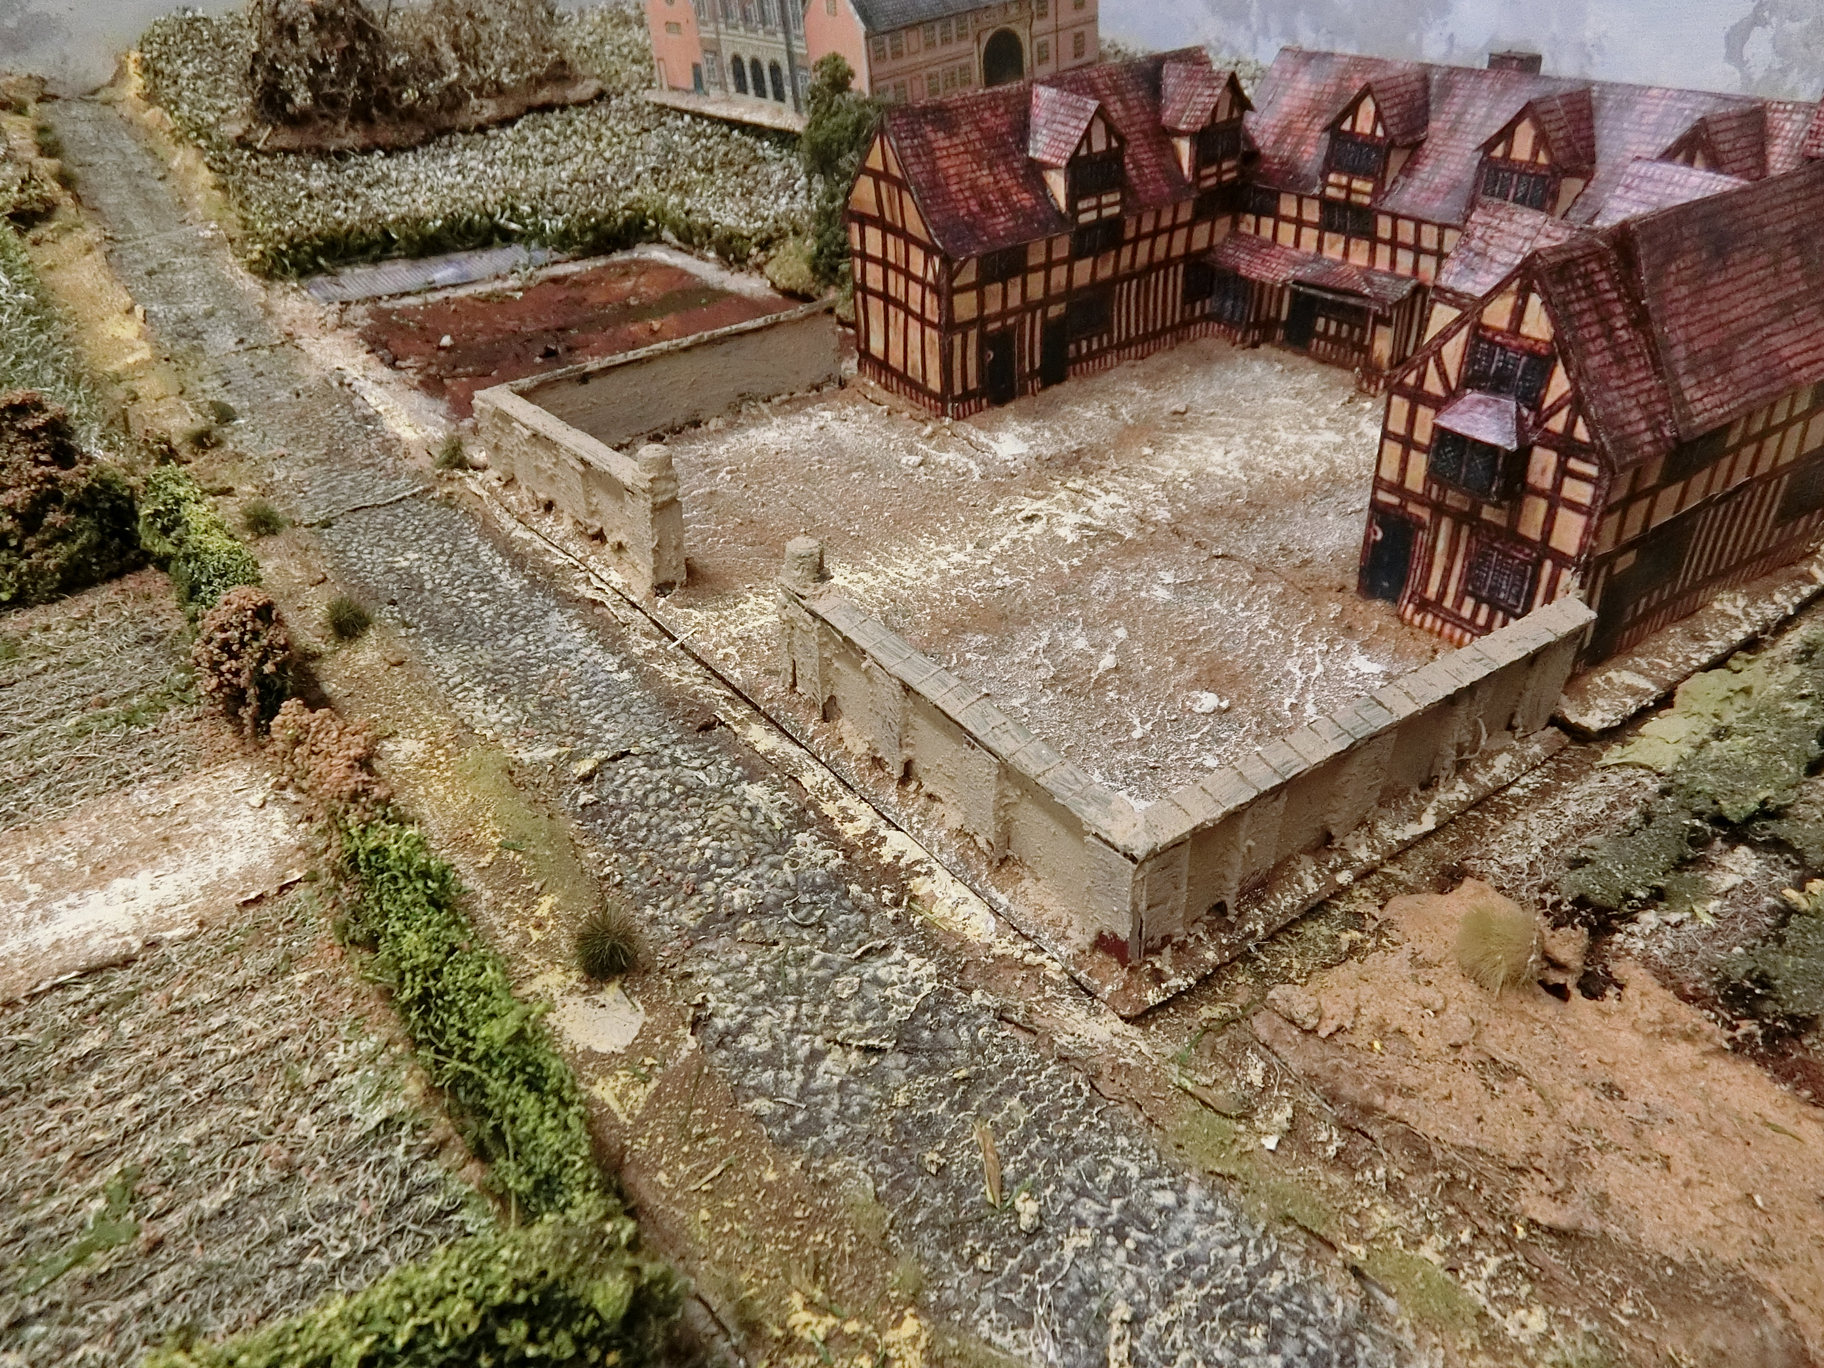
| Tudor Althorp Manor finished and now I was working on the base and entrance courtyard. It will be portable and reusable. I had to use ingenuity to get coherent shapes and sizes from my printed pages, but "converting" in card models, just with scissors, is easy. I usually give quite a bit of weathering to my card models to avoid them looking too stark. I wanted this Althorp to look 200 years old by 1745. |
 |
| Finished in situ. In the distance the Stables are ready to be placed in the prepared footprint |
 |
| Like this. I took liberties with the detail and where the entrances are; I was really trying to convey the character but much reduced in size, while still being useful for play. This building was practically new in 1745, and so little weathering. Guy decided he wanted a garrison of 200, made up of the 100 stable boys I was told it was built to house, plus another 100 from servants and grooms etc accompanying the Duke of Cumberland's and Earl Spencer's households staying over Christmas. This made a unit of about 20 figures. |
Below: Various views of my interpretation of that part of Harleston village we needed on our table
These cottages and barns were fun to make as I printed several copies of the basic sheet and "kit-bashed" to get the shapes I wanted to fit the table footprint I had allowed. The thatched roofs were just made with plaster, sawdust, PVA and paint and roughly scored and shaped as they dried. They are probably a good match for 12mm figures one-to-one. But we were to use 28mm figures at approximately 1:10 or 1:15.
 |
The deliberately small Church is intended for 25mm figures and is from a delightful basic village set designed about 15 years ago by Brian Collins, a highly talented Cheltenham graphic artist and painter.
Wicker plastic fencing from Renendra. |
 |
| I've added a churchyard full of gravestones and crosses. This is the plastic set by Renendra available widely on the internet (25/28mm) |
You can get downloadable versions for yourself of the card sheets I used by going through the "18th Century Historical" link to Althorp in the right hand "Downloads" sidebar, or use this quick link-
card models for Althorp buildings. Just a thought - card models are mostly biodegradable; unlike plastic or resin or 3D printed models they will eventually degrade and leave little damage to the planet or clog up landfill. That matters to me but each wargamer to his own conscience.......
 |
Here is the "hunting lodge" - just a cottage with a small footprint
I had in my box already |
Althorp Terrain - The Groundwork
Buildings give any game its main character which is why I put them first, but I'm way ahead of myself as the first thing I actually had to do once "Waterloo" was cleared off was tone down June and make it December. The first part of that was getting a wide brush and various watered down acrylics in browns and creams and brushing any of the fields which appeared too bright (most of them!) to give them a dullness which was pleasing without being too uniform or boring. Here it is:
The second stage once dry was to switch to a similar wide brush, but this time dry brushing with various off-whites and creams. The aim was to give a cool look as when, in Winter, we look across frosty fields and see a haze of white tops. On sunny days this soon melts away, but on cold, cloudy days it can stay all day. Since we were doing mid-Winter that seemed appropriate to me. However, I still wanted to use this battlefield another time and expected to recolour it. I did not want to do that to the roads so I did not white-dry-brush them.
 |
| Above and Below: Dry brushing with an off-white mix |
 |
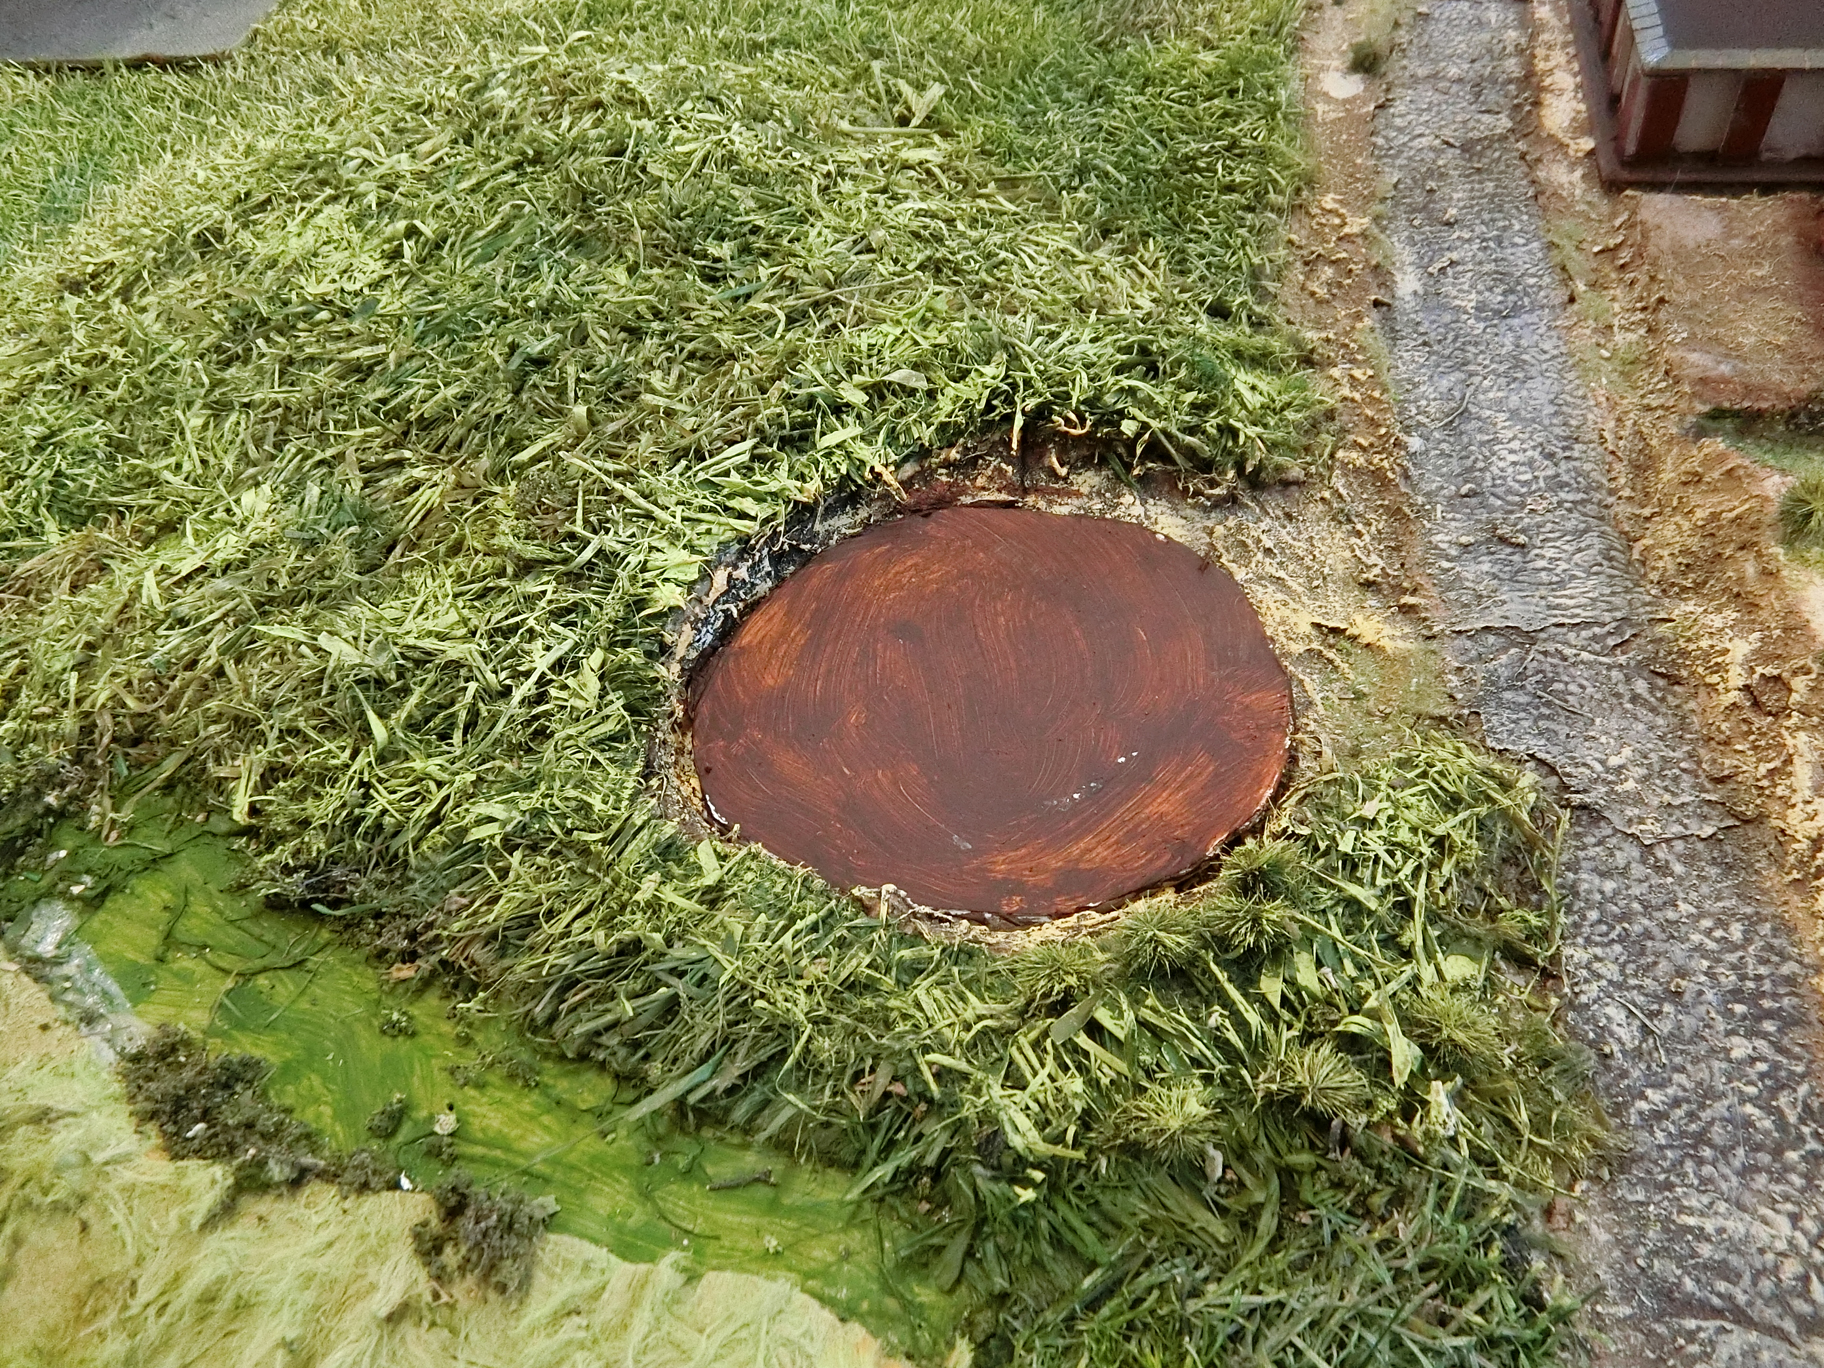
| I fixed in place some hardboard bases to mark the Harleston Built Up Areas (BUAs) and the big village pond, and the smaller pond by the Manor (which I put in the former La Haye Sainte sandpit) |
 |
| The pond bases were done early before any recolouring |
The Icy Ponds
Many of you will have seen the fun I've had with rivers, streams and ponds on my previous terrain blog posts, and I'm secretly hoping you'll be thinking "he's experienced at this so I'll learn how to do it properly." Nothing could be farther from the truth as I've never done any "sculpted terrain" frozen water before (I'm not counting the lakeside at a frozen Fort William Henry on my sand table in about 2011). So I was making it up as I went along, all the while keeping part of my brain as landscape artist and recalling those dark wintry ponds seen on my walks. The basic mid brown (with PVA in it to give a certain waterproofing) seen above was to serve me as a solid surface on which to build. But first I wanted to set the ponds in their landscape so did not resume till I'd got the fields recoloured, the sandy banks rendered with "gunge" and sawdust, and the winter trees in place. (The trees I did for the Brampton Jacobite game in Spring 2021
see here)

Above and Below: I was satisfied that the variable browns on the base gave some variety and did not need more paint at this stage, so I stuck various sizes of tufts to look natural around the edges and growing out of the water.
A bit of smearing at the edges happened by chance as I tried to clear off excess powder from the "muddy" banks. As my old art master, Eric Ford, used to say "turn your mistakes to advantage" (when creating art). This is just 3D art so let's be free and imaginative to get a good result. I thought it looked OK - ponds getting shallower at the edge
Now it was time to try to give some glazing and watery look. You could just use many coats of gloss varnish but at this stage I went for a large dollop of PVA as I wanted the weight of the viscous liquid to penetrate round the reedy tufts, aided by my brush where necessary. It dries clear but I wanted to add a bit of Winter "magic" so judiciously mixed in a little blue acrylic paint. It was an experiment.
Completely coated and would take about a day to dry properly
 |
Gradually being absorbed and I could see that it was staining the painted
hardboard darker - ideal! |
This was looking better than I expected. A murky dead pond, apparently devoid of life
Some coats of Acrylic Gloss Varnish would make these perfectly acceptable winter ponds for a dry terrain but I wanted ice. Moreover, I wanted to be able to reuse the ponds for more normal games so the ice could not be permanent. I acquired a small quantity of
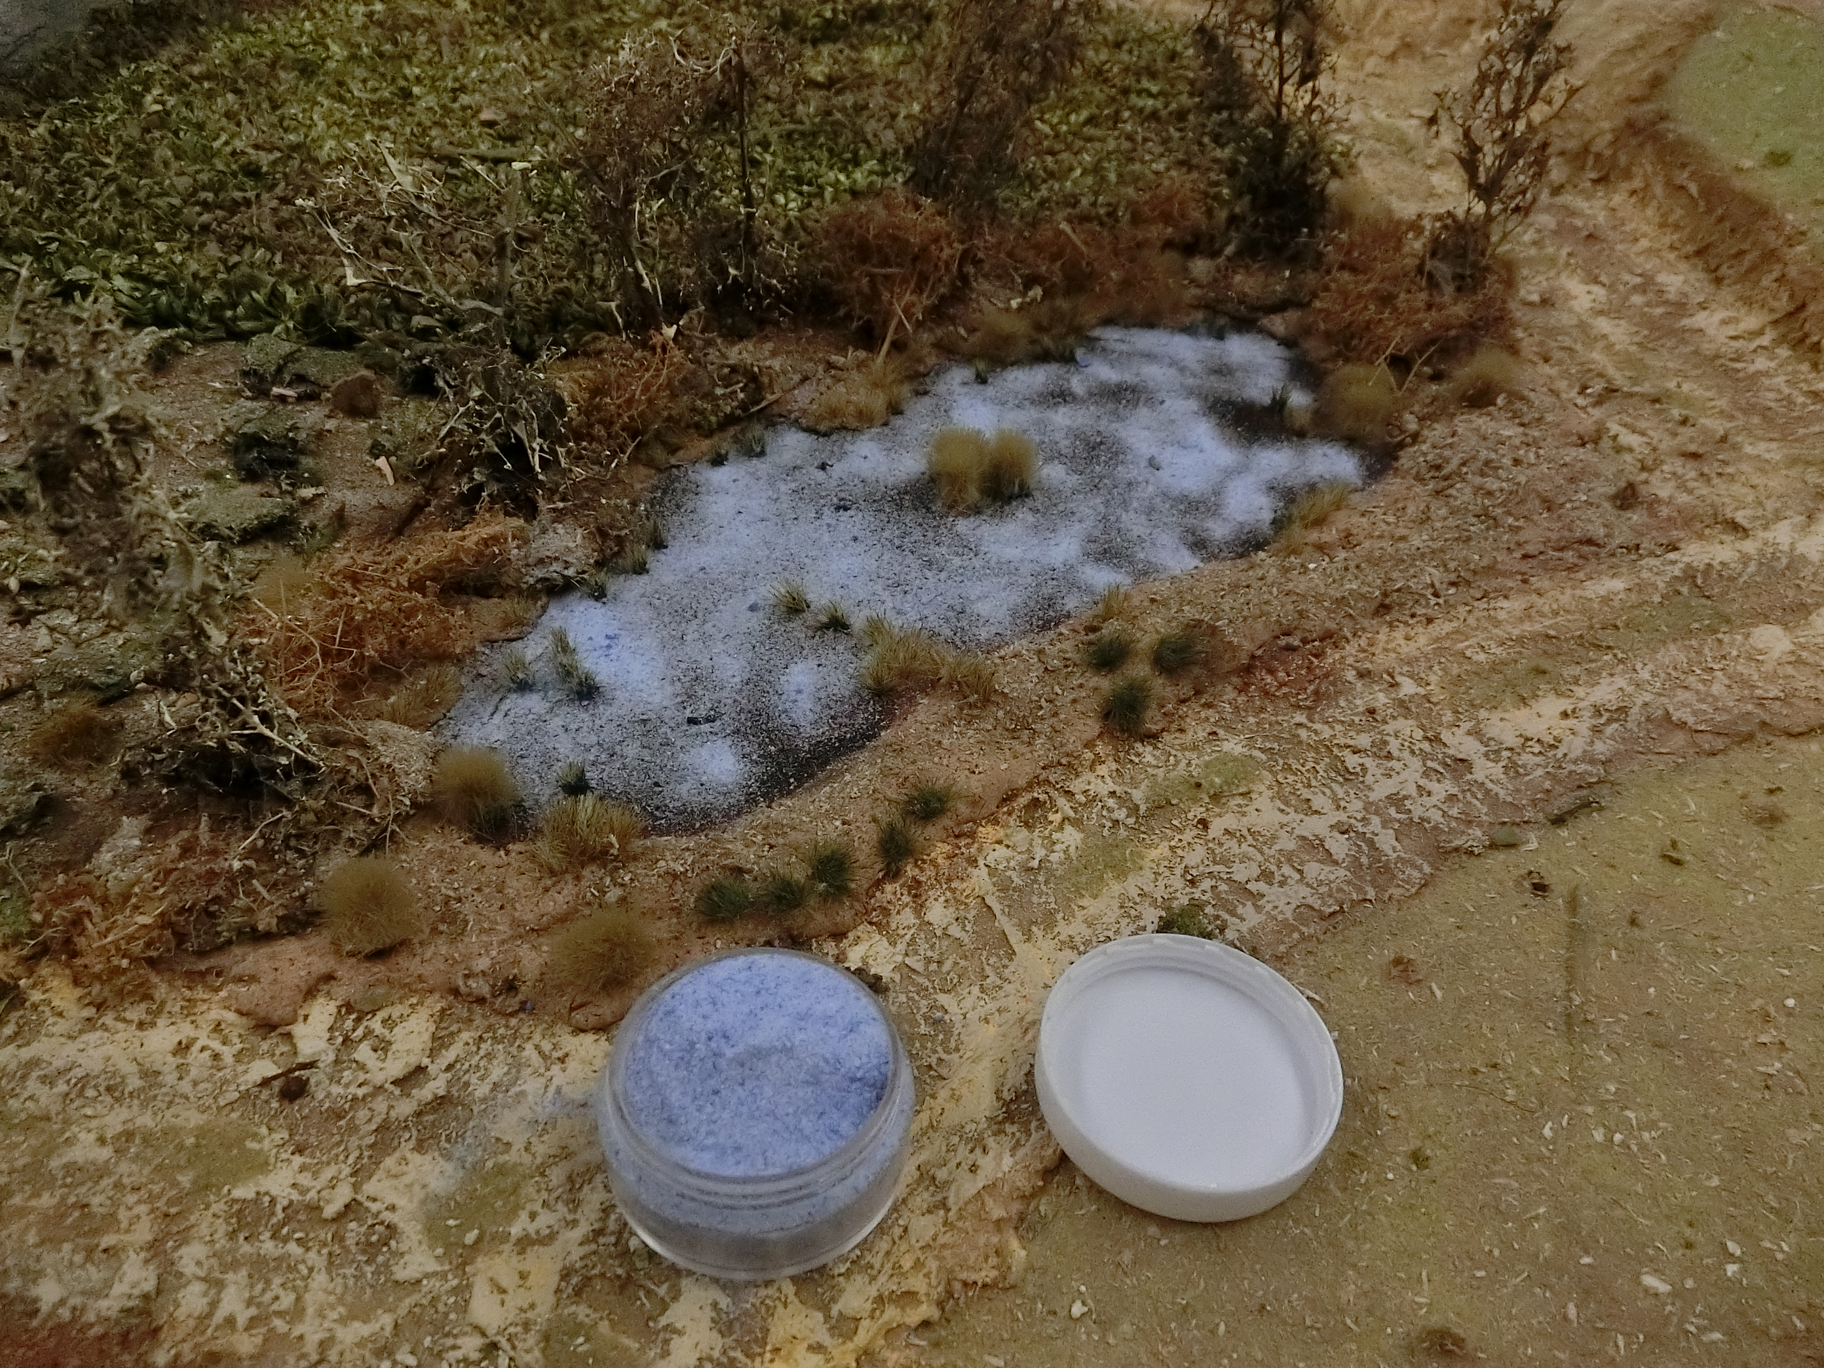
candy art studio ice weathering powder and sprinkled this in an irregular way over my (dry) pond surface. I blew it a little to spread it more evenly. And I was happy with that till I would apply the "snow".
 |
| You can see it has a blue tinge in the jar, which is ideal for that cold feel |
The rest
I had to put a formal garden in front of the manor but I needed to keep it simple for winter. No historic template for the 1745 garden was available which freed me to just give a usable impression. I delved into my stock of preloved home-made terrain and had lots more kitchen garden plots (originally from Hougoumont in 2015), made from carpet offcuts. I covered the joins to make a kind of gridded pathway (ignoring the conjectured design I had put in my map in March). this was from a roll of canvas type wall covering picked up in a DIY store sale many years ago.
Then coloured and freshened up with paint and some conventional hedge pieces glued as a boundary.
But those bright green cheerful hedgerows needed a totally different look for Winter. So I got out the Hob-e-Tac glue, which is ideal for flexible foliage, and coated the upper surfaces to receive a liberal dose of a brown scatter mix to represent either winter leaves or just a mass of bare twigs.
You can see the brown at the lower end of the hedge above, and edging the garden plots by the village templates below (now given a basic sandy topping).
 |
| So at this stage I was very pleased but looking forward to the final effect - a bit like varnishing a painting - scattering the snow powders. |
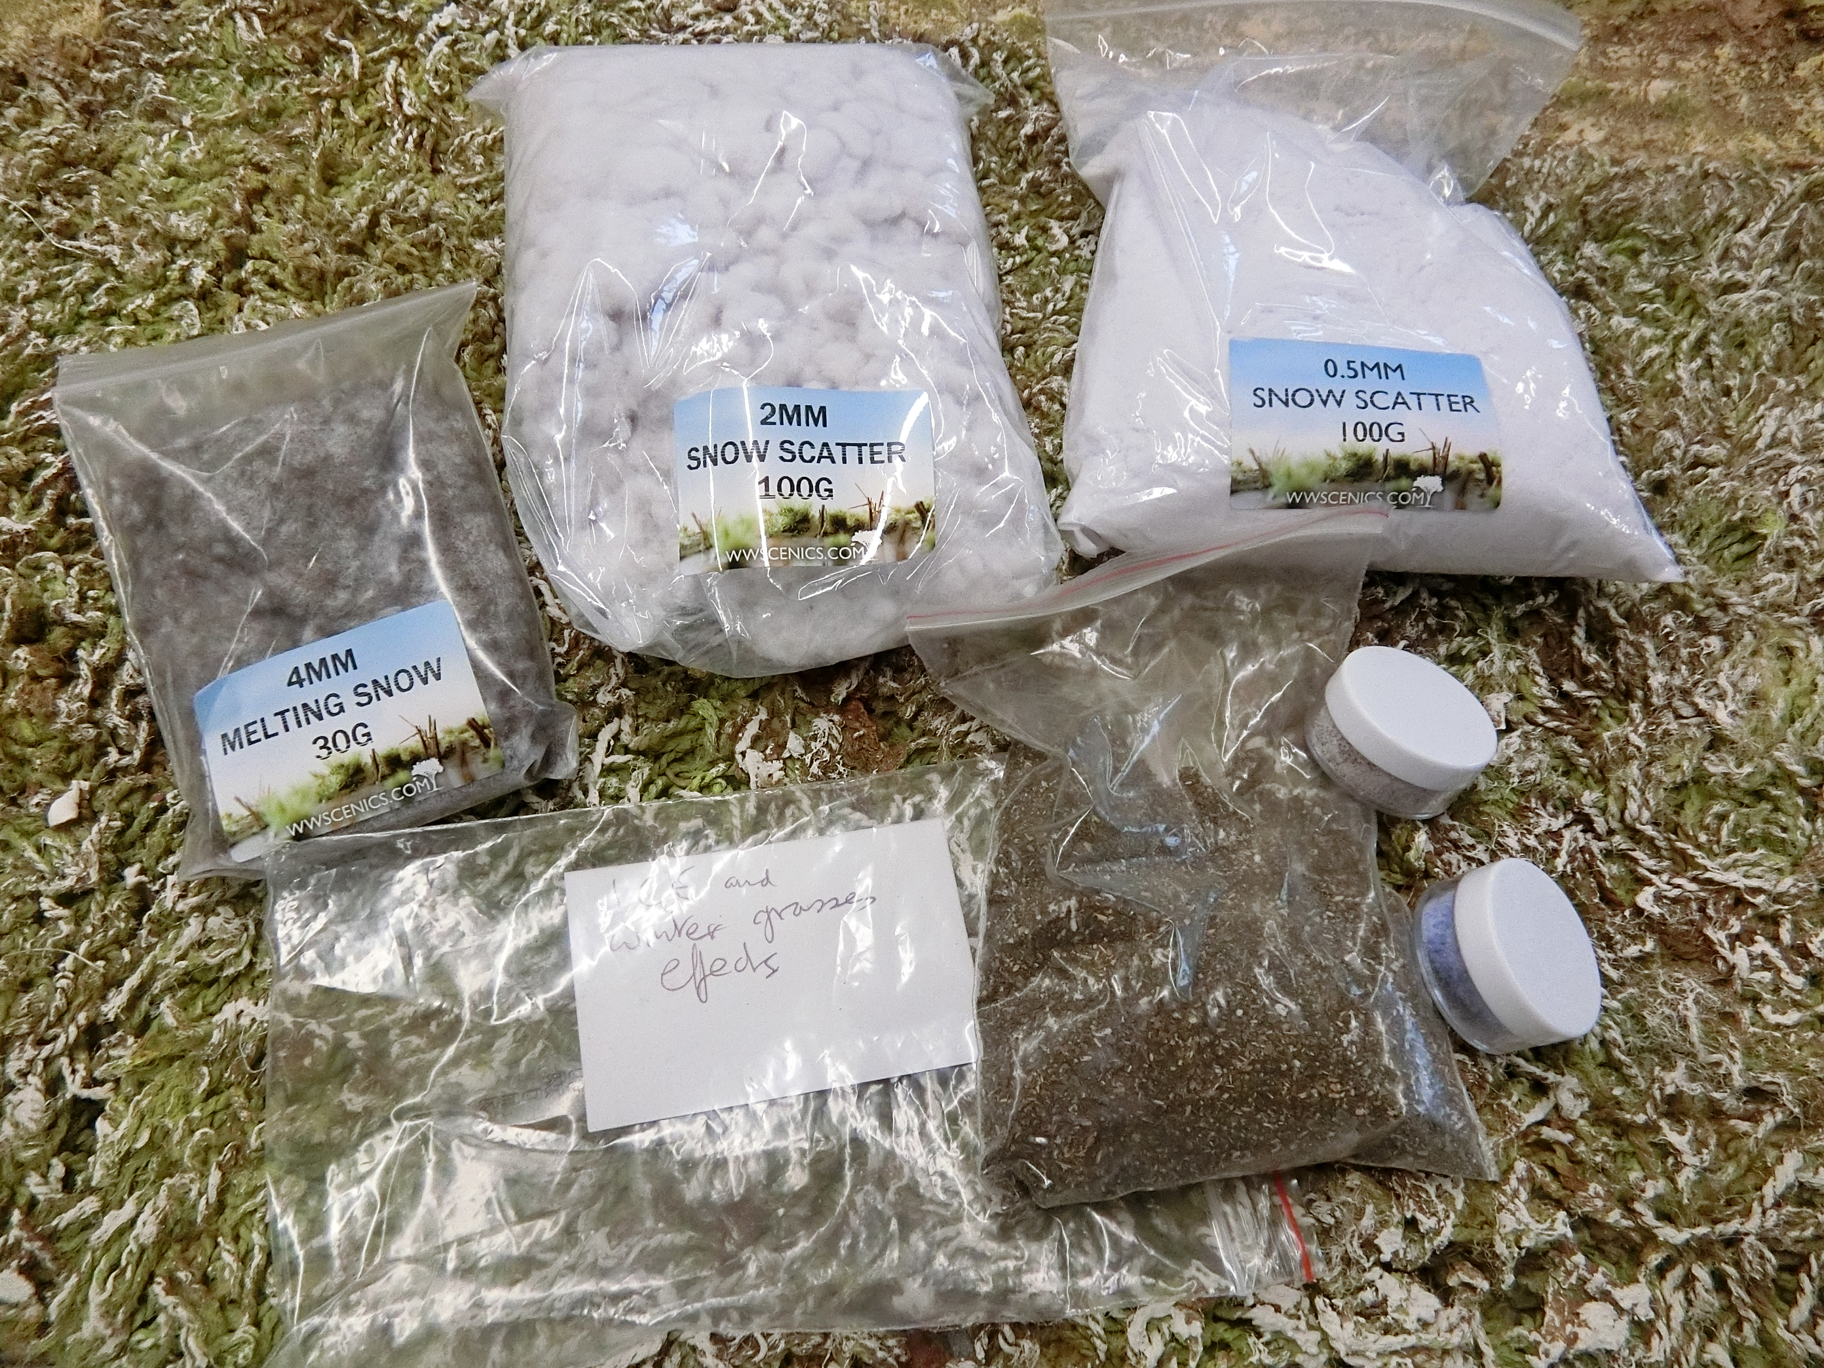
So you can see what I used in the above photos. For certain areas I preferred to sieve it to get fine powder and over large areas scatter freehand from the bag. I was aiming to give a melting and drifting effect - a cold feel without the need to hinder movement in the game. And I wanted to recover it all after the game, so no wet glue or paint. Here is where I went for my supplies - other companies are available of course.
wwscenics snow effectsReady for the armies
So all that remains is to give you a tour of the finished battlefield at the crack of dawn 26th December 1745.
 |
| Althorp Manor and Stables |
 |
Harleston Village.
The ponds fitted in much better once the snow was scattered around to blend in the icy effect |
 |
| View of the manor from the northern higher ground |
 |
| View of Harleston from the Jacobite southern approach |
 |
| The Hunting Lodge. Occupied on Christmas night by Ferdinand Duke of Brunswick and his staff, diplomatic guest of the Duke of Cumberland |
 |
| Just for fun, and so you can judge the effect with 28mm figures - some of my RSM Hanoverians set out from their quarters |
 |
| Above and below: Shots from the area of the Hunting Lodge have alerted the servants and grooms. Panic stations to evacuate Earl Spencer's vintage French wine collection and to dismantle the Headquarters camp so the troops can deploy to face the Scots . |
 |
| A few teaser photos: Ken, Guy and Richard fully occupied on Day One; Jacobites surge on Althorp Manor and Stables. Government resistance in front of Harleston village |
I hope you may have found that useful or entertaining. The next part will feature Guy's narrative of the actual wargame and give links to downloads of all the background documents .....oh.. and dozens more photos!