Showing posts with label Minden Miniatures. Show all posts

Monday, 12 December 2022

Battle of Althorp - 26th December 1745: Part Three - Boxing Day Desserts

 I hope you have enjoyed this short series so far. If you need a reminder of this, the biggest battle in Guy's "what-if" Jacobite Rebellion, the previous part is here.

(As before - main text by Guy Barlow, explanations in picture captions, and helpful asides in italics (!), by me)

Day Two

The first five moves  on this mid -Winter "Boxing Day" had taken us from 8am to mid morning, but with 1200 figures for the two players and their "umpire-assistants" to deal with it had taken us all of the first day 's play to get that far. "Bonnie Prince Charlie" for that Day One was Ken Marshall who could not manage a whole weekend this time.  So Steve Johnson came up from South of Bristol for the day and picked up the Young Pretender's "Crown". 

At this point the Scots/French force, though it had suffered a lot, was gaining momentum and merely lacked overwhelming strength in any one sector.  Richard/Duke of Cumberland was defending well but his line was shrinking. Guy and I had to figure out what to do about the reserve brigades we had lined up for each side. With Steve/Prince Charlie obviously wanting a good game I was in favour of bringing the French reserves on very quickly so he would have the confidence to attack. To balance this I proposed that Cumberland receive a message telling him his reserves had been delayed and suggesting that he save the army by an orderly withdrawal. Knowing Richard of old I guessed he'd make a professional, well controlled and 18th century style attempt at this while being heavily pressed.

Guy had other ideas though, and he wanted to prevent an outright victory for either side in order that his campaign could continue on to his desired dénouement somewhere nearer London. So Guy wrote two hand written messages (see them here) which we gave to the respective commanders, who obviously had no idea of our actual deliberations. Neither did I really, as Guy kept his "neutral" intention close to his chest and trusted in the players' interpretation of his solicitor-speak letters and the fate of the dice! He knew neither side would get reinforced today!

CG

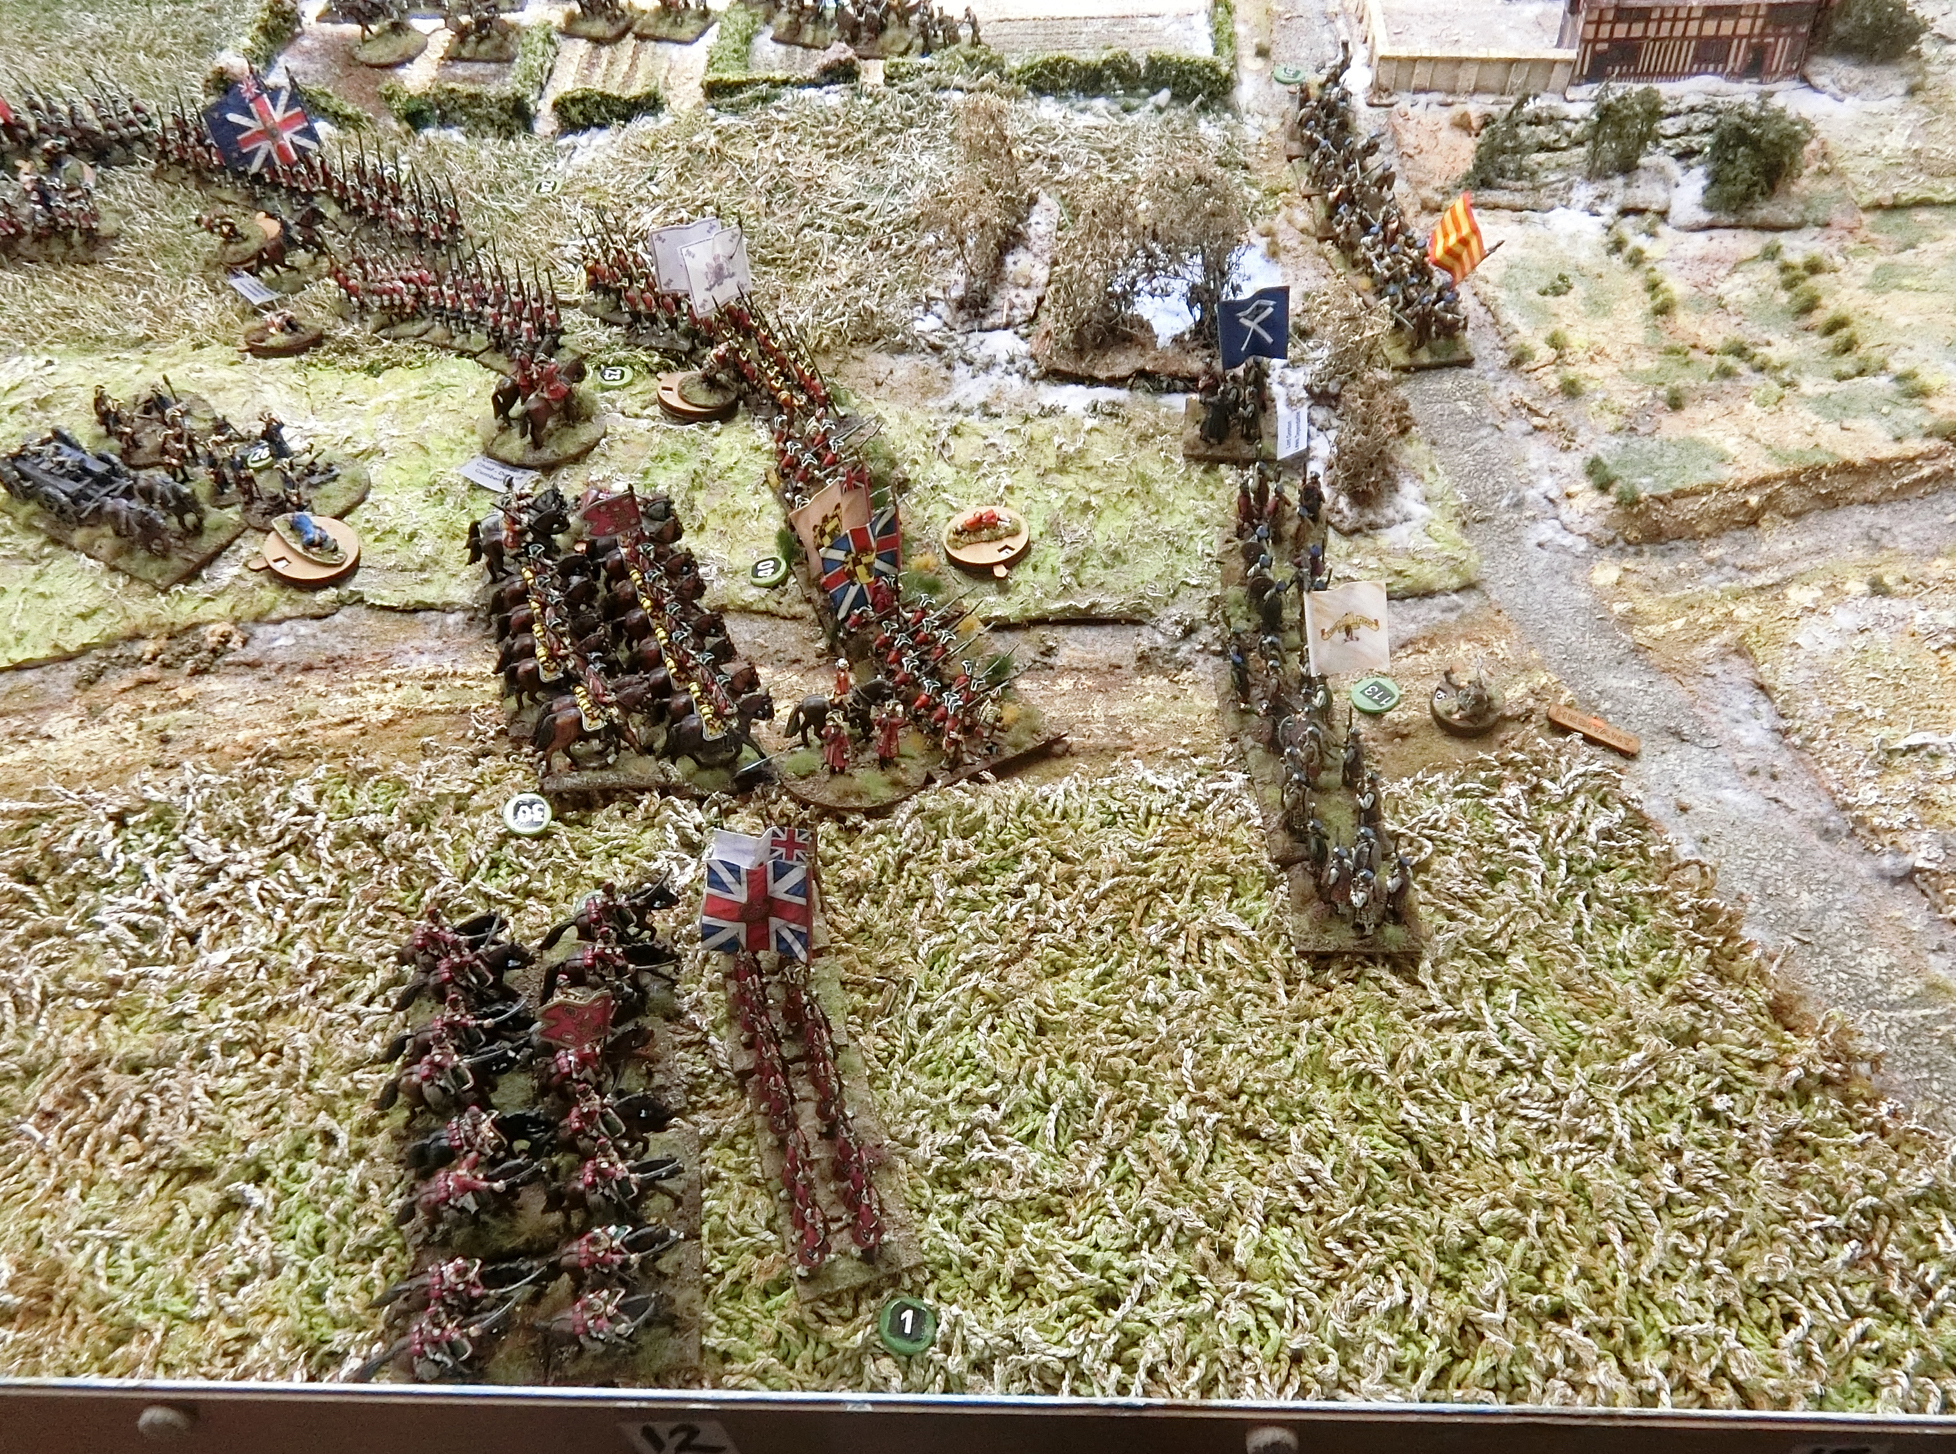
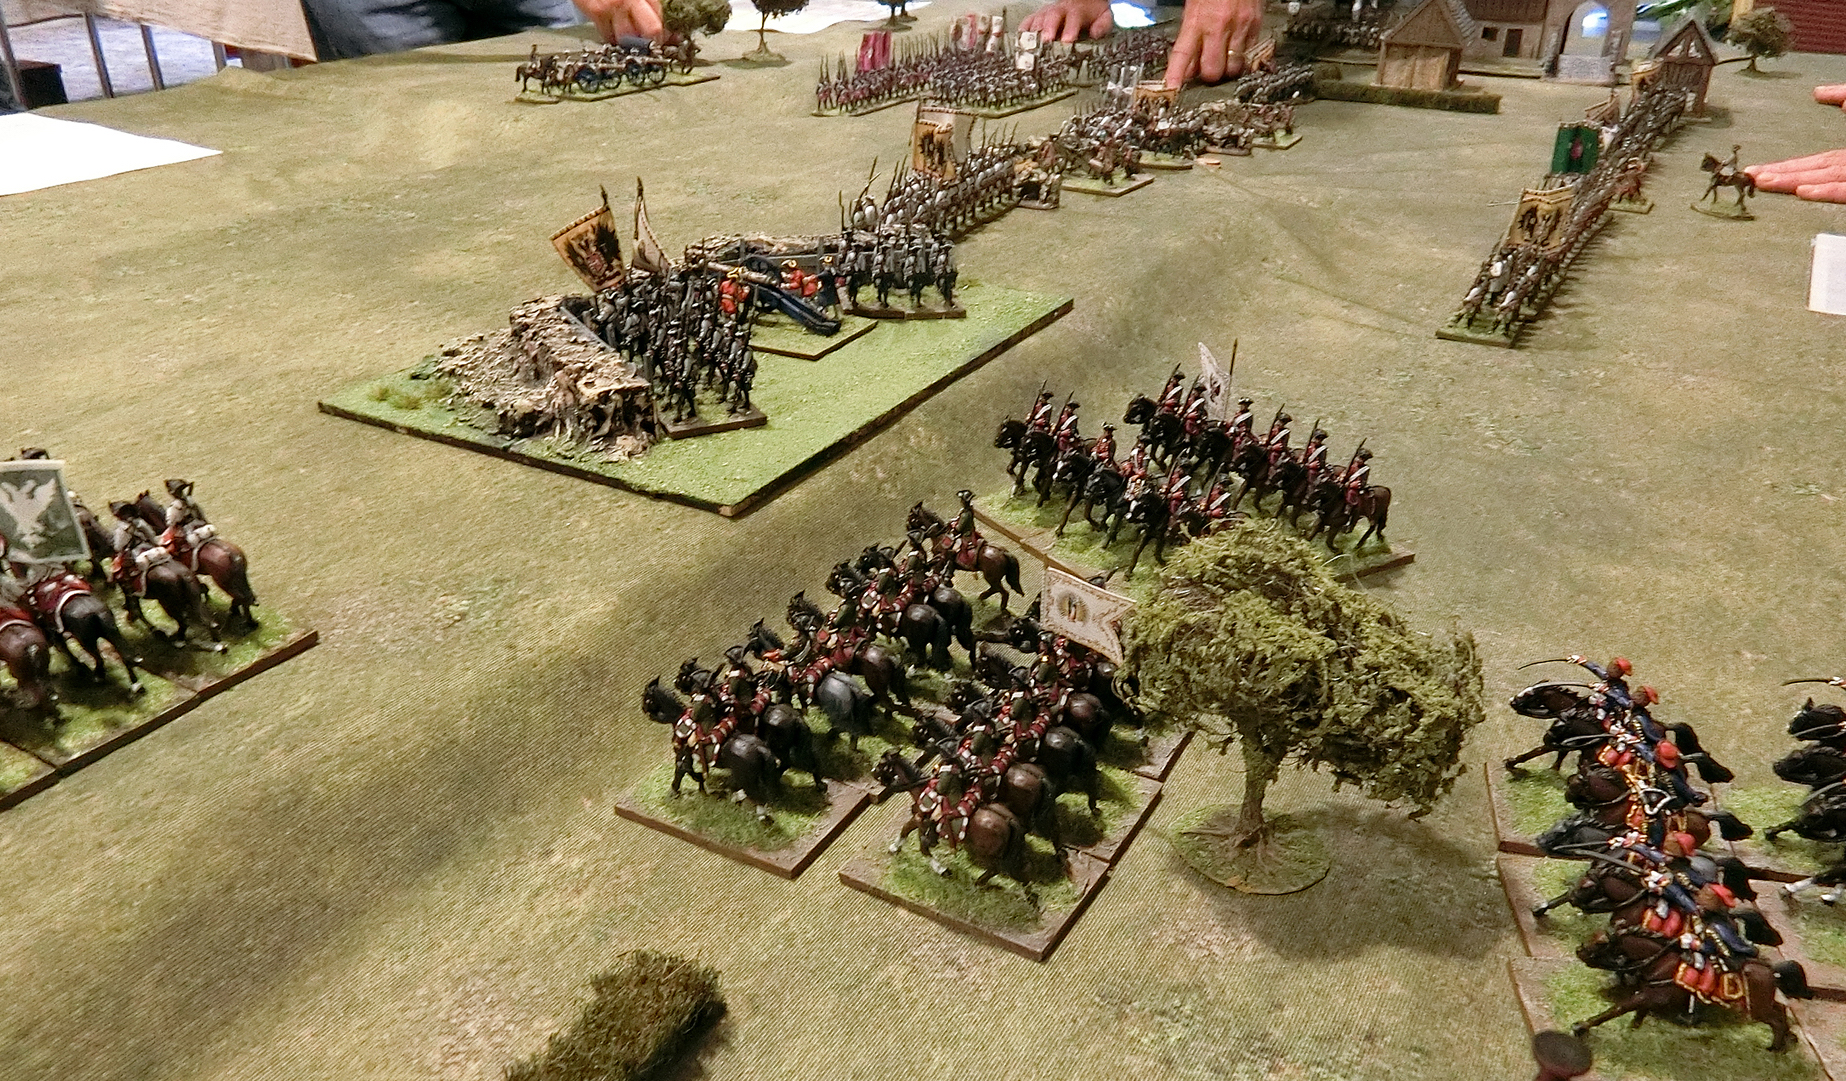
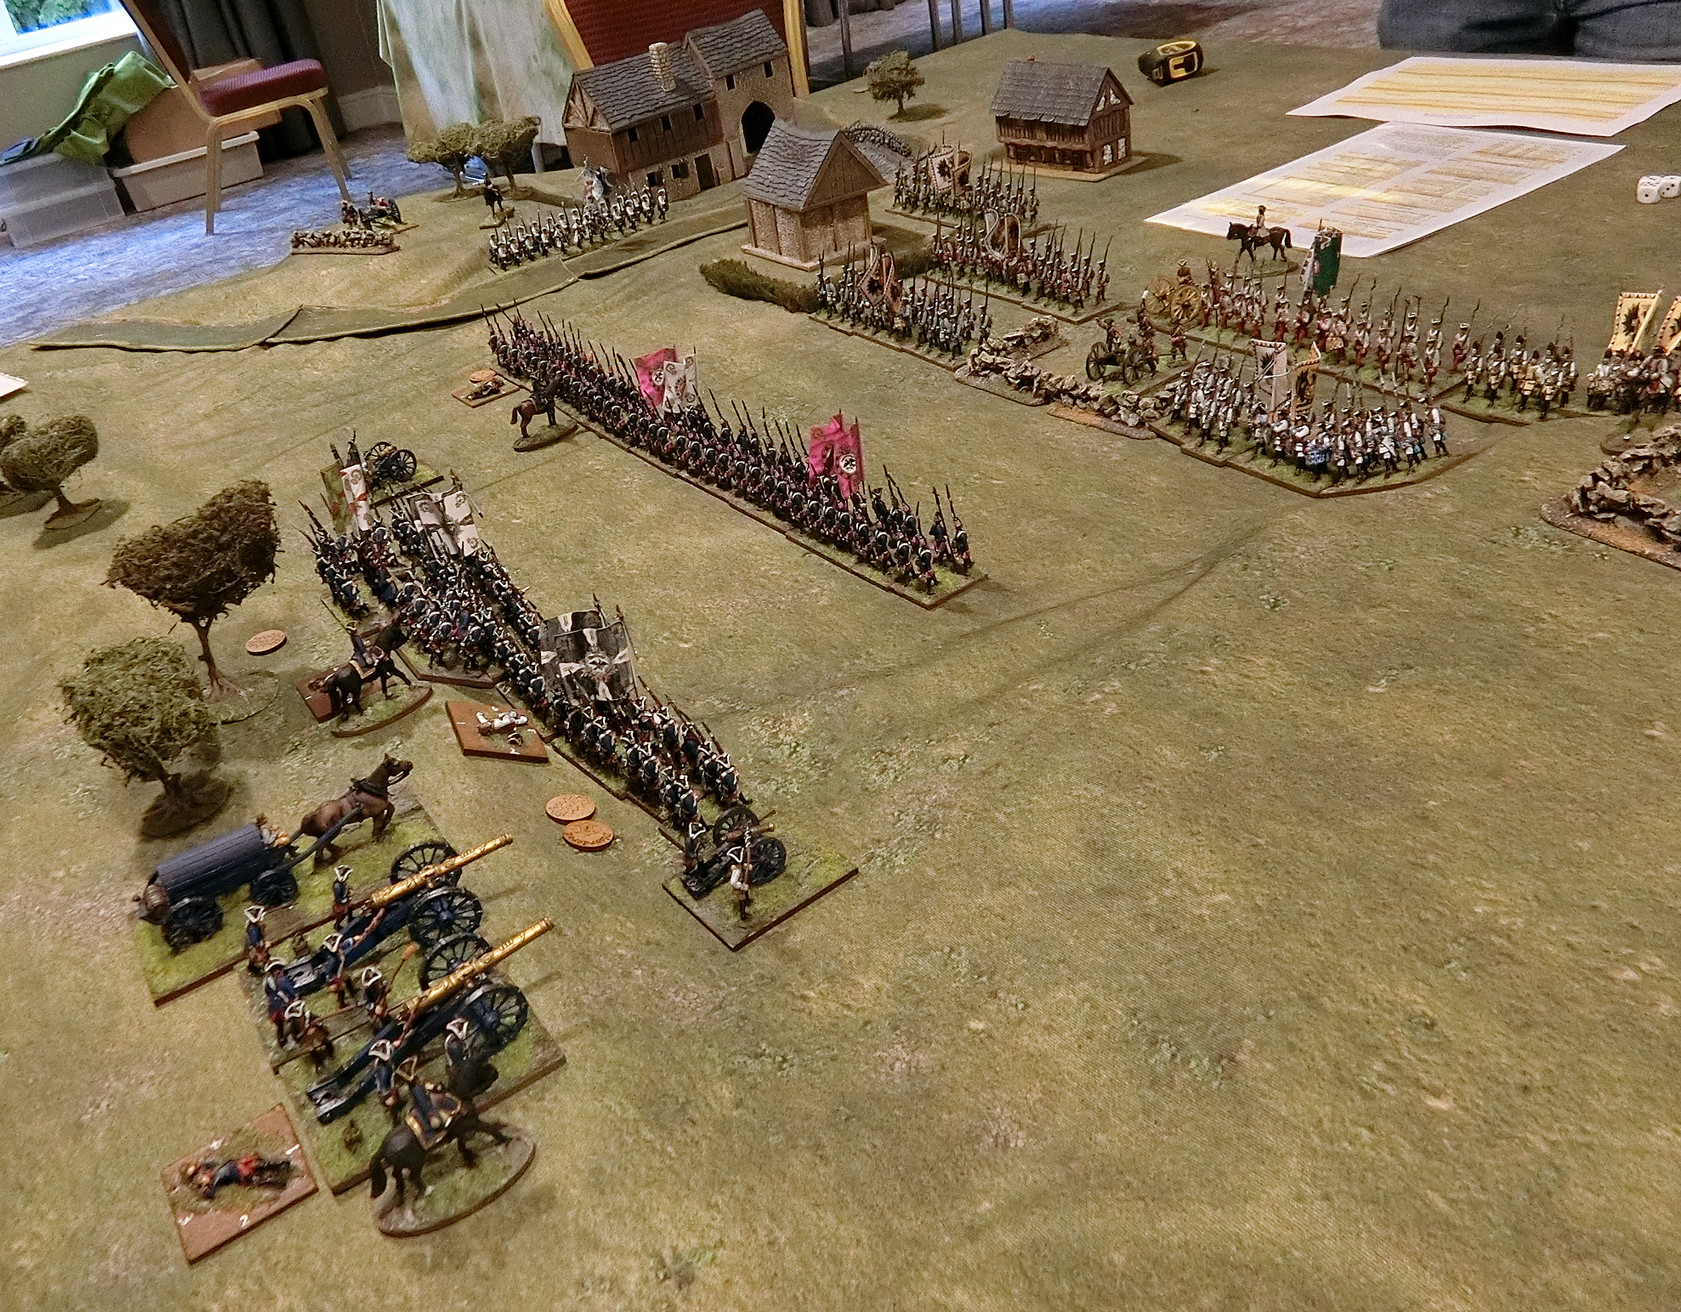
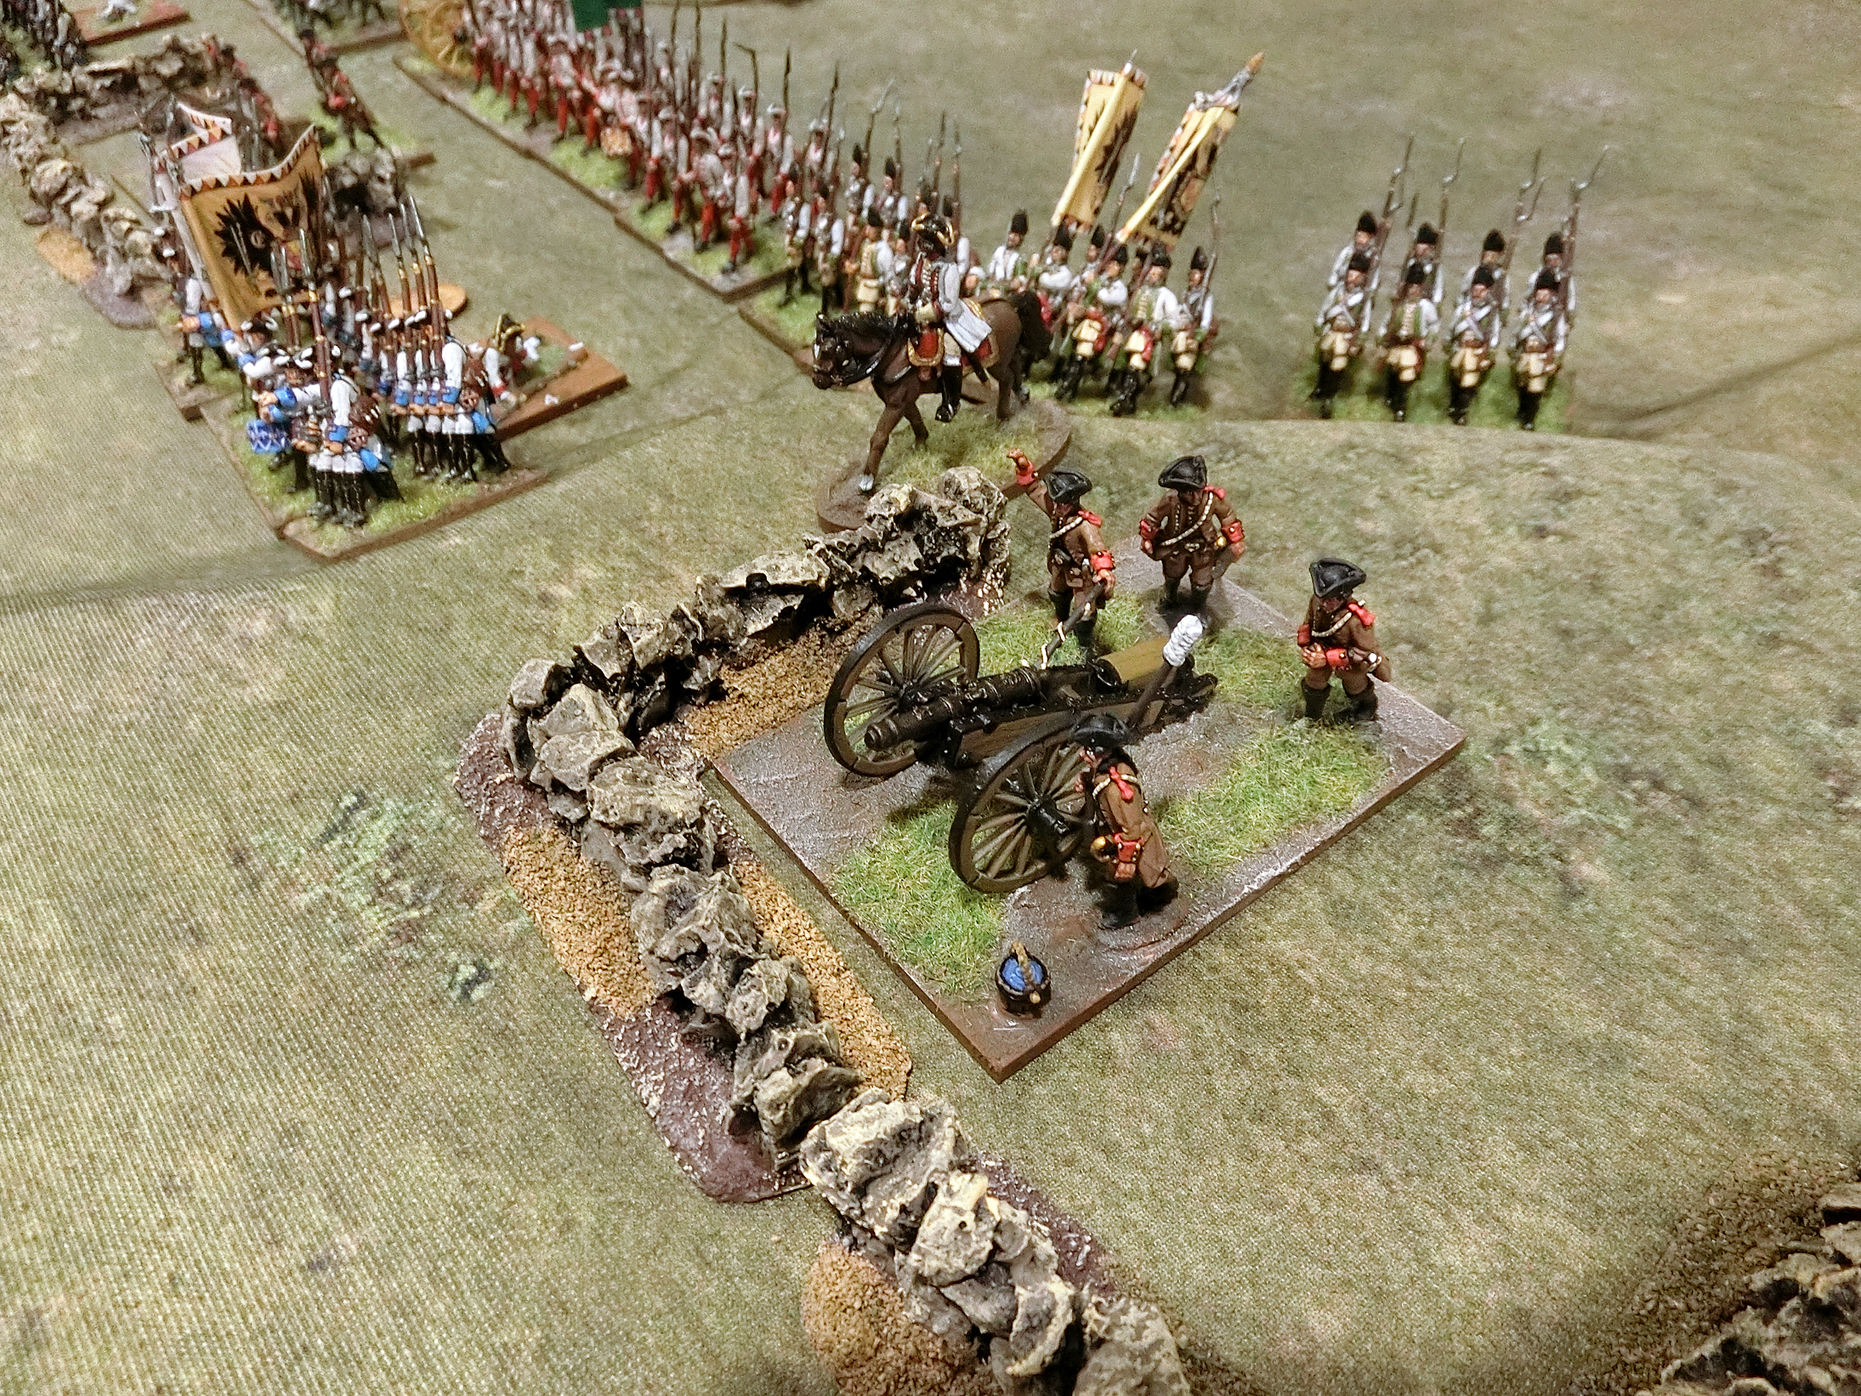
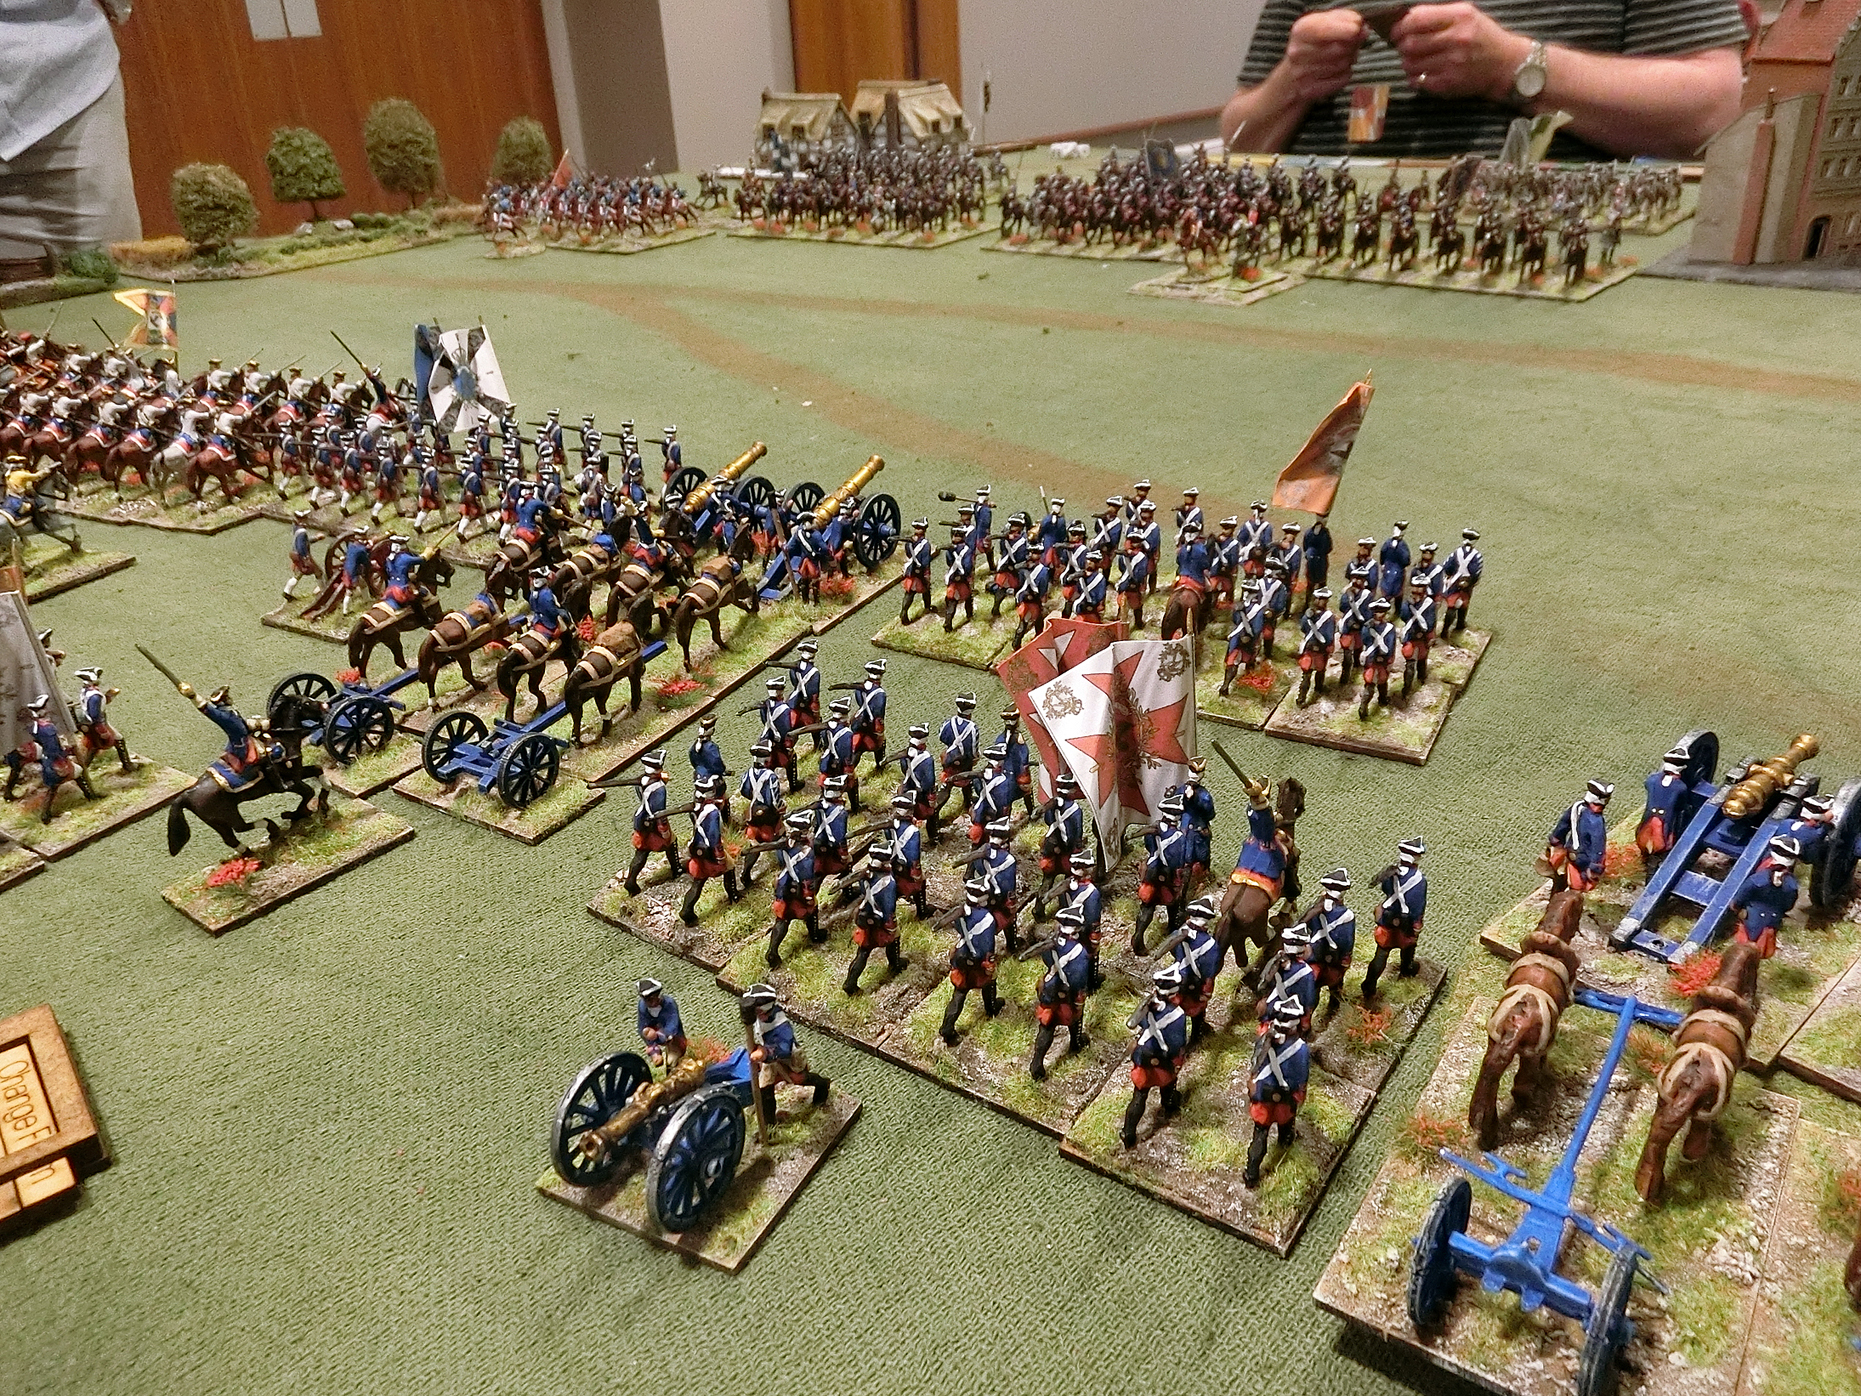
View near the start of Day Two, a detailed tour in the photos below
No matter how "serious" the game it seems to be laughter all the way when Steve's at my table!

The government left flank cavalry had either died, fled or were just retreating disconsolately. The villagers of Harleston were now the last bastion holding the flank!

The line of regular troops ended at Harleston Church with a worn Grenadier battalion

Reforming government units form the second line near Duke Ferdinand of Brunswick's left-central position

On the other side of the frozen village pond some Highlanders are eager to return to the fray, but behind them other battered clans are collecting muskets and reforming. In the distance small cavalry units are using the sunken lane to shelter from artillery fire while the two French line cavalry regiments are brought up. At this point they face a very thin-looking British defence
At the government right-centre the "Advance Guard" which had come on as reserve and moved towards Althorp Manor, has been withdrawn to form a second line and hold the flank. In the Manor Garden the mortar battery is under attack
At the extreme right flank it actually felt a bit precarious for Cumberland. The exultant mix of Highland and Lowland clansmen were looking for opportunities to pick off weakened and isolated government units. The Scots 43rd Foot are in the foreground as the government right flank holders

On with the narrative by Guy:

Turn 6

<<We were then moving towards the climax of the battle. Despite winning the initiative, the French commander allowed the government forces to move first. This was unforeseen and led to much rather rude Gaelic mutterings from the flanks (by CG as assistant!). The government forces had received orders that their overriding mission was not to imperil the army or allow it to be defeated. Further, a message had arrived saying that the government reinforcements had sighted and were shadowing the French reinforcements and both sides were unlikely to see fresh troops.


The Government forces therefore started a modest withdrawal to strengthen and consolidate their lines. The shortened frontage only made the task of the Jacobites harder. Meanwhile, the Jacobites pressed on by attacking the mortar battery, but in a true Samson v. Goliath moment the plucky British gunners picked up their muskets and somehow survived to be able to withdraw and reform. 


There was further ongoing considerable attrition in the Franco/Jacobites ranks. In the West, inferior lowland units tangled with the 1st Foot Guards in the gardens and exchanged volleys, with the inevitable result. More French units were lost in the centre from ongoing artillery attrition.  The result was that gaps started to appear in the French lines which had to be plugged by reserve infantry and some small Scots and French cavalry units . 


In the centre the Grenadiers de France break under canister fire from two light batteries

Steve's allowing his opponent the initiative meant Richard had the chance to bolster up that weak point  opposite the French cavalry......

......who would soon be taking casualties from long range artillery fire

At Harleston the one remaining government cavalry regiment heads towards the centre to find more fruitful cavalry ground 

Each government brigade had a battery of light guns. Combining with the threat of musketry volleys it meant that nowhere in the central area was safe for the French to attack


By the Hunting Lodge woods a German mercenary battalion was the next unit to break from long range attrition


On the government right flank, however,  the loss of units and the need to contract was causing a bit of confusion. Cumberland in person is organising the line and he has no units spare here to back up the Guards and Grenadier brigade which is suffering a Scots charge. The mortar battery has retreated safely with 4 Hits and is saluted by the nearby generals for blunting the Scots advance.

View from the French - it looks like their opponents are in a bit of a mess - if only they were nearer!
 Note the Lowland unit with yellow saltire flag is engaging a Guards battalion at the corner of Cumberland's line.......


.....but they were easily pushed back by the elite infantry

French casualties from an earlier hour are being recovered from under the influence of the French Commander in Chief

Reformed Highland clans on the Jacobite right now return to the scene of action. The villagers of 
 Harleston await the onslaught with trepidation 

This arial view shows the reforming government line very well.
Beyond Harleston church, fields and woods Richard has created an L-shaped
 killing ground in anticipation of multiple French and Scots mounted units trying
 to break his line there

Above and below: The rather sad state now of the whole French central line. All the brigades have suffered units lost and none feel strong enough to advance across that open ground into artillery and musket fire. A couple of double moves on Command Initiative dice would be good! Even so the French guns have forced back one of the redcoat battalions to their front.

Turns 7 -8


Artillery continued to fire along the lines with the government guns rather more effective than the inferior Jacobite ones. At the NW corner of the battlefield there was a last highland charge against the 43rd Foot (an inferior regiment here today and subsequently became the Black Watch). The 43rd were supported by 2 units which allowed them to send the highlanders back, although they also had to retire. A fresh British unit filled the line. 


A Highland clan attacks the good folk defending Harleston who held the hairy Scots at bay for one round of melee but went down on the second. This was still enough to put the Highlanders going back to reform on 4 Hits


On the other extreme flank a similar Jacobite charge went in against the loyal Scots 43rd Foot.....

.....however this wider view shows that a mixture of setbacks, reforming and close terrain had inhibited Steve's ability to get enough troops up the ridge quickly. That icy pond was a nuisance.

This clan under the Earl of Cromartie was broken, and so too was the 43rd. But the government line had plenty of reinforcements at this end

Richard doesn't look very happy, but in fact by late morning
on this Boxing Day the battle was turning in his favour

Slow but steady losses from the Jacobite guns was reducing units on the
government left so the line could  no longer reach beyond the church and
still retain that "killing ground" angle. Opposite, the French cavalry are
 hopeful of an opening

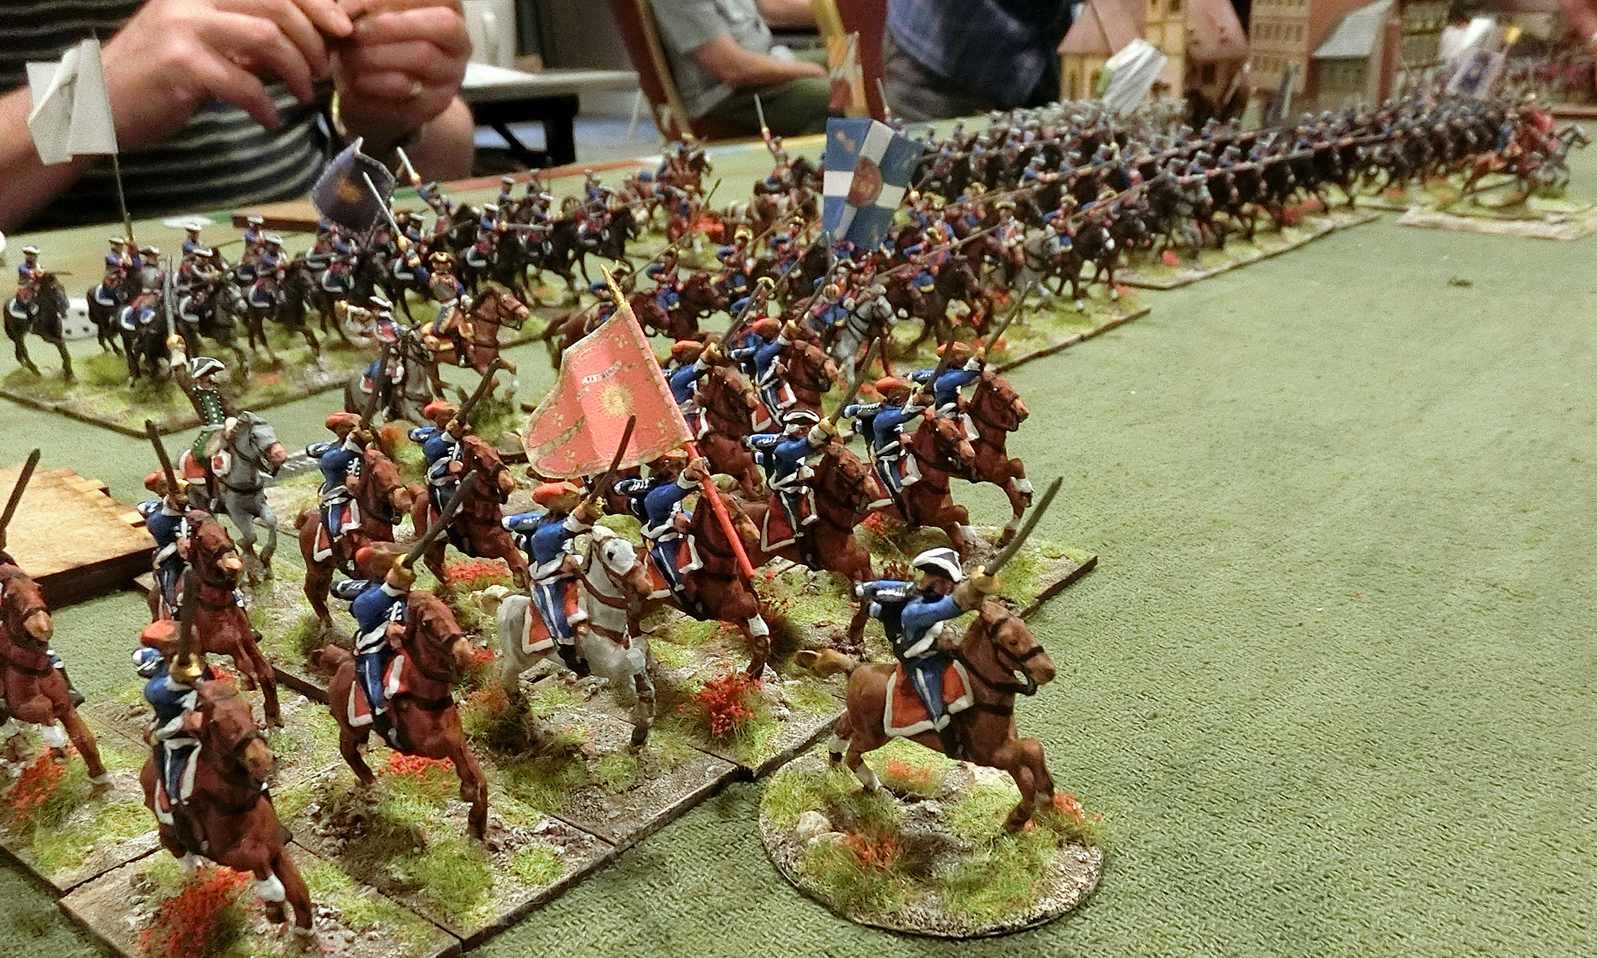
View from the French cavalry's position, where the front unit has already sustained 3 Hits.........

.....with de Saxe Lancers by their side and Baggot's Hussars and the Princes Lifeguard waiting to give support; meanwhile the Scots guns pound away wherever there is a gap

Near the centre the French are once again on the advance, trying to support the faster moving Scots

Le Duc de Grammont backs up the advance bringing forward his reformed battalions

Above and below: the advance from the Hunting Lodge of the Foreign Service brigade under the Marquis de Souvre  constantly met a wall of British fire. Now Lally's Irish regiment falls victim to it

The French Guard Brigade had not been able to make any progress, maybe now there was a gap for them?

Turns 9 - 10


In the rest of the line, the government commander continued to hold his position and the Franco/Jacobite force after a modest advance against the village of Harleston to eject some troublesome yokels armed mostly with scythes, came to the conclusion that victory was not going to be achieved that day. 


All, however, was not lost. The Jacobite army was still between Cumberland and London. The Jacobites had severely mauled the government cavalry which meant there was no pursuit. In the fading light the Franco/Jacobite army withdrew, and the 2 armies lost contact. 


Looking West up the battlefield from Harleston pond the observant viewer will see that one of the large French cavalry regiments has been forced to withdraw from artillery fire losses. The Jacobite and other cavalry are all small and/or inferior so I think we all knew now that Prince Charlie's efforts on this flank were doomed


On the Althorp Manor flank the Jacobite thrust up the ridge was looking distinctly lacking too


The Chisholms had lost a Hit when Cromartie's ran through them giving them 3 Hits and therefore a Minus on everything till they could recover. I denote three Hits with an orange marker for quick reference


Cumberland has managed to steady his line, but it's still scrappy and nearly all these battalions have suffered hits. It's now about 1 pm and several have been in action since 8 am


Aftermath

The government forces were left in possession of the field which allowed Cumberland to claim a victory but………..


It was certainly not a crushing defeat of the rebels as demanded by the King. Large quantities of ammunition had been expended and supplies were running low. The Jacobites were now between them and London, their principal point of supply. 


The result was also not particularly satisfying for the Prince. Whilst the combined Franco/Jacobite army had fought well, and at one stage certainly seemed to have the government forces on the ropes, it was perhaps illusory. The government battle lines had never really been challenged and a number of fine French infantry regiments had been destroyed. For the first time in the campaign his troops had not achieved an overwhelming victory. The British/Hanoverian government troops from the continent were certainly a far tougher nut to crack than the troops he faced at Prestonpans and Brampton. The Prince could only claim that they had given Cumberland a bloody nose and the army had withdrawn intact to fight another day. 


However, he has nagging doubts whether the French are trusted allies and will continue to support him? Whilst the route to London is effectively open, if a council of war proposes a retreat to Scotland, this may now be problematic from a purely geographical perspective. Retreat northwards may not be an option.  


One way or another, the campaign continues. The rebels are still loose in central England and the throne is still threatened. 


Above and below: Guy conducts "post match" interviews with the team captains (not the Managers, Royalty is above that):
Duke Ferdinand of Brunswick : <<Vell, I did not catch zee stag for zee Weinachten Jagd but zee high point für mich zis day woz to see zee Grenadiers de France fall beneath mein guns, and to be part of zee masterful control of zee game battle by My Lord zee Duke of Cumberland. It woz, as you sagen in English, "a team effort">>
Lord George Murray: Eh well, the lads surely gave those Sassenach Dragoons a seein' to, jus' like we did tae Johnny Cope. Can't trus' the Frogs o'course, they did naught a' day, what dae ye expec'? As fer that bloody assistant referee runnin' up an' doun oor touchline, he was f***** useless (pardon mae French!). An wen yon mortar crews started tae fire back wi' muskets!!? Och Aye, we shudda bin given' a penartie, nae question aboot it! As fer my high point? Why, that barrel o' 1720 malt whisky "rescued" from yon Earl Spencer's cellar!>>

Man (Unit) of the Match - the British mortar crews for saving the penalty that their demise would have represented on the flank of Cumberland's line.


Postscript


Ferdinand of Brunswick once again received glowing compliments from the King and the army for his steadfastness. 


The Hon John Spencer crawled out of his priest’s hole to survey the devastation of his house. He took the decision that day to rebuild Althorp. The stable boys and villagers called him Hon Cringeling behind his back. He became aware of these derogatory comments and the villagers Christmas boxes were cancelled in 1746. For decades the stories of the stable boys and villagers’ valour multiplied in the local public houses to the extent that in the local folklore, the battle was solely between the hearty sons of Northamptonshire and Scots. 


The British cavalry were again the subject of much criticism. A duel was fought after a Guards subaltern referred to them as donkey wallopers. The name stuck.


The Jacobite troops in the main were further emboldened by their performance and the success of the highland charge. They failed to appreciate one of the lessons of the battle, i.e. the Franco/Jacobite units had great difficulty advancing and breaking a formed British infantry line supported by artillery. They continued to maintain the effectiveness of the highland charge as a battle winning tactic. 


Post battle - the campaign goes on


The Franco/Jacobite forces manoeuvred to join with their covering forces at St Neots and a Council of War was called to decide which direction the army should move. Various options were proposed – a fast advance and attack on London, an indirect advance through East Anglia which would have the advantage of resupply by the French ships, a withdrawal to Scotland, or a march towards Oxford and the Southwest. 


The Government forces dispatched their remaining cavalry to discover where the Jacobites had gone. No conclusive news was forthcoming. Cumberland therefore ordered a forced march towards London. Perhaps the truest indication of what happened was seen in the City of London. The value of Government securities lurched downwards, and gold was in huge demand. Hysteria gripped the streets as rumoured sightings of hairy Scotsmen on Hampstead Heath circulated. The ladies of fashion dusted off their Parisian decolletage gowns and the gentlemen their bottles of Sauternes...........  


The game record shows that the Jacobites won the initiative every turn (Plus 1 as designated attacker) Although the game was not just about army destruction this is a useful indicator (using my 1-5 Army Points per unit system) - In terms only of units on the table "Done For" the Jacobite/French 37 points represents about 30% losses, and the Government 23 is in fact about 20% losses. So bad enough for each commander to be glad of the natural break in fighting allowing a withdrawal

(by CG) Finally, I need to pay tribute to Guy. He deserves great credit for putting together such a complicated scenario, providing most of the ideas and 95% of the figures which made it to the tabletop, compiling the briefs and orbats (under guidance from me), and being lead umpire for two days.   Thanks a lot Guy, wonder what next year will bring?


Monday, 27 June 2022

Wild Geese Wargamers weekend - gamed to the max!

 Four very different games in 27 hours - felt like something of a record for me! After not meeting since 2019 I think the members of this amorphous (international!) group must have been overdosing on 18th Century wargames this year. We met as usual at the very well appointed Chesford Grange Hotel near Kenilworth, Warwickshire, UK. Steve Pearse had put his hand up to organise and did a wonderful job, seemingly having taken care of our every need including a new, bigger gaming room (next to the bar out of one door and the complimentary tea, coffee and biscuits out the other!) Consequently there was enough room for five fairly large games tables and my art display, which were well enough spread out not to interfere physically or audibly with one another. Wonderful.  The only trouble was there was not enough time to play every game and I only (!) got in on four.

Photo: Sarah Marshall

Willz kindly gave me a lift this year and we were the second party to arrive (behind Tony and Phil) on the Friday afternoon, so had a leisurely lunch in the shady garden before Willz set up his Mollwitz game and I set up my small art exhibition as others began to trickle in from all points of the compass. This year no American guest (we missed you Jim), but we did have Paul Spence who had left behind his lovely villa in France; and about 8pm in the evening arrived a rather exhausted Stuart Insch from Aberdeen in Scotland. Some years there are wargamers' female partners (WGWGWAGs of Wild Geese Wargamers?!) the only one this time was Sarah (AKA "Mrs Ken") who made up for the lack of numbers by her enthusiasm, friendliness and willingness to put up with all the old fogies like me.

First is a selection of random pics of the big room on set-up afternoon and then a tour of the tables.


Willz waxes lyrical while presiding over his wonderful Spencer Smith armies refighting the refight of Mollwitz

Gary Phillips presenting a very 18th Century-looking refight of Reichenberg

If I said "18th Century" then I will allow myself some artistic interpretation -
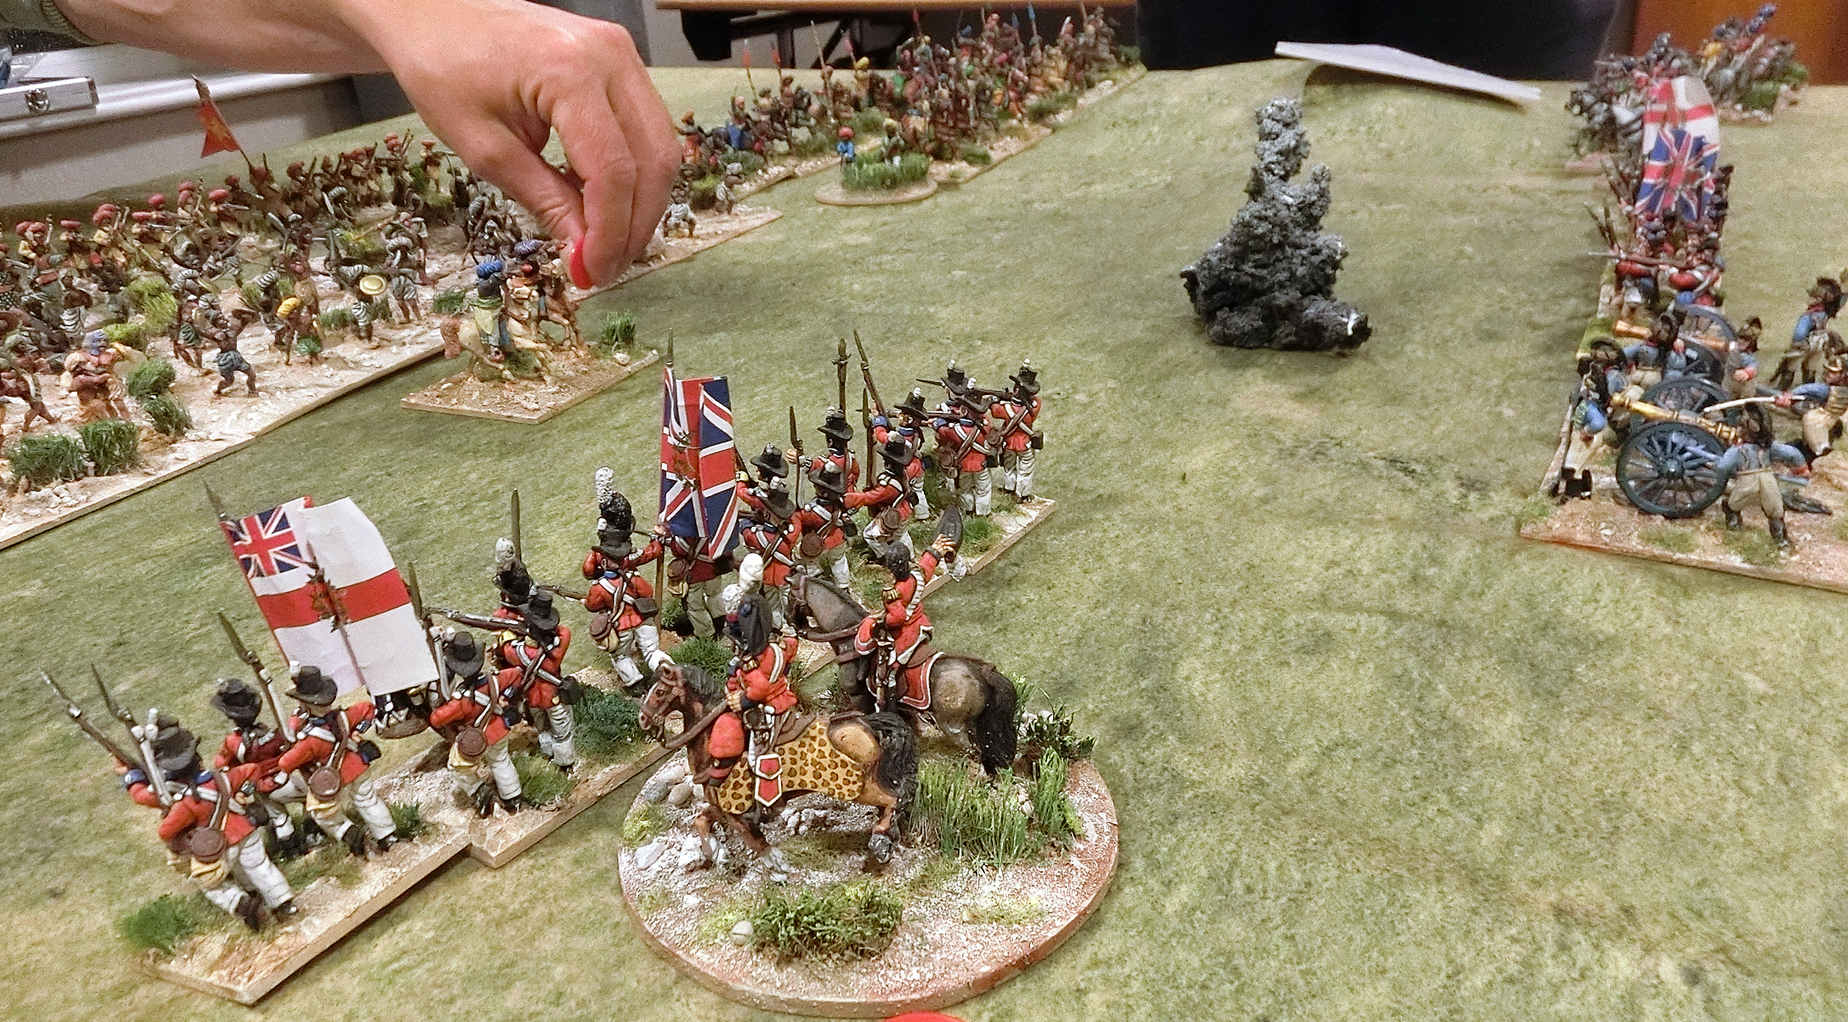
Martin Gane's "Wellington in India" straddles the century divide

No doubt about this - presented by Tony Dillon so it has to be Napoleonic - Hougoumont as a large skirmish game

These next four are of Steve Metheringham's splendid looking refight of part of the Battle of Prague 1757 using his 40mm semi-flat Prince August castings. Steve has a very good relationship with the PA company and I suspect he might have one of the best collections in the world of these  classic-style miniatures. You can read a lot more about this range on his blog Lace Wars in Tin. This was the only game I did not play and so here are the only pictures I took of it. More details on all the others are given below. You can also see some nice pics of this game  (and the others - Ken in particular has given some good descriptions) on the Fife and Drum Forum

Steve shows Tony and Aly his great buildings scaled to match the 40mm figures


There's no set structure to Wild Geese Wargamers weekends. It's a max of 24 participants and this year 21 made it. Poor Paul Robinson had to cry off due to COVID and he was due to put on an 18th Century game. Instead Martin Gane jumped into the breach, not waving a battle flag, but several borrowed wargaming mats to set the scene for his Wellington in India game. The Game Masters were discussing an ad hoc way for one or all of them to get a break and play in another game, I don't know if that happened as it seemed everything was going full throttle most of the time. So everyone has a slightly different take on the weekend depending on their path through the games and the socialising around them.

Here is a link to Stuart's excellent write-up of his weekend. Wild Geese 2022

Gary Phillips's - Battle of Reichenberg. April 1757

Having played against Gary at many a WG gathering and participating in one of his games in 2018 I knew this would be good. Prussian and Austrian armies of wonderfully painted Minden Miniatures and nice terrain in a historical refight. If there was a World Cup for wargamers Gary would be worthy of umpiring the final - good at explaining the rules, encyclopaedic knowledge of them to run it like clockwork, and complete impartiality and friendliness. Today he was using Blackpowder rules. Unashamedly I felt this was firmly within my comfort zone so chose it first to play, and I wanted to see what I could learn from a master of 18th Century wargaming. In this game I played the Prussian C in C with the right hand half of our army and Martin Binns took the left. We had to attack mostly uphill against a row of emplacements and redoubts and see off the Austrians as another enemy army was approaching from our rear. Our Austrian opponents were Guy Barlow and Dave Wilson. They had a good position but were mostly deployed initially down the rear slope so there was potential for manoeuvring. Our generals were better quality,  (9 for my C in C), but needed to be as the enemy was plentiful.


Gary's historical map as seen with Austrians at the bottom

He explained he used the scenario
in this book as his inspiration

And Last Argument of Kings BP supplement
(but I reckon it would work just as well with Honours of War)

Our "redoubtable" opponents Dave and Guy

Above and below: I opened the battle by declaring a charge on a little band of Grenzers threatening my right flank from the woods
The Grenzers scarpered but not before sending my Hussars back too!

Simultaneously Martin got a triple move (aided by my C in C) and advanced straight at the enemy line, not obliquely away from that flanking battery on the hill as I had requested! In mock disgust I removed my command figure back to my right flank! Little did I know what a hero Martin was to be towards our eventual victory.

Martin had the assistance of these big guns throughout

I'm a sucker for Prussian pink facings - though in this game these Fusiliers were not particularly well rated, beautiful models though they are

I had a couple of units of Prussian Grenadiers to lead my advance

Now they have a foothold on the ridge and I'm lining up a cavalry attack towards the enemy centre,
trying to avoid that big redoubt

Martin's first brave attempt on the enemy line is partially repulsed and he is getting flanking fire from the hill by Reichenberg

Guy is reacting to my advance by pulling his infantry out of the woods while holding me up by Berzdorf with two units of Grenzers - a real pain the neck!

Martin's position looks precarious, yet he is successfully distracting large numbers of Austrians through piecemeal attacks, keeping them guessing. 

Prussian victory will depend on me then. Those cavalry have to succeed

The Austrian cavalry have counter-attacked but these support units are not quite as well placed as mine

I defeated Guy's front regiment but at the cost of having to give ground and falling back by the redoubt so others can come through

Dave stayed hard to read, and making a stoic defence throughout. Here he has brought up his second line, and on the hill Guy has moved his Hussar regiment to threaten. Martin is doing a great job of drawing opposition away from me.

Overhead view at this stage

Martin is apparently losing the game of attrition, yet his masterly control of his retreating then advancing brigades continues to engage Dave's attention

A lovely model, but a very threatening Austrian battery

I'm trying to condense a tense action in the narrative as I finally gained the ascendancy on the main ridge. Enemy cavalry have gone but mine are pressing ahead their advantage to attack the newly formed oblique enemy infantry line.  My infantry brigade has had to move to the right as I was suffering prohibitive losses from the central redoubt artillery

My cavalry brigade has now had to give up and retire but they have inflicted severe damage on the Austrian infantry. Aided by the C in C's high command factor the Grenadiers and infantry brigade got great moves and a full blown attack has gone in. My Hussars are taking on the Grenzers in Franzensdorf

Poor Martin has lost quite a lot but those big guns are proving useful. They have inflicted casualties on the Hussars, pinning them and preventing a dangerous flanking charge

Still all to play for......

A nice view of the close combats

The "battalion" guns were independent units so I've brought one up to stall an Austrian counter attack round the main redoubt 

The quality of my Grenadiers wins through and the Austrians are probably in more difficulty than me. I'm not about to give up ....lunchtime approaches.

Despite how it looks on our left Martin has done a remarkable job. I've been successful on the right and the combined effect of losses is causing a distinct shakiness among the remaining Austrian brigades; their Grenzers and Hussars have fled

Practically the entire Austrian army is now in flight, I can hardly believe my good fortune.

Games Master Gary sums up for us

A super game in which the outcome was in doubt till the final turn. It had taken about 3.5 hours to play and that's a great credit to the GM in judging the amount of units, size of table, and number of players. I've never really thought much of BP rules having had a few disappointing  games. I can now see that if you have a decently rated commander it can keep up the momentum, and I, at least, had a great game that was suitably challenging with occasional high points. It helps of course with an umpire who knows the rules well and has the energy to guide everything.

And what else did I learn? That Reichenberg can make a good game to have here in Oakridge; I shall have a better look at my copy of the C S Grant volume and consider it for the future. Nice opportunities for sculpted terrain too,,,,,,,,

Willz Harley - a classic: Mollwitz, April 1741

" I should have had a snow mat really - there was snow on the ground that day even though it was April" Willz told me in the car on the way there. "Never mind Willz, you are refighting a wargaming classic and Charles Grant did it with a green tabletop and so should you".

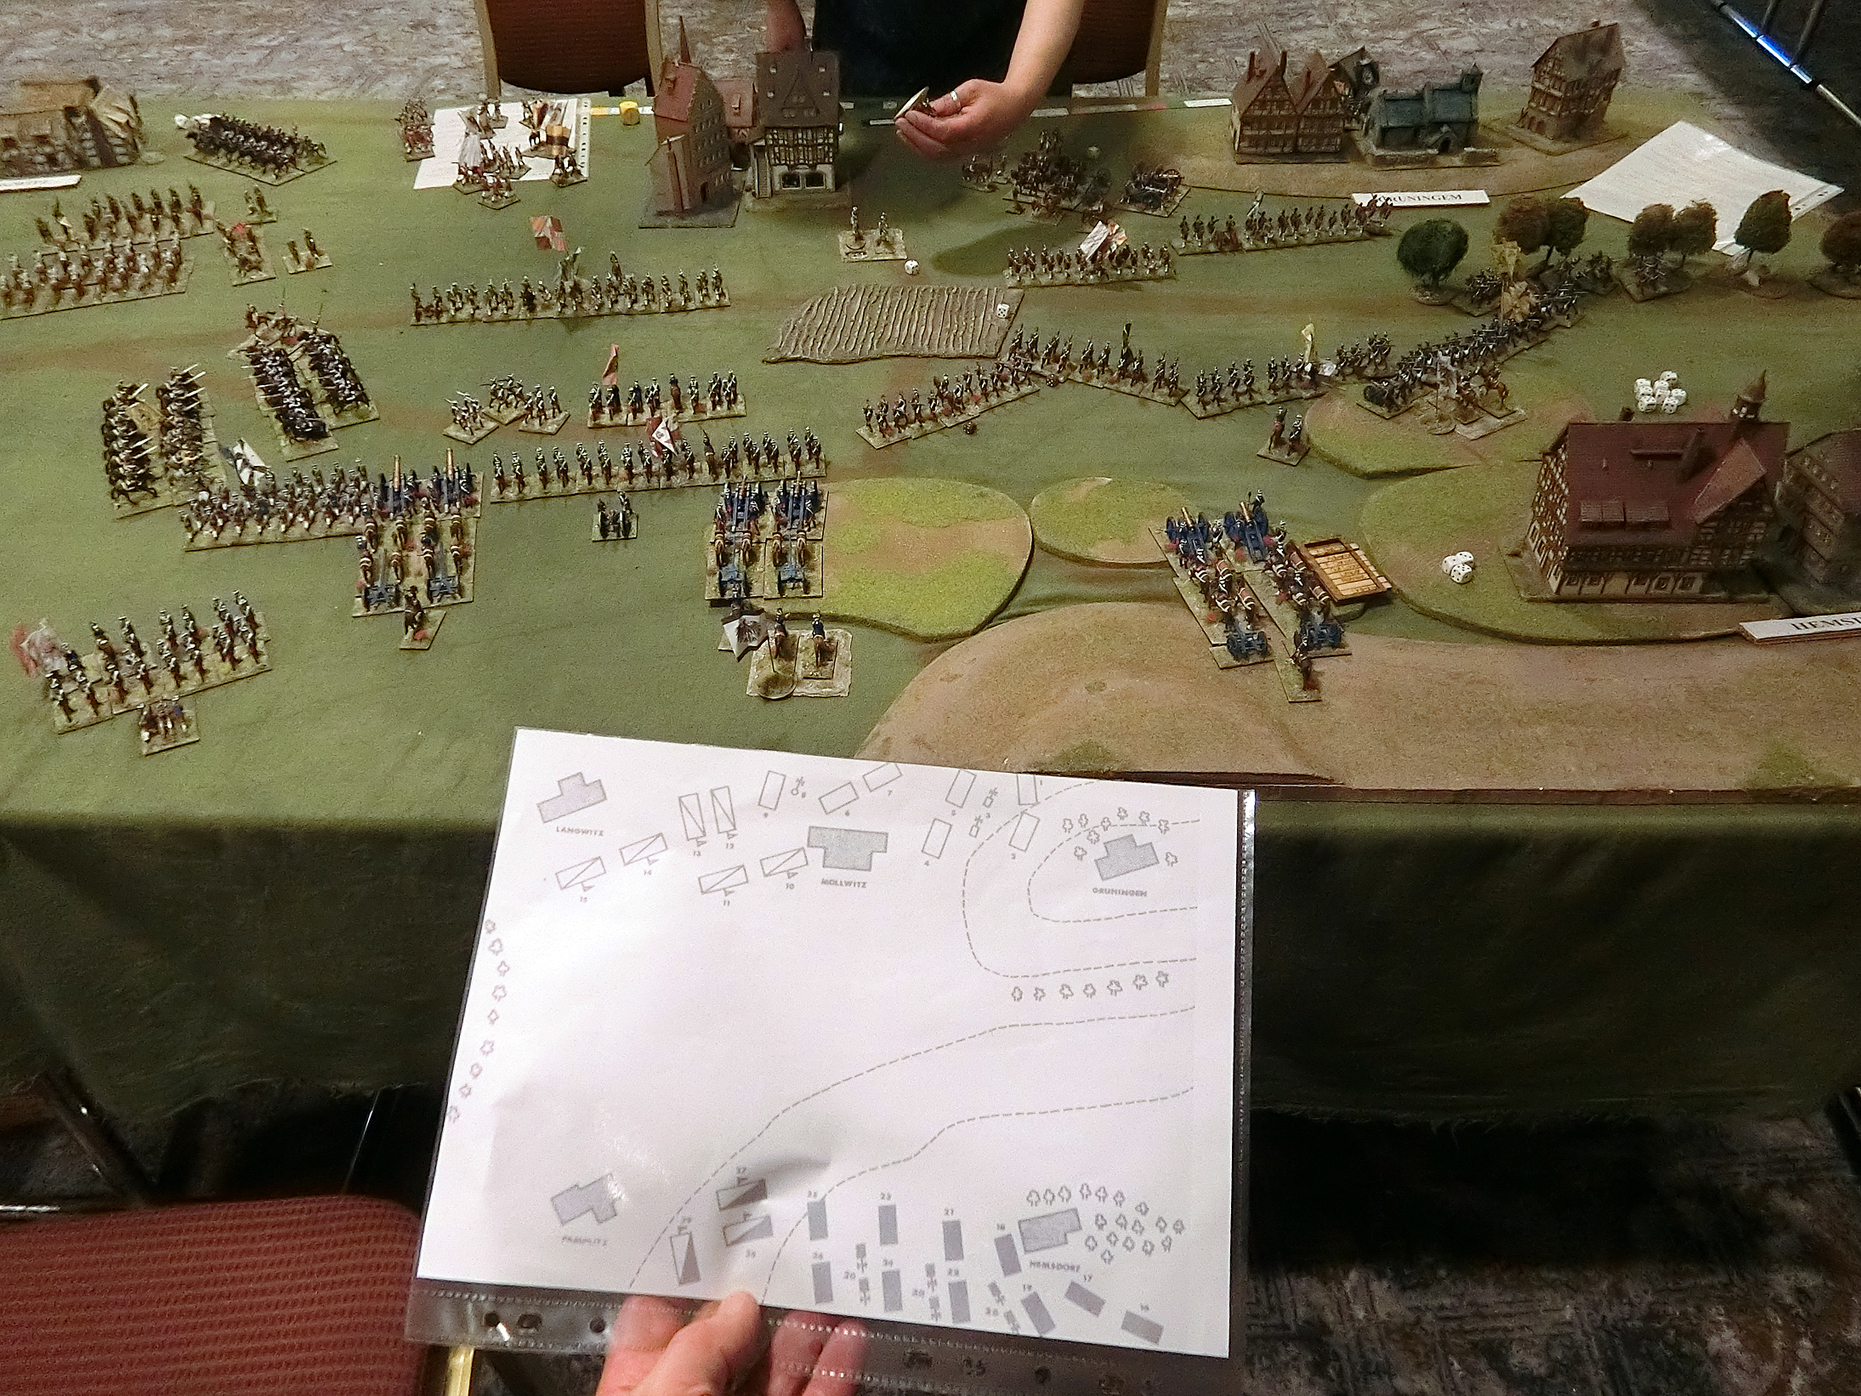
This is Willz' map for the starting positions.
Remembering this is not a faithful historical refight
but one with the look and feel of Grant's
classic in one of the wargamer's primers "The War Game" 1971


If we proudly think of the origins of the Wild Geese Group it was borne out of John Ray's "A Military Gentleman" Forum which originally in 2014 got together some of the greatest living 18th Century themed collectors, manufacturers, designers, historians and wargamers. I joined to learn more about the 18th century military, and so I did - Charles S Grant was among the experts present. But quietly at first, in the background was Will Harley, building up what was to be a mammoth collection of the original Spencer Smith Miniatures just as we had seen them parade across Grant and Featherstone and Asquith publications in those early years.

Today Willz had brought just enough to fill the table in a similar way to those classic photos, like this one

You can see a lot of pics by Willz himself of a different Mollwitz game at Kenilworth to the one I was in, here Mollwitz - Loose Association of Wargamers

Opening dispositions are set and Willz gives us an initial briefing. Paul B and Aly are commanding the "Austrians", and Ken and I are the "Prussian" commanders. Bear in mind that in true Grantian tradition these forces are made up of Imagi-Nation regiments any resemblance to historic Prussian and Austrians is entirely coincidental

These next three are a tour along the Prussian infantry and artillery columns


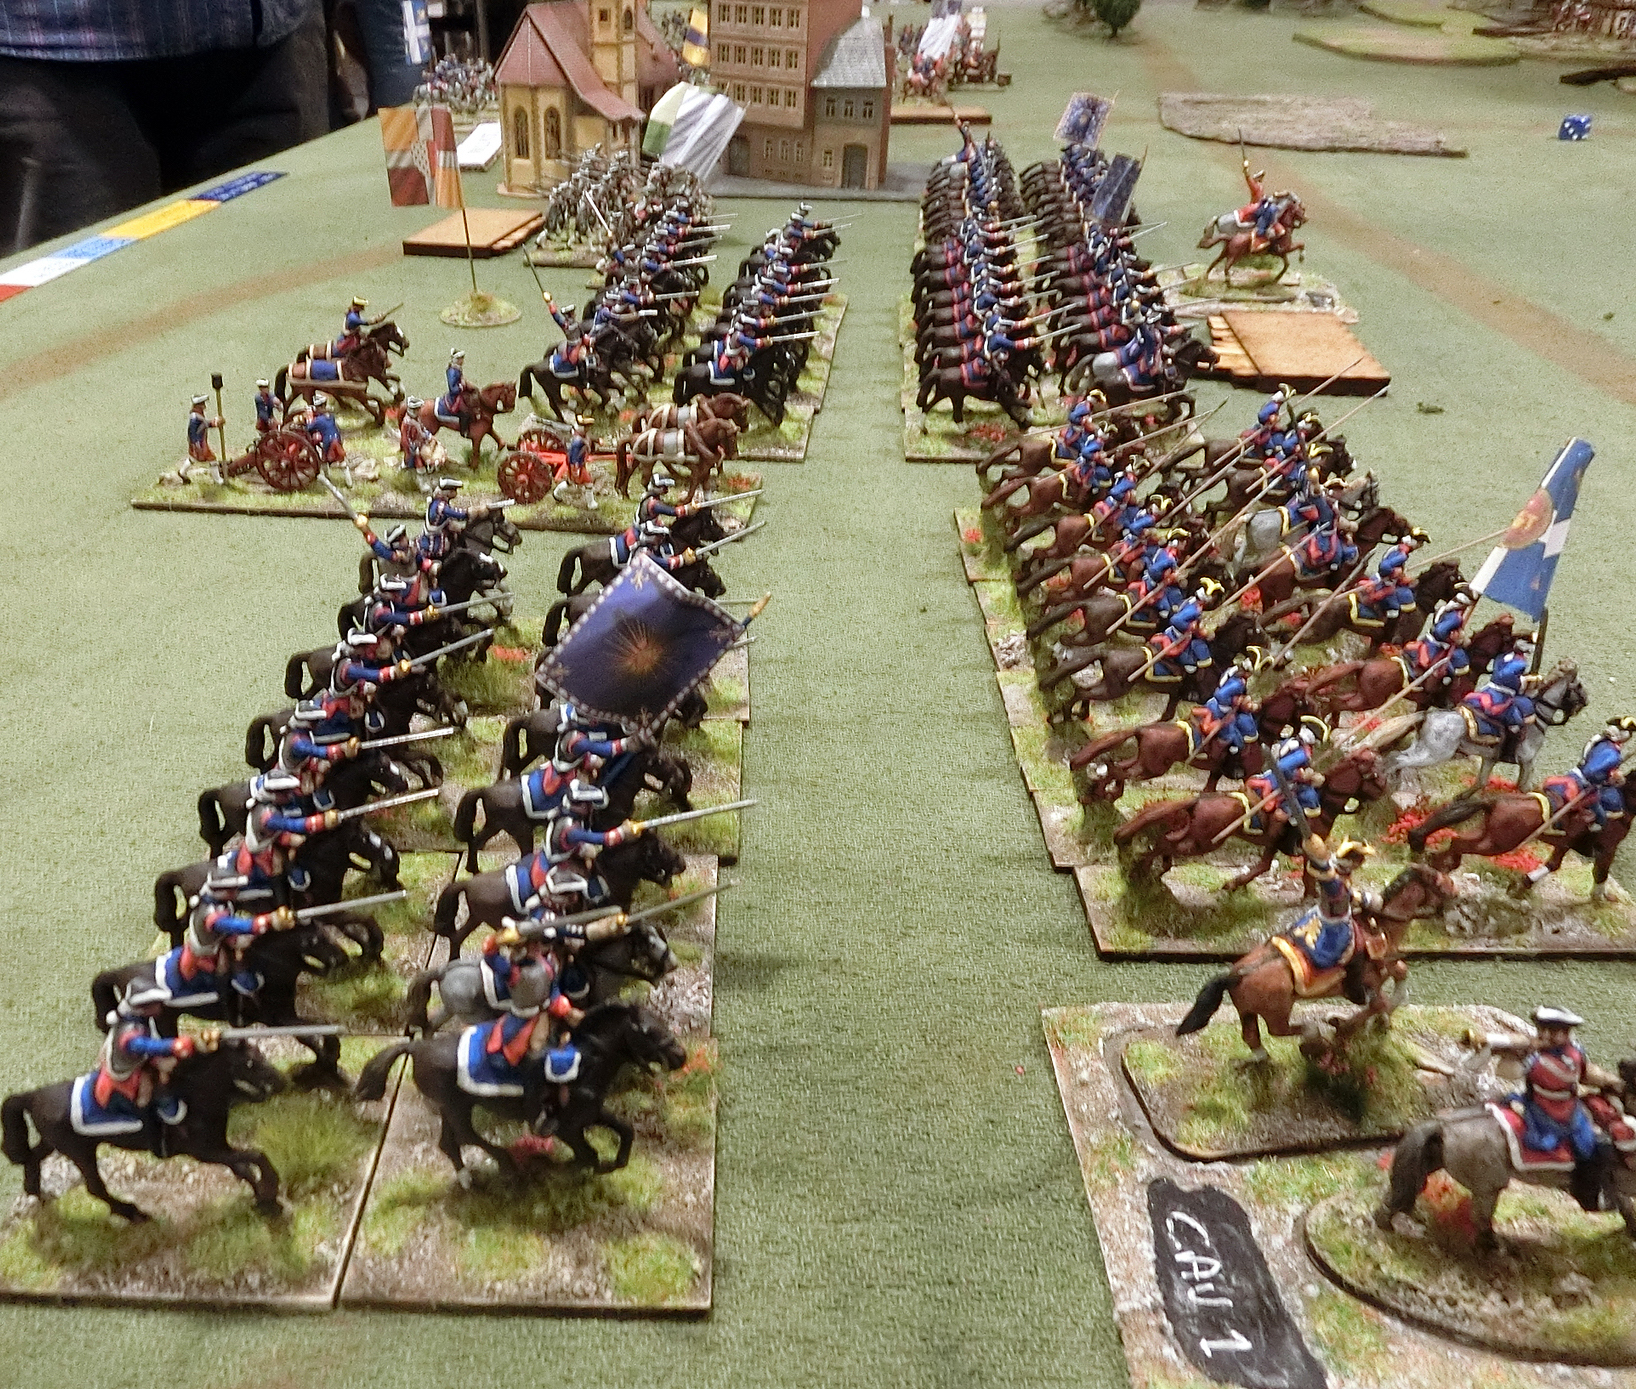
Finishing of with a great view of the opposing cavalry -Austrians left and Prussians right

Above and below: Spencer-Smith cavalry, including fine conversions, in close up. Classic wargamers you've just gotta lov'em


Aly's French/Austrians are coming for me

The lines advance, at bottom left my Prussian infantry are slowed up by Hemsdorf village

Austrian Grenadiers here played by "Grenadiers de France" I think

Further along, superb "Swiss" and German (Reichsarmee?) mercenaries

The cavalry begin a titanic struggle. The Austrians have more regiments but I feel sure those Prussian infantry and guns will help

Willz used a command system of MDF labels held in a
neat slider. Two orders per unit per move, played
simultaneously "blind" by both sides.

Bold Austrian cavalry come forward

The cavalry commanders, Ken and Paul

Although I often missed, my guns were able to fire from higher ground and it made a difference to the overall attrition rates on Aly

The rules were simple so Aly and I just got on with it enjoying each others gentlemanly yet competitive take on mid-18th Century infantry tactics. Up to this point we'd manoeuvred and fired like well trained and restrained commanders. But enough was enough and on the same turn we both gave "Charge" orders to our front line regiments. I turned out to have the upper hand. On the right one of my units is making a break to capture Gruningen and being chased by ineffectual fire from Aly's big battery. This distraction of support from his attack was telling.

Willz is literally picking up the pieces of Paul's cavalry, he was not having the best time of those melees

I was not able to follow this flank closely but I got the impression Ken's Prussians were taking control

Probably an unfair photo,but at the end Aly is explaining to me (and my camera) why he has so few troops left in front of me. We agreed poor dice had something to do with it - he got my vote for the Unluckiest General award. I was sort of sorry to beat him so decisively as it's impossible not to feel good about your wargaming opponent when he is such an amusing, self deprecating and twinkly-eyed man, with a lovely Scots accent too. Thank you Aly.

View of the end result -a pretty decisive Prussian victory at Mollwitz 2022 (second game!)

And then we had to put them all back in position..........

This had taken up a pretty full-on but highly enjoyable afternoon . Thanks so much to Willz for all his hard work collecting the armies and terrain and being willing to bring it all from Plymouth to the heart of England.  Willz had devised his own set of rules to be very simple and easy to apply, using bases of four figures for firing and casualties; units retreated at under half strength.  As such they leave a lot unsaid but nothing two good natured wargamers can't resolve across the table. Here is a link to the rules in my Imagi-nations sidebar On the Hoof 18th Century rules

Martin Gane's "Wellington in India" - c1799?

Once we had put back the great SSMs for the next lucky Mollwitz commanders the bar beckoned. Drinks in hand, I found time to discuss a new, exciting painting commission with Tony Dillon, and also  met Guy in a quiet corner to plot some of the finer (devilishly cunning) aspects of his Jacobite "what if" Battle of Althorp due at Oakridge in September. Nearly had a friendly arm wrestle over seating with retired Sandhurst lecturer, Keith Blackmore,  and before we knew it - time for Dinner. I sat near Martin over the meal and we got talking about past and future games.  He's been to several chez Gregg but I observed that I've never taken part in one of his games and needed to set that right.  A bottle of red later and Martin seemed very enthusiastic about running his game again that evening. Even though it was by now 9 pm several others were also keen and a merry band made their way back into the games room glasses at the ready.  You know you are onto a winner when "Mrs Ken" also comes with a bottle under each arm and more glasses!

A note on rules and figures is at the bottom.

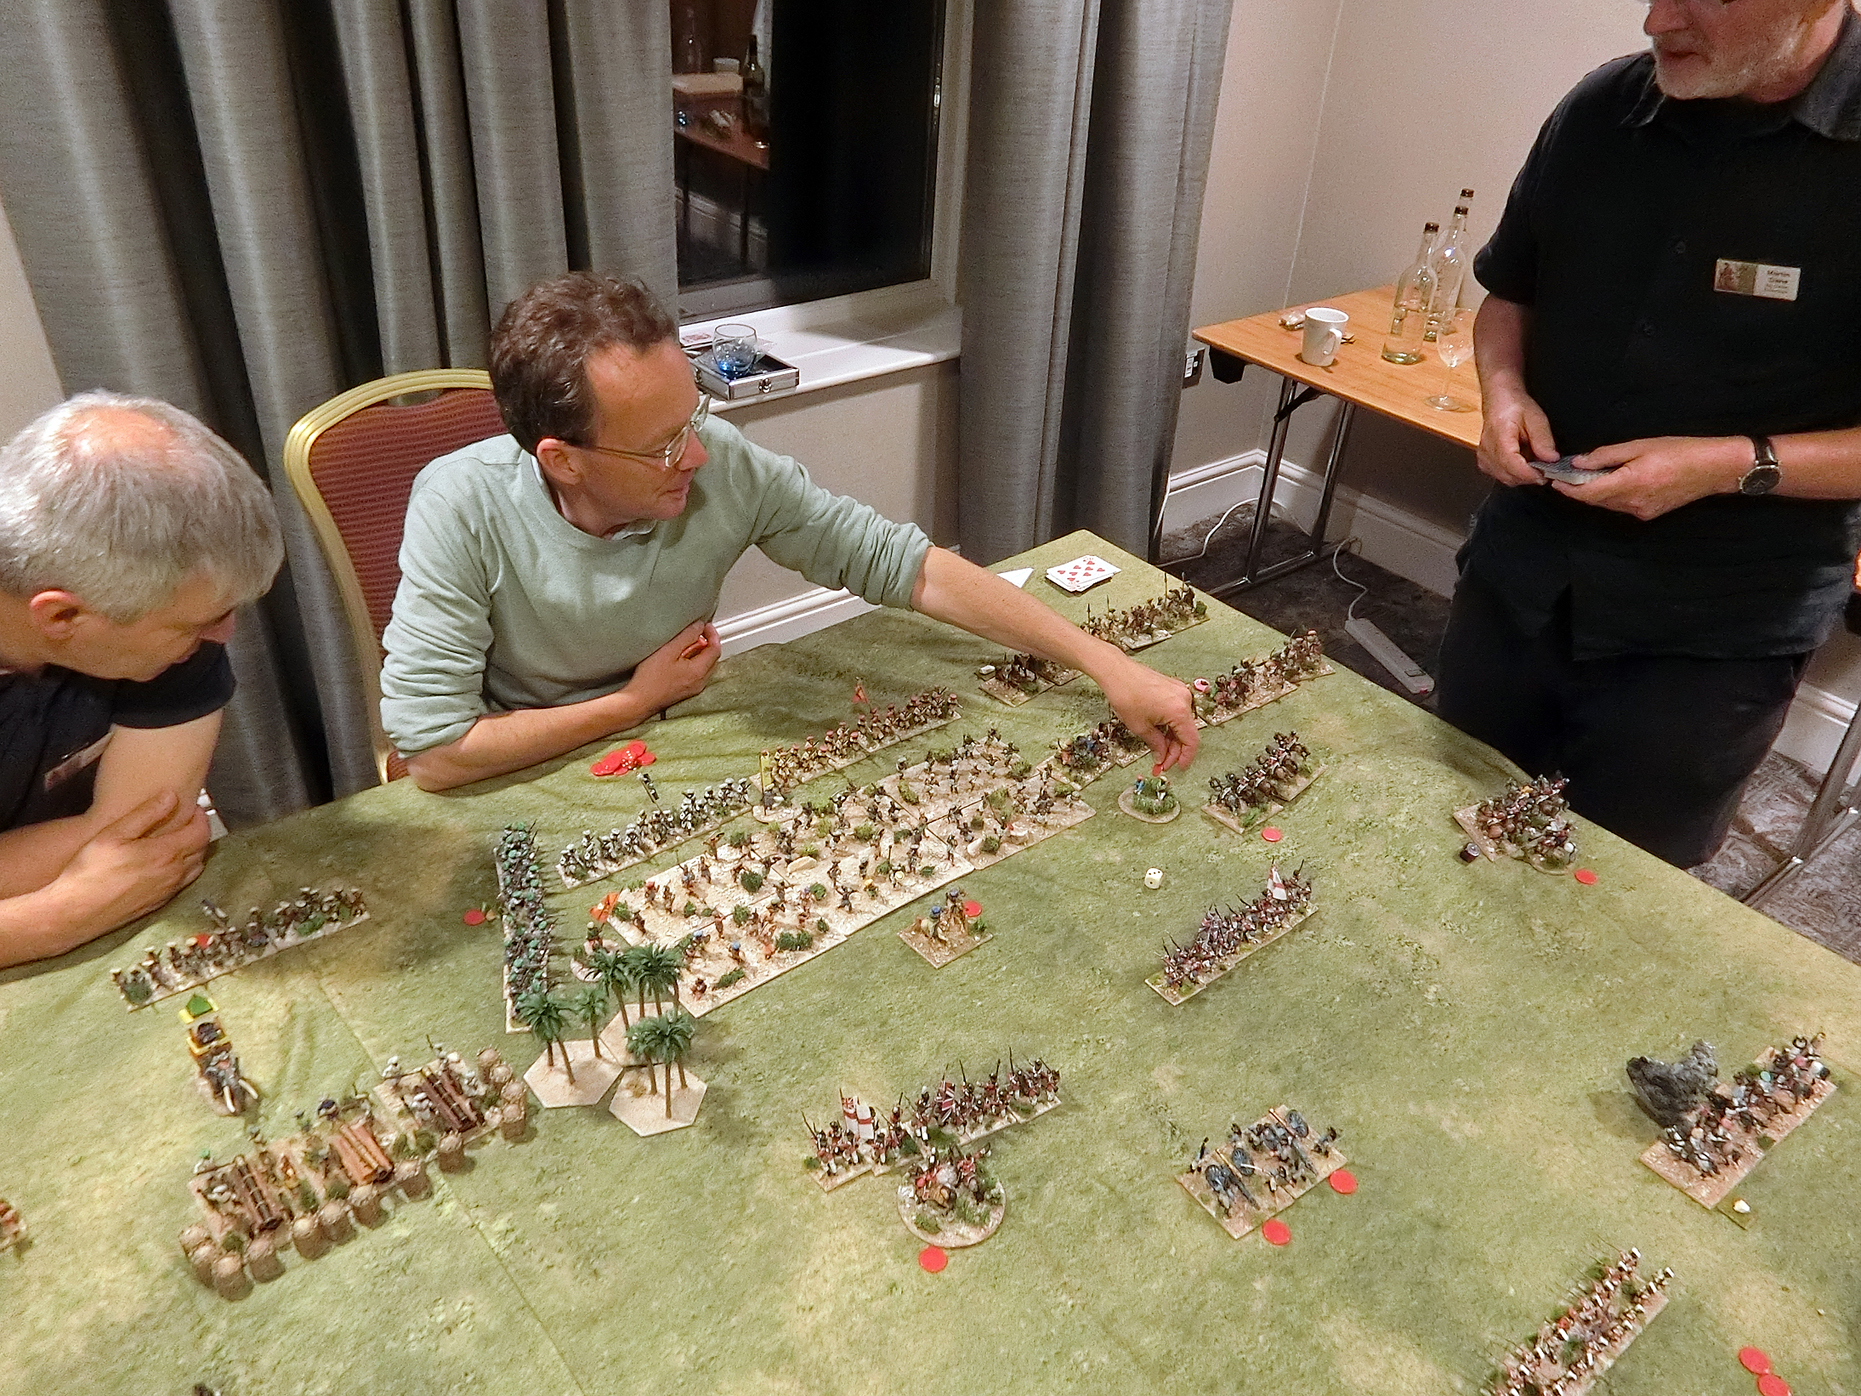
Phil interrupts Martin's briefing; I didn't catch what he actually said! Phil was my British commander and seemed to know what he was doing. I think Dave Putt, Ken Marshall and Guy were as bemused as I was and they were playing the "Indians". 

Uh oh....Dave and Ken have a plan......

.....while Guy relies on the effects of strong drink to pull him through

The Mahrattas started off with a rocket attack. It was very difficult for them to score a hit on what they were aiming at

The rocketeers seemed to come in many forms - mounted and dismounted

A battery of giant guns made our centre a no-go area

An example of rocket fire in action.  Red and black dice combinations determined the passage of rockets in various stages, making the triangle point in different directions until a certain dice score caused an explosion. If they were lucky it would be on a target. Quite amusing.

The British commander was a gorgeously painted general

Although the Mahrattas look strong in numbers the quality lies in the small British and allied units

"Mrs Ken" arrives with liquid sustenance for the Indians. The spectators (Steve P, Willz and Tony) at this end are already well supplied

Good natured banter was the order for the evening, no matter what the dice scores!

An important development . Phil attacks a large band of swordsmen with a British battalion and breaks up the Mahratta line

Sepoy infantry and cavalry withstand another rocket attack

Can't remember what prompted this expression from Guy.
Did I say "let's have an Instagrammable moment"?

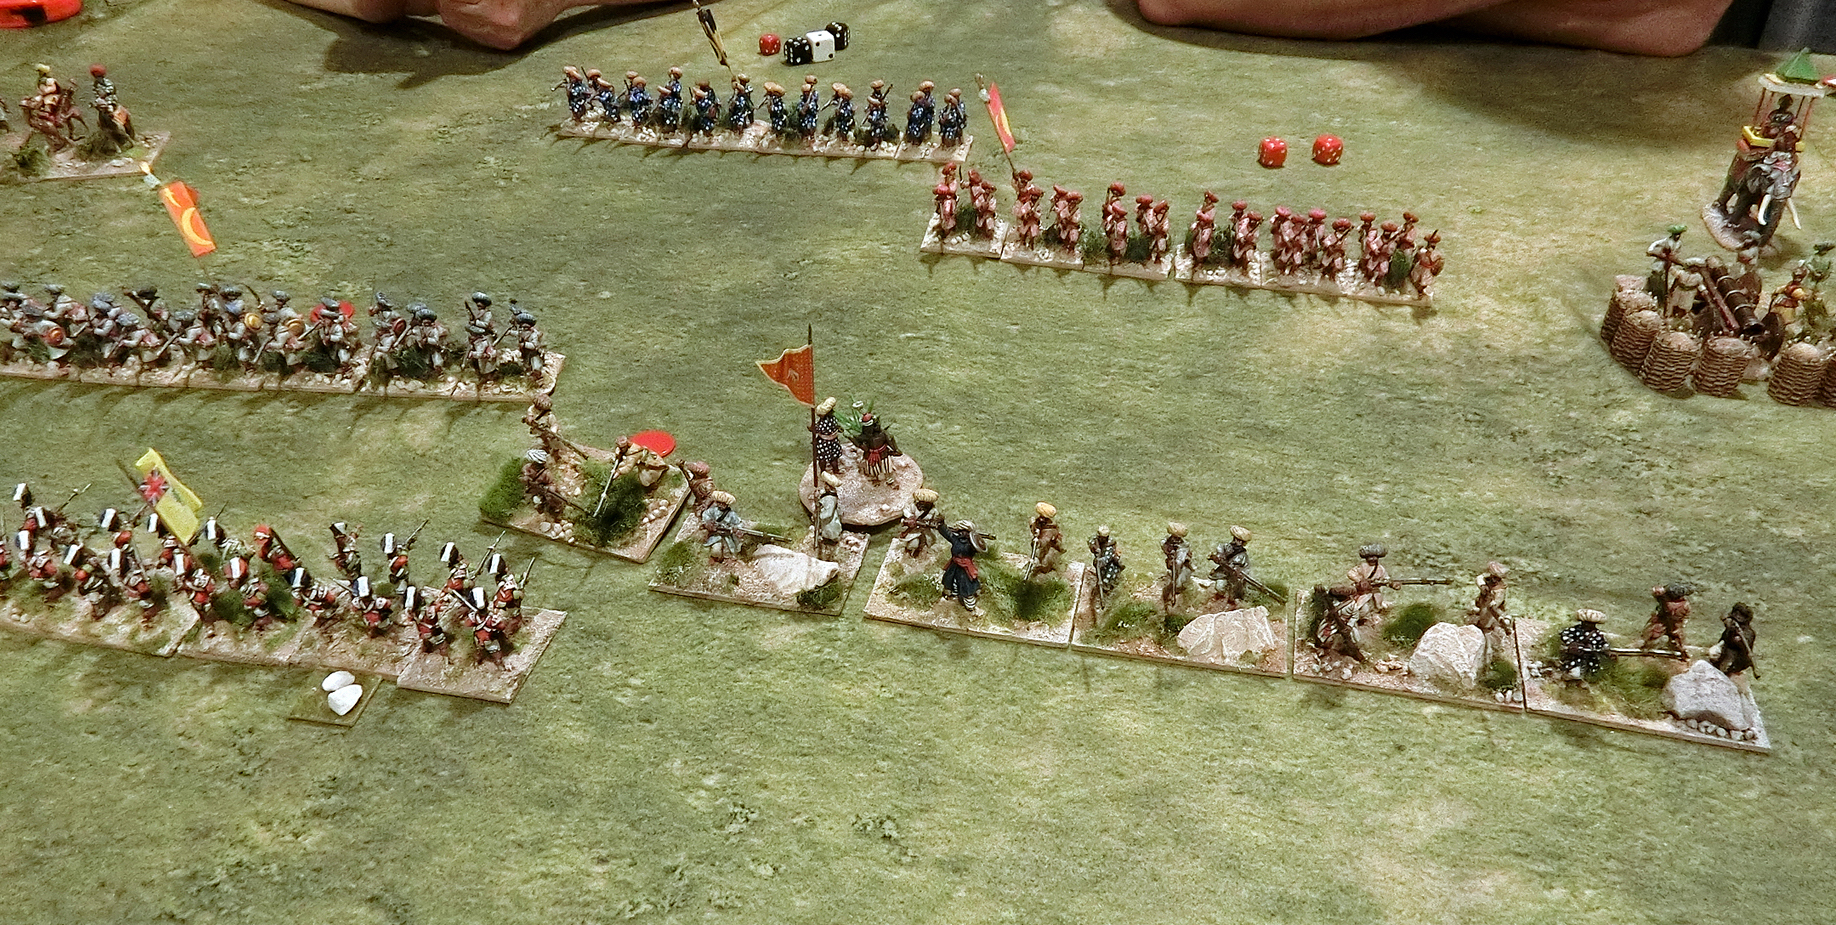
Now it is my turn to have my native swordsmen attacked by some fairly hunky Mahrattas. The little stones cleverly represent Hits. Three removes a base, even big ones like these

We'd been having a to and fro cavalry fight on my left flank but my numbers had diminished to the point of looking a bit ridiculous in the face of all those enemies

Occasionally a rocket would burst causing "friendly fire" casualties 

At left is my only remaining infantry - a half decent sepoy battalion being overwhelmed

Phil had a lot of good units remaining on our right

Ably supported by artillery

Dave and Ken look despondent when they realise my general has the capability to rally the last sepoy unit, holding up their entire flank

Phil is wrapping up his opposition but does not want to step in front of those guns

Sepoys rallied and holding!

I only took this photo for the clock, without realising
the tired body language going on below it. Sorry guys!

British right flank is actually doing quite well

British left flank has just one unit holding on - but Martin seems to think that is enough for a psychological draw! His verdict on the game at 0020 am "Too close to call". Was he just being nice because of the party atmosphere?

Apologies that my captions are not coherent on the purpose and conduct of the game. It was the end of a long day and although Martin did give some kind of objective I can't remember what it was! In essence our small British  and allied force had 3 kinds of troops capable of 1, 2 or 3 actions per turn depending on quality. We had fewer and smaller units than the enemy but better quality, so it was balanced. Initiative was by drawing either a red (British) or black (Mahratta) playing card and the commander decided which unit. The red counters show when they have had their turn. Units collapsed once they had lost too many bases (over 50% I think) no matter how many figures were on a base. That was a very clever idea to represent the huge difference in numerical strength of the armies.

It was very slick and Martin had got a great set of rules created by Brian Cameron. Here is a link to my Napoleonic Download sidebar Sepoys and Soldiers. He had written the main points we needed on a white board, but it all ran very smoothly and relatively quickly, with lot of Moves being achieved. 

Martin had told me that originally he bought Charles Grant's collection of Redoubt figures but they needed repainting and rebasing and he has expanded the forces since. They really were a joy to behold and I hope you will have enjoyed the photos nearly as much as I enjoyed playing with them. Thanks Martin for such a fun evening's entertainment.

Tony Dillon - Defence of Hougoumont, large skirmish, 18th June 1815

Tony was using his "Napoker" rules with which he runs participation games at shows. I'd had a taste of this at Wild Geese 2019, when being a 95th Rifles major trying to rescue Sharpe's wife from French clutches. It's a clever mix of chance with playing cards determining order of play and who wins firing and melees balanced against good old fashioned wargame decision making. The latter depends on both sides pulling a reasonable selection of picture cards versus number cards.  I should say that the British (Guy and me) did not have much of our fair share of pictures against the French (Dave W, Paul S and led by Tim "lucky" Whitworth) and so anyone of a delicate and patriotic British disposition best look away now.......for the rest please enjoy Tony's amazing work on the Hovels Hougoumont model, suitable matching garden and orchard terrain and the super classic-looking 28mm figures.

We Allies set up our defence first

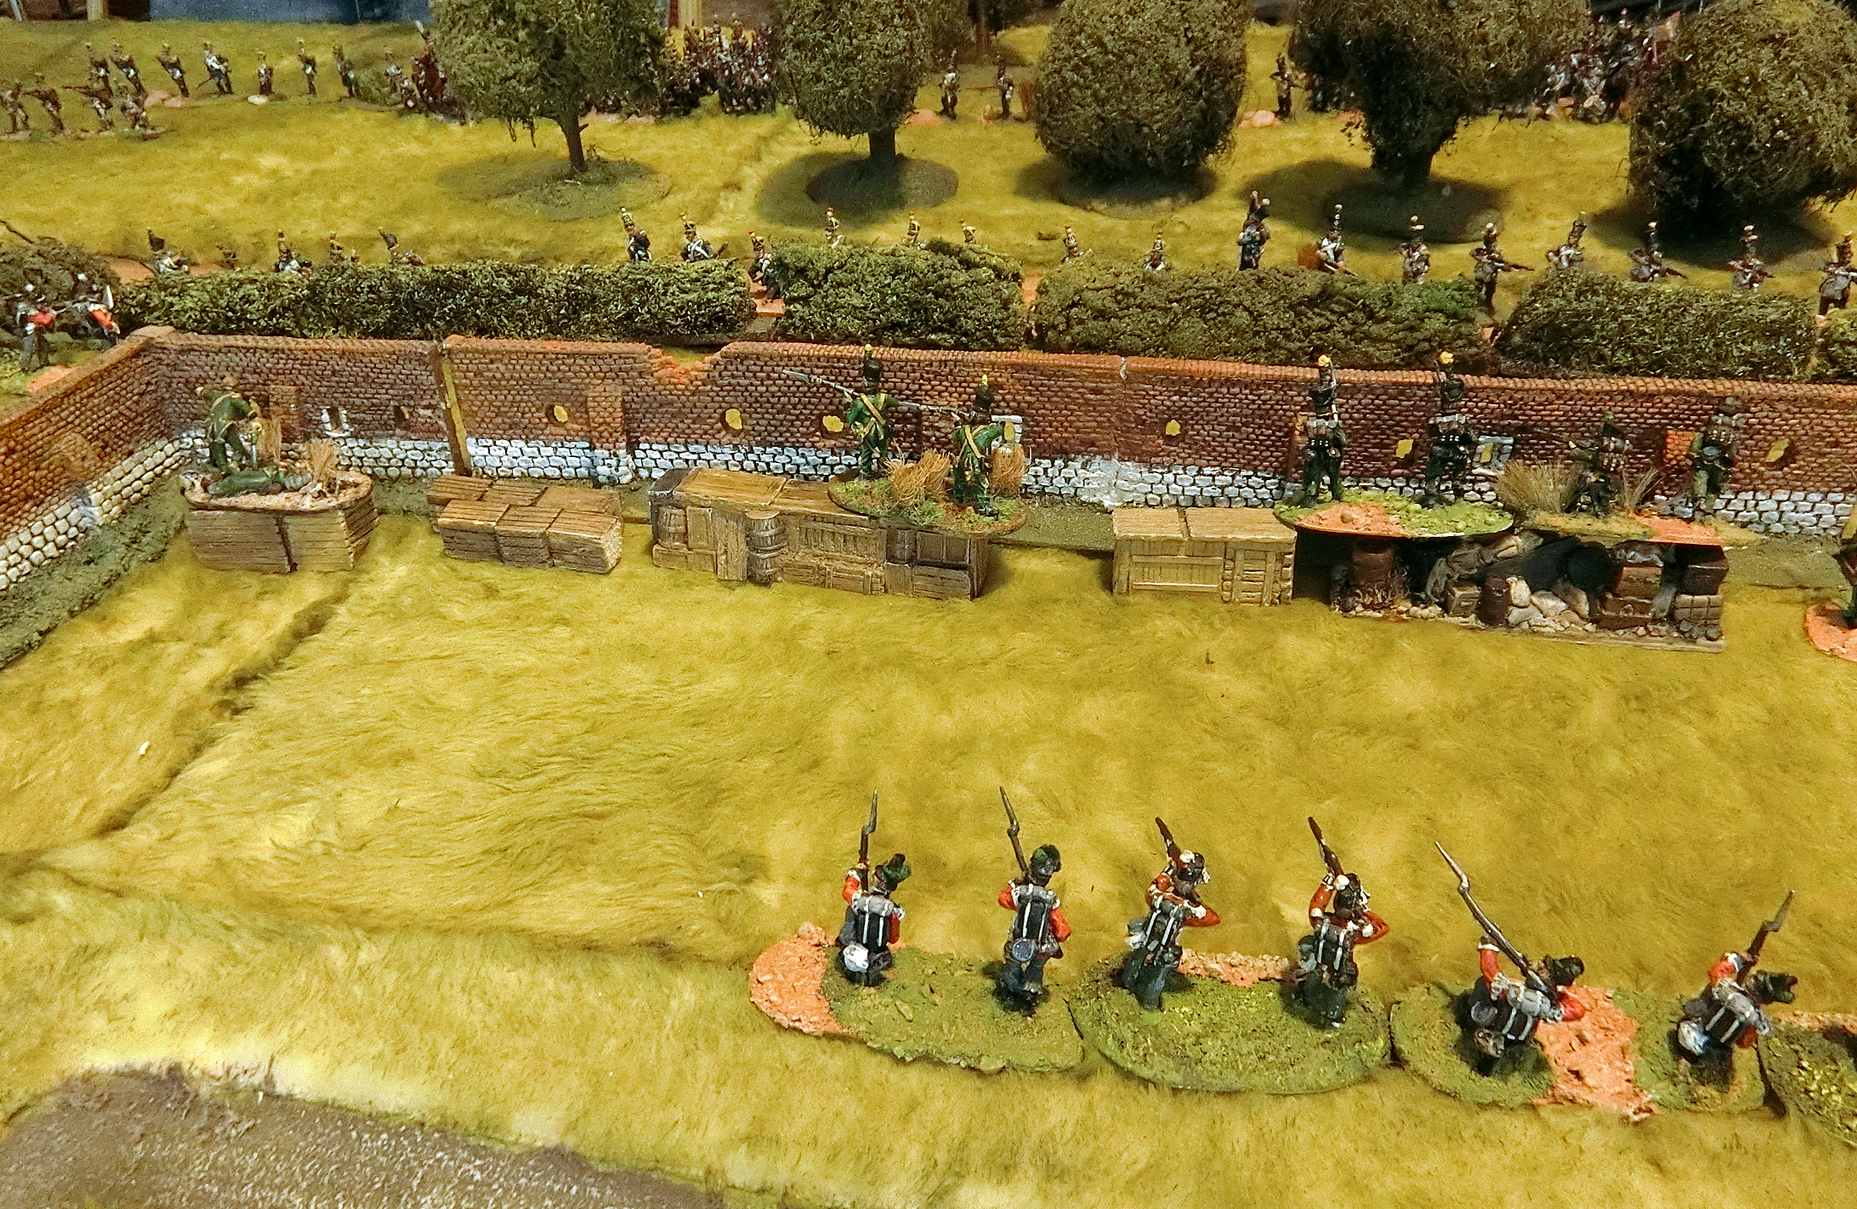
Nassau infantry line the main garden walls

British in the gatehouse garden

British in the gatehouse itself and as reserve in the courtyard

There were large battalions of line troops, over 100 strong, deployed at the rear of each side but these were just for colour and to suggest it as part of a larger battle. We only played with the skirmishers 

The French skirmish line is deployed

Dave and Paul commence the attack

Almost from the off the French got high initiative and movement cards combined with a chance card for engineers to batter down the front gates!.......

.....and quickly followed with more troops......

.........while keeping the garden wall under fire

Bash, crash,  bash!!! Success!

As we had men actually in the gatehouse this is just a nominal representation that the French have got inside the gate but are held in the gatehouse itself.

We got a chance card for Wellington to arrive which gave us the chance to speed forward some supporting companies

Still looking like the British can hold back the Frogs. We are trying to set up a crossfire from the gatehouse garden

Then the French had a chance to bring up a howitzer

A typical spread of French playing cards in just one turn........

....and a  bit later

Such was our inability to match these kind of cards that our men got shot off the garden walls despite a Plus Four cover advantage! Even Tony was surprised.

We've got reinforcements into the front courtyard and the howitzer is being frightening, causing fires but not many casualties 

Tim became notorious for his "evil cackle" as we knew another great hand of cards was about to be dropped on us

French have cleared the gatehouse and press on

Our poor cards result in the wall thinning of defenders to French fire. Redcoats have filled some of the gaps vacated by the dead and wounded Nassauers

A good idea of the overall situation at the chateau

French voltigeurs have overthrown the wall defenders but British guardsmen and riflemen surge forward to eject them.......

Burt they are being pursued by more French at the left flank garden wall 

The French surge on towards the next courtyard, but we British still hold the chateau itself

A tiny contingent of wall defenders remains after the counter attack

Although, temporarily, the French are not making any progress, everyone knows the defenders are running out of men far too quickly. A brief British counter attack in the front courtyard failed to achieve the desired result

A very small contingent still mans the chateau as the howitzer has failed to set it on fire. But this was the last move, and theoretically, the French were allowed to "recycle" their dead in expectation of far worse casualties.

It's worth me praising Guy, who I was fighting alongside for a change, as, despite his late night drinking white wine at Seringapatam, he was totally animated all morning. He was constantly darting here and there moving the defending companies (even ones supposedly mine) so it left me free to take lots of photos for your enjoyment.  Tony is always a great umpire and I think he remembers his time as a teacher  "You've done nuthin' wrong, it's just them cards, you'll gerra lorra pictures in a minute!" Yes and we did - on Move 12! We surged in a counter attack, hoping to turn the tide, only to hear the evil cackling as Tim played a King and Ace to completely thwart us once more.

Great game  and lovely toys to play with - thanks a lot Tony.

Those who can't get enough of the Hovels Hougoumont model might like to see Kevin East's version in my sculpted terrain when we played the whole Hougoumont battle at 1:3 scale over three days in 2015 here West Country Hougoumont in 2015

This took us neatly to packing up time and lunch

Wrap-up

After lunch as usual we had awards. Willz had painted and mounted some lovely models and I donated one of this year's "Wild Geese" original paintings.

Here are some photos for the record:

Paul B won "Best General", presented by Willz

Gary Phillips' Reichenburg won "Best Looking Game"
presented by CG

Tim Whitworth - "Luckiest General"

Dave Andrews - "Most Gentlemanly Player", with Willz and,
Master of Ceremonies, Steve Pearse

Aly Morrison (who else?!) - "Unluckiest General"

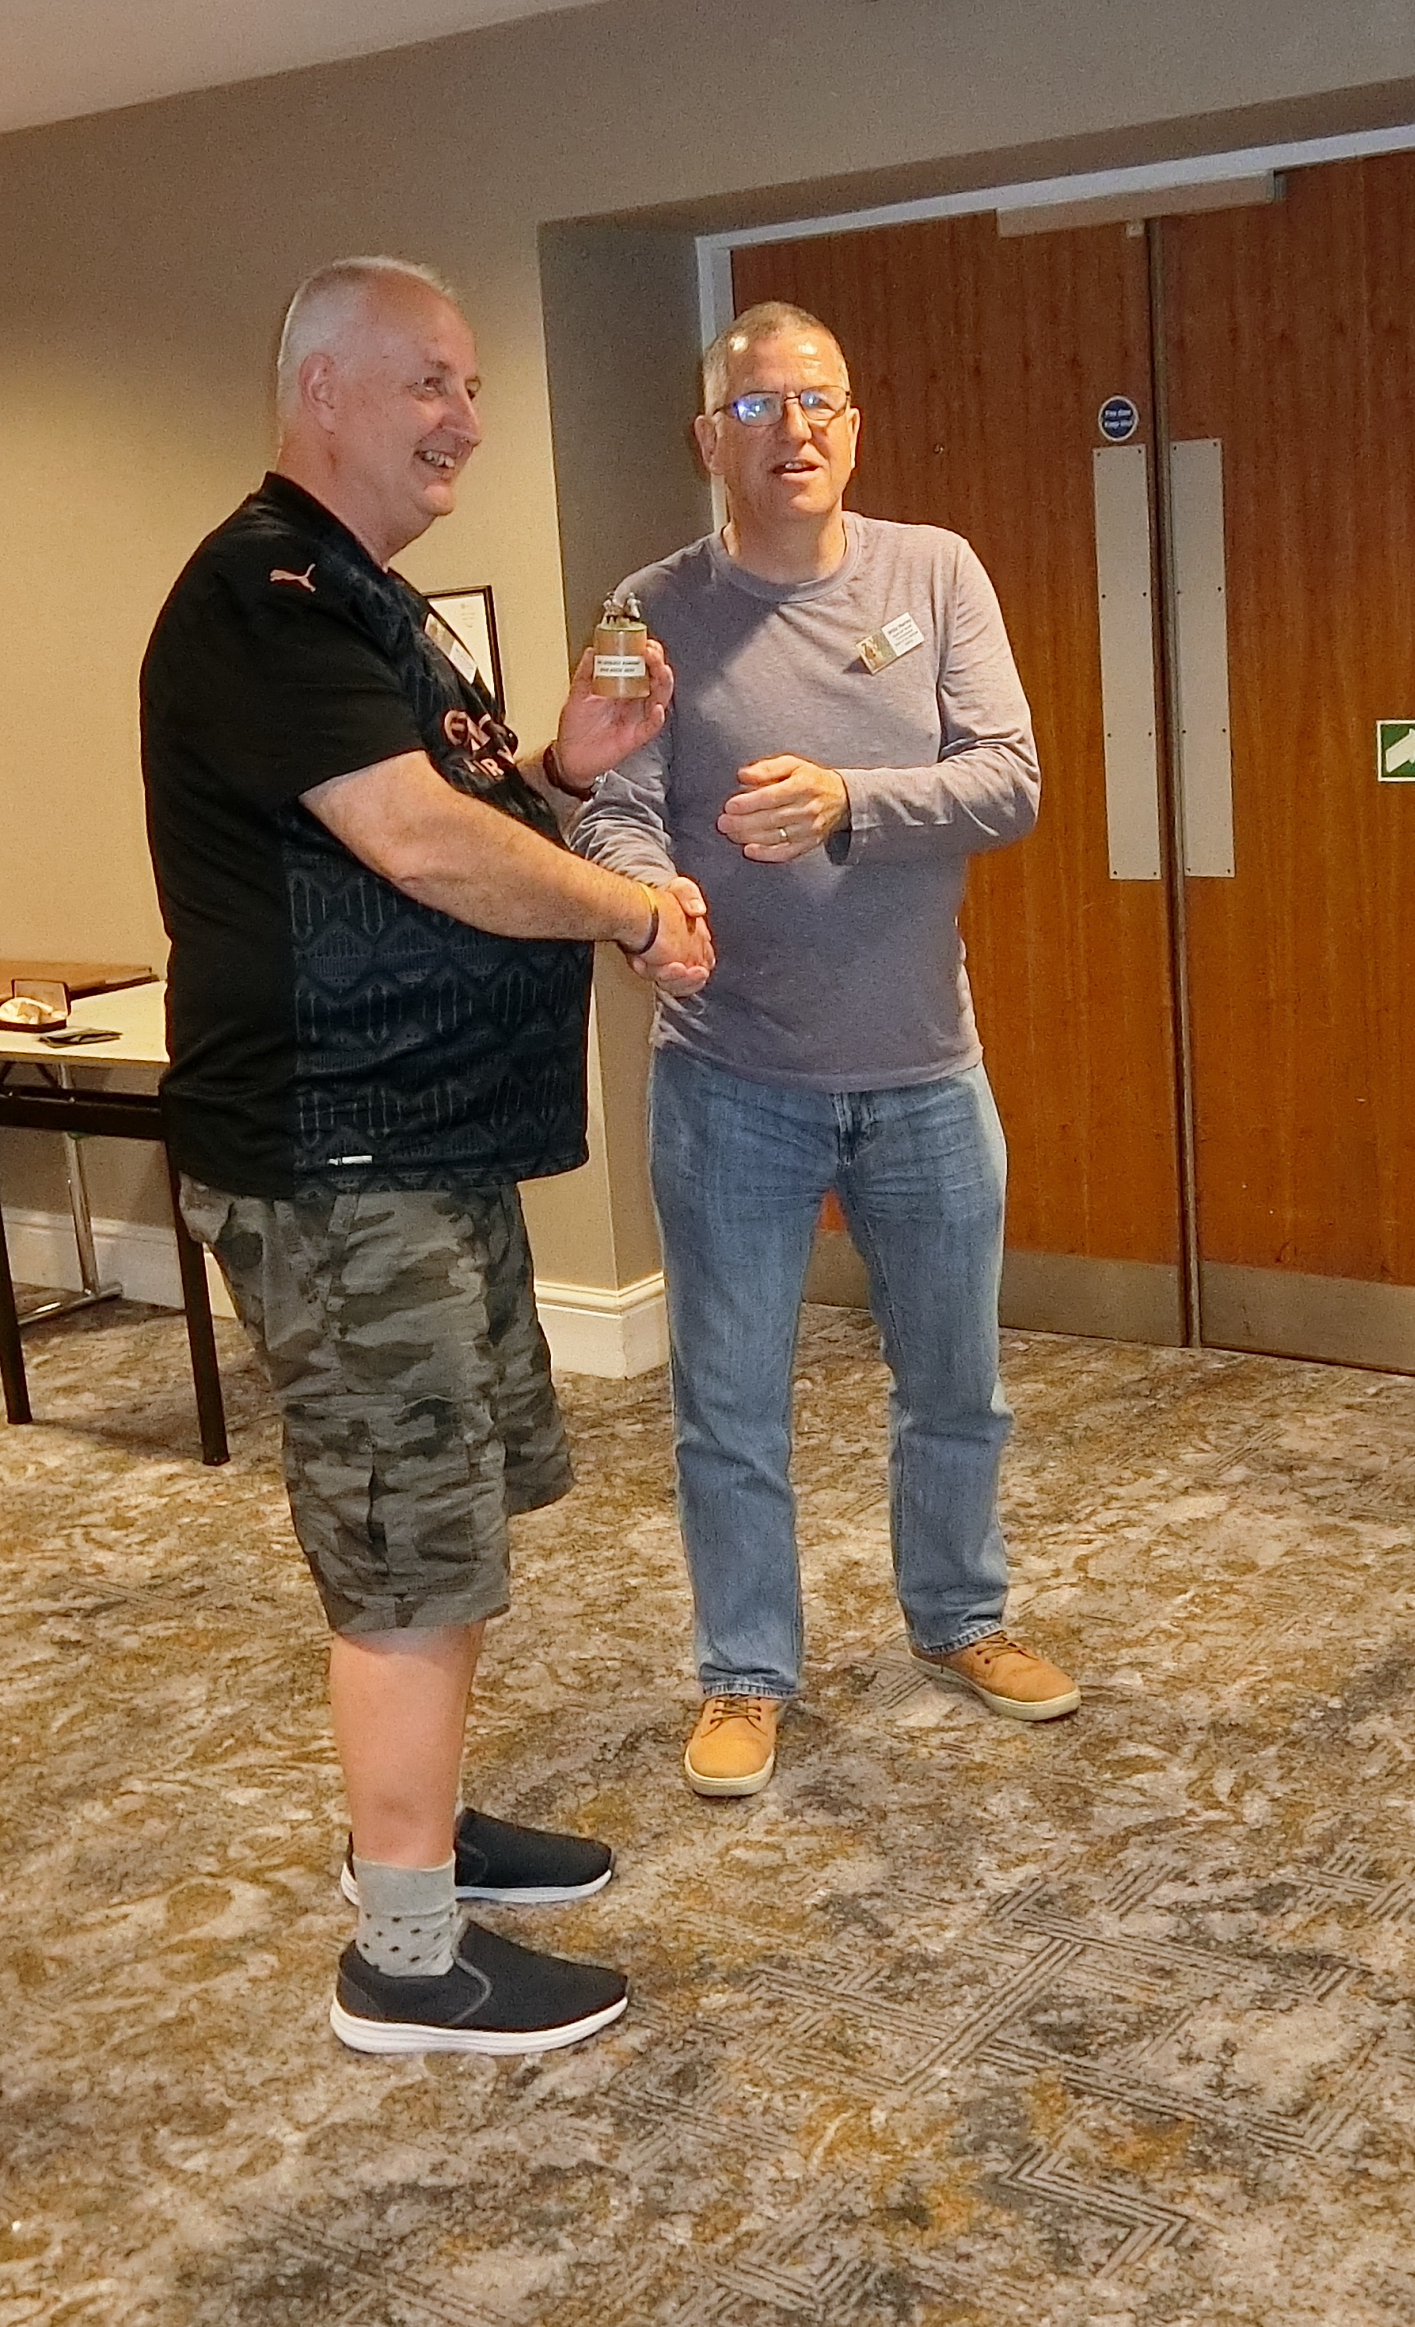
Willz generously gave everyone a hand painted 28mm 18th Century miniature, and we all got a commemorative mug.

I was able to set up a good sized display of original paintings, prints and drawings

The Hussarette paintings project is still going strong and I'm very pleased to say I sold three more, including the latest (Ensignette Margot - "Hussarette" Nr 31. below)

La Marck Regiment was suggested to me by David Morfitt (who could not be with us) due to the gorgeous colours of the uniform and the interesting flag. David is an artist himself and expert flag designer. Please treat yourself to a visit and browse at his blog Not by Appointment

And here are the four Wild Geese paintings. This year, at Colin Ashton's suggestion, I have done the regiments of Irish exiles in the Spanish army

More information on me and my art can be found on my website Chris Gregg Art

And so we say goodbye to the Wild Geese Wargamers for another year.....but luckily a few of them will be coming to my games in the Cotswolds before then.

Chris G