Showing posts with label Supertrees. Show all posts

Saturday, 22 May 2021

Making trees; and more on the 18th century post lockdown games

 This post follows on directly from my previous Back to the 18th Century post lockdown and in it I'll be showing how I made the wintry trees for Brampton and then a bit more on the upcoming two SYW battles on this terrain, with a few pointers on my Summer/Autumn trees.

Wintry trees entertain Prussians and Austrians for a skirmish

On cardboard terrain boards
But first I wanted to correct any misunderstanding created by the previous post. My normal table has a flat slightly textured green surface and some games I just "add-on" terrain features as most wargamers do. However, when I have more time or something special coming up I like to sculpt a terrain specially and after a few games generally just cut it up and reuse what I can and dump the rest. Morally I don't like putting this stuff into landfill but it's only once or twice a year at most. Like everyone I have limited storage space and my garage is pretty full since the Waterloo terrains of 2015! So this, and all my papier mache surfaces, has wrinkles where the paper dries in an irregular way. I don't care about that and try to use it by dry brushing or partially covering with scatter. I don't recommend this for your permanent table if you require flat surfaces on which to rest your hills, buildings and woods etc. unless you are prepared to work at it quite a bit and add texture to even things up.  But I'm just a bit mad as 55 years of wargaming has made me rather dissatisfied with ordinary, or too much temporary looking, terrain, sorry.


On to the Winter Trees
I'll start with giving a link that I originally showed on my blog in 2015, which is for Supertrees. This is a natural product from the USA and takes all the hard work out of making armatures for natural looking trees. Removing the hard work means its quicker to do mass woods and forests and some may recall I showed how I made about 150 for our Cotswold Waterloos back then here, But as always the pictures tell it better than mere words

First I cut lots of bases from hardboard or old canvas board from my painting. Then I passed through a strong map pin for each tree trunk. These were secured with glue. My "working area" is a big piece of polystyrene covered with paper (the same ones I used in 2015 in fact) so the pinned structures are held firm during the process

The pins are not essential but for me it means I can push them into my cardboard and plaster terrain for a secure fit which can easily be moved deliberately (but harder by accident) during the game to facilitate figures; and they also give a fixing place for the trunk

Here I've used a glue gun to fasten a sprig of natural "Supertree" to each pin. The dense nature of gun glue helps disguise the pin profile and you can be artistic with it too if you wish! Also it dries quickly which is a great help

Above and below; Small sprigs of Supertree waste bits
 are stuck over the pins which will look like ground level growth


Although you could keep them natural and move on to the bases I feel they need strengthening and painting. This was done by making up a bowl of PVA glue, dark brown acrylic paint, and water, well stirred together. It's a messy job - I suggest you use rubber gloves and have a plastic or paper sheet. The pin and poly work surface enabled me to dip them throughly and then hang them upside down to drip till the mixture dried (a couple of hours in warm air outdoors).

When dry they can be spray painted with various shades of compatible wintry tones of grey/brown cream/off white, whatever your taste.


When the trunks, branches and twiggy bits are dry it's time to deal with bases. I used PVA with a brown acrylic paint mixture and then sprinkled scatter while very wet 

I used a mixture of commercial dead leaf, or "forest floor" scatter and sawdust of different sizes with the occasional twiggy bits for variety

And here are some pressed in situ on my sculpted board in one of the spots I had prepared (see previous post) by the marshy beck

Above and below: Just for a photo opportunity I pushed some into a hill on the table and arranged the
light troops skirmishing to give a better idea of scale.  Freikorps by Foundry Miniatures from my collection; Grenzers are Front Rank I believe formerly in Phil Olley's collection and originally painted by John Preece I'm told.


Battle of the River Mur
Now for the second battle. After Guy had approved my original plan for the Brampton table Ken knew the limitations of hills, rivers and some roads for his game as we wanted to have the minimum of work to do to make an overnight change of scene. He came up with a lovely sketch which I turned into a Photoshop version based on the actual table and then we negotiated over the correct footprint sizes of BUAs etc . I was able to choose some appropriate buildings from my collection and this is a top-down photo map and a couple of photos of the table so you can see it ready.  Whether it is an Imagi-nations or historical game I have yet to find out, Ken is full of surprises...........

Photo map for Battle of the River Mur

Town of Stadl an der Mur in the foreground

Polsbach bridge and St Georgen are the nearest points of interest in this view

Making the Summer trees
To be fair I did not "make" these. I found some time ago that you can now buy on Ebay really respectable looking trees for model railways from China. They come in packs of different sizes and this size seems to be 50p to a pound or so each tree. The only trouble is they are rather garish green and don't have bases as I presume they are intended to be glued in permanent spots on a railway layout. So for my purposes I have to put them on single and multiple bases and make the leaves look nicer. 

The original colour green with grey-brown plastic trunks

I gouged a hole large enough in my hardboard bases and stuck them
 in initially with UHU glue and then later with glue gun to make them
 firm and blend in the trunk shape to the ground

Time now to use whatever commercial leaf style scatter or small tree/bush foliage you like. I used Woodland Scenics "scenic glue"  this time as it has a tackiness that holds most of the foliage in place till it is dry. PVA is not very advisable as it is prone to drip with gravity

I often mix my own blends and here i have literally thrown on some of the lighter yellow/orange tones on top to get random colour effects. 
I call on my art training and remember the theories of Georges Seurat and the Pointilist School - that if you put enough different tiny points of colour together you can create a whole different effect from standard viewing range. So they look better at a distance.


This photo shows the bases covered in my usual gunge of household powder filler, PVA, water, acrylic paint and some sand, grit or sawdust for body texture.

Here is a view of the batch with bases drying.
The different shades of green show up now

Close up pointillism, sorry about the blur! Cool tree photography or just ineptitude with flash
- you decide!

The bases are being textured now with whatever leave and foliage blends you like  stuck down with PVA glue.  Good to leave some of the "earth" showing  and dry brush it (and the tree trunks) with cream highlight. I also added bunches of thicker model foliage as bushes.

Now outside to dry off and then a generous coat of matt spray varnish to keep everything in place

Here are some of them in place on the table

And on parade with some of my RSM95 Hanoverians

The small trees in the middle distance are some of the original ones from Waterloo 2015

Must let some Crann Tara (generic) French try marching past them too.....

The Battle of the Auden Hills

I hope you've enjoyed this post so far but I haven't told you everything yet. Coincidentally while progressing this journey to two really longed-for 18th century games with old mates I came across, by accident on the Wild Geese Wargamers forum, a certain Paul B. of Cheltenham. I couldn't resist getting in touch as my 55 years as a Cheltenham resident up to 2013 made me curious why we had not met before.  Paul B turned out to be a long term wargamer of non competitive bent like me and with very varied tastes in military history and wargaming. We invited him along to Ken's River Mur game as he is keen to try out Honours of War and we are well familiar with them by now and equally keen to proselytise.

But better yet Paul possesses a couple of truly beautiful Austrian and Prussian SYW armies of Minden and Crann Tara Miniatures, and like us, is familiar with the super generous owners of those companies, Jim Purky and Graham Cummings. It was not difficult for me to invite him to try out HoW with his troops on yet another adaptation of the "Brampton" basic terrain. So I'm organising "The Battle of the Auden Hills" in mid June and I've invited some veterans of Battles here at Oakridge, Gloucestershire - Kevin East, Dillon Browne and Martin Gane, to join us.

Here is a Photoshop map version of the battlefield I have planned for us


Can't say much about it in public but, inspired by using Paul's armies I have set this loosely just before the battle of Torgau in early November 1760 and tried to come up with a scenario which will encourage both sides to be bold and we'll be using around 1000 figures in all.

I will leave you with some 18th Century eye candy - some photos taken when Paul brought his Austrian army for a little try out on my table last week.


As ever all comments or questions gratefully received and thank you to those who so graciously commented on the previous part of this double post.


Sunday, 27 March 2016

Hougoumont at 1:3 scale: How I made the terrain - Part Four

Many of the wider angle photos in the  previous part showed the area of the Formal Garden looking like a parade ground! Would that it could have remained so! It proved to be one of the most challenging modelling assignments I've done, and in this part I'll tell you how I did it and wrap up on the Hougoumont terrain as a whole.

The first problem with the Formal Garden was what did it really look like before the battle. Kevin sent me this extract from a book he has, plus a written description of the whole complex
There was no date and all those curly shapes looked daunting.
So I then had a good look at the plan in Adkin's Waterloo Companion and thought this very practical; at least geometric shapes could be measured and planned, even if I didn't know if the stylised plants represented anything in particular. It also shows probable veg patches outside the garden wall, and some ideas for the Kitchen Garden on the West side of the farm.


But how to render some of the formality in 3D? Luckily I had taken photographs of the splendid model in one of the museums at Waterloo itself. Given that it had whitewashed walls and some thatched roofs this was different from our Hovels model, but I guessed more authentic? So I reckoned these ideas for the garden were worth having high on my list


There were a few other sources along the way but the main thing I learned from it all was that no one claimed a definitive garden design for June 1815, so I could do what I usually do - pragmatic and practical using up the materials I had rather than buying fresh. One fundamental question, though, has never been answered in any of the accounts I read and that is "What state could a formal garden be in after a very heavy rainstorm and bivouacs by hundreds of soldiers?"  I suspect it would have been a muddy, soggy mess but that wouldn't look very nice, and you lot would have been muttering "he bottled out of doing it formally!!"  Can't have that so I have taken up the challenge.  However, it appears that all the concentration on straight lines meant I wasn't reaching for my camera very often in this process - so the examples are rather random! I was using the large gravel effect as a base for all the garden work therefore would not have to make any more paths. Everything was stuck down on that so it would not move during play. 
First I did a generic pleasure garden to walk in with a design not unlike the Union Jack! I cut some templates first to test for size. The lawns are green pan scrub which I had used many, many times as fields for my 6mm ACW games. They were already dry brushed with highlights but needed cutting to the right shapes as per template.  The low ornamental hedges in between were strips of Astroturf plastic mat. It was hard work cutting them, but worth the effort.
It still needed tidying up and putting some leaf-type scatter to top up the hedges
Then I needed a classic octagonal garden but thought it could be dormant so that
 I could render it mostly as lawn. The template was quite complex but vital to get it
 right with all those angles and allowing room for paths. You'll note that drying tension
between my silicone "gravel" covering and the underlying papier mache has caused a big
 crack. I toyed with filling it up but that would have meant matching up the dry
brushing, etc and so i decided to leave it. Frankly in the excitement of battle I don't think
anyone cared.
I employed some "pre-loved" green felt that my late mother had used as a base for her
 dolls (thanks Mum) then used PVA and a sieve to get an even surface of grass scatter
for the formal lawns. Once it was dry (as with all the other surface effects) I used a very
soft wide water colour brush to sweep up the residue and recover it for re-use.
Next was a low hedged garden with what in my mind
 were small fruit bushes or maybe rose bushes. For these
 I used some of my 6mm trees which were made from natural
 seed pods that looked like small fir cones, painted, flocked 
and based. These covered some of that crack anyway!
At the right you can see some more lawn against the terrace wall and these are pieces cut from some Javis scenic grass mat. It's very thin and not durable - meant for railway modelling, so OK for this one-off purpose but I wouldn't recommend for active wargaming. That was it for the moment on the formal garden, though there are finishing touches still to come. 
Here is an overall view of what I had achieved with the Formal Garden. Round three sides I added a border of "soil" which was in fact more of my dried tea leave mixture graded using a sieve. I opted for simplicity as I knew we would be using lots of troops stands near the walls and any clever plants would just have got in the way.  I still had to add flowers and Kevin was bringing them so they would not be added till the troop set-up day.
I now moved my attention to the vegetable gardens, and in particular the ones along the southern garden wall. All of them used the ribbed brown carpet as a base, dry brushed and highlighted before the  veg was applied. There are no right answers for this; I think it's just a matter of getting bulk and texture however you can and covering with different shades of green scatter for variety. 

 This is a rather odd product from Woodland Scenics that opens out into a foliage
textured "sheet". They encourage you to stretch it and use as kind of a framework
for wispy plants. However in my case I just cut it up fine and stuck it down in rows.
This bed was just coated in strips of PVA glue and sprinkled with very fine
 light green scatter.  As ever, once dry it was cleaned up with very soft brush.
The end strip was probably the most successful. It was made by tearing up a piece of
green foam packing sponge that had come in a box with some small appliance. So, the
moral is, for modellers - if you think it might come in handy for something one day
 keep it, as it probably will!  In all these cases there is the option to coat the textured
foliage with PVA and sprinkle on a different shade and gauge of scatter/imitation
 grass or leaves according to taste.
Here is the Kitchen Garden.  I've used the same principle but with slightly more wild
plant foliage. On the right are small strips of cut Astroturf and beyond them lots of
strands of Astroturf made by cutting them off at the base without the plastic backing.
That can probably be understood more easily in the photo below.
I think the somewhat trampled look is appropriate
For completeness, although you are probably bored by now after 4 Parts, here are a few more photos of the practically finished table awaiting the troops. By now I have repainted the inside of the boundary walls along most of its length, opting for a more subdued smoke effect than the lively one for LHS. If you look hard you'll see I've also put in some trees to blend diorama like with the 3D versions - but they are rather crude as I had to paint them "upside down" bending in over the walls!  Just think of it as suffering for my art :-)
As seen from the French batteries on higher ground to the South-west 
Bird's eye view from the North. You can see I have added lots of imitation grass scatter to help define the tracks and also as weed growth round the bases of walls
The small orchard borders the North edge of the Formal Garden, where I have made a hedgerow of small trees and bushes. 
General view of the Great Orchard. All the trees are moveable to allow for large troop formations to move through.
(see bottom photo of this post)
A nice view of the South Gatehouse, with some of my renovated "Supertrees" in the foreground
View from the South, showing the 20-30 yards of "killing ground" outside the walls and up to the wood. Here Kevin's trees are in the foreground.
In Part One a viewer kindly complimented me by saying I made the terrain-making look easy. Well, I suppose it is easy if you take it in small chunks and set yourself wise limits, but a project on this scale is not to be undertaken lightly and, compared to most, I'm probably slightly mad (which is what we said at the outset of the project in August 2013!).  When the LHS game finished in mid July, I had a week to recover then started the deconstruction of LHS and the construction of this Hougoumont table. I worked on it almost every day till early September, several hours a day. Final touches of the little red flowers were stuck down on 10th September and we played the game 11th - 13th. But in a team we all play our part, and my dedication to this was to reciprocate the two years of enthusiasm and hard work put in by Kevin. Hopefully I had managed to put his Hougoumont Chateau in a setting worthy of it, and worthy of the hundreds, if not thousands, who died and were wounded in the battle for it in 1815.  Kevin and the five other project members between them provided more than 3000 figures to play the game; my contribution of miniatures for this one was a mere 100.

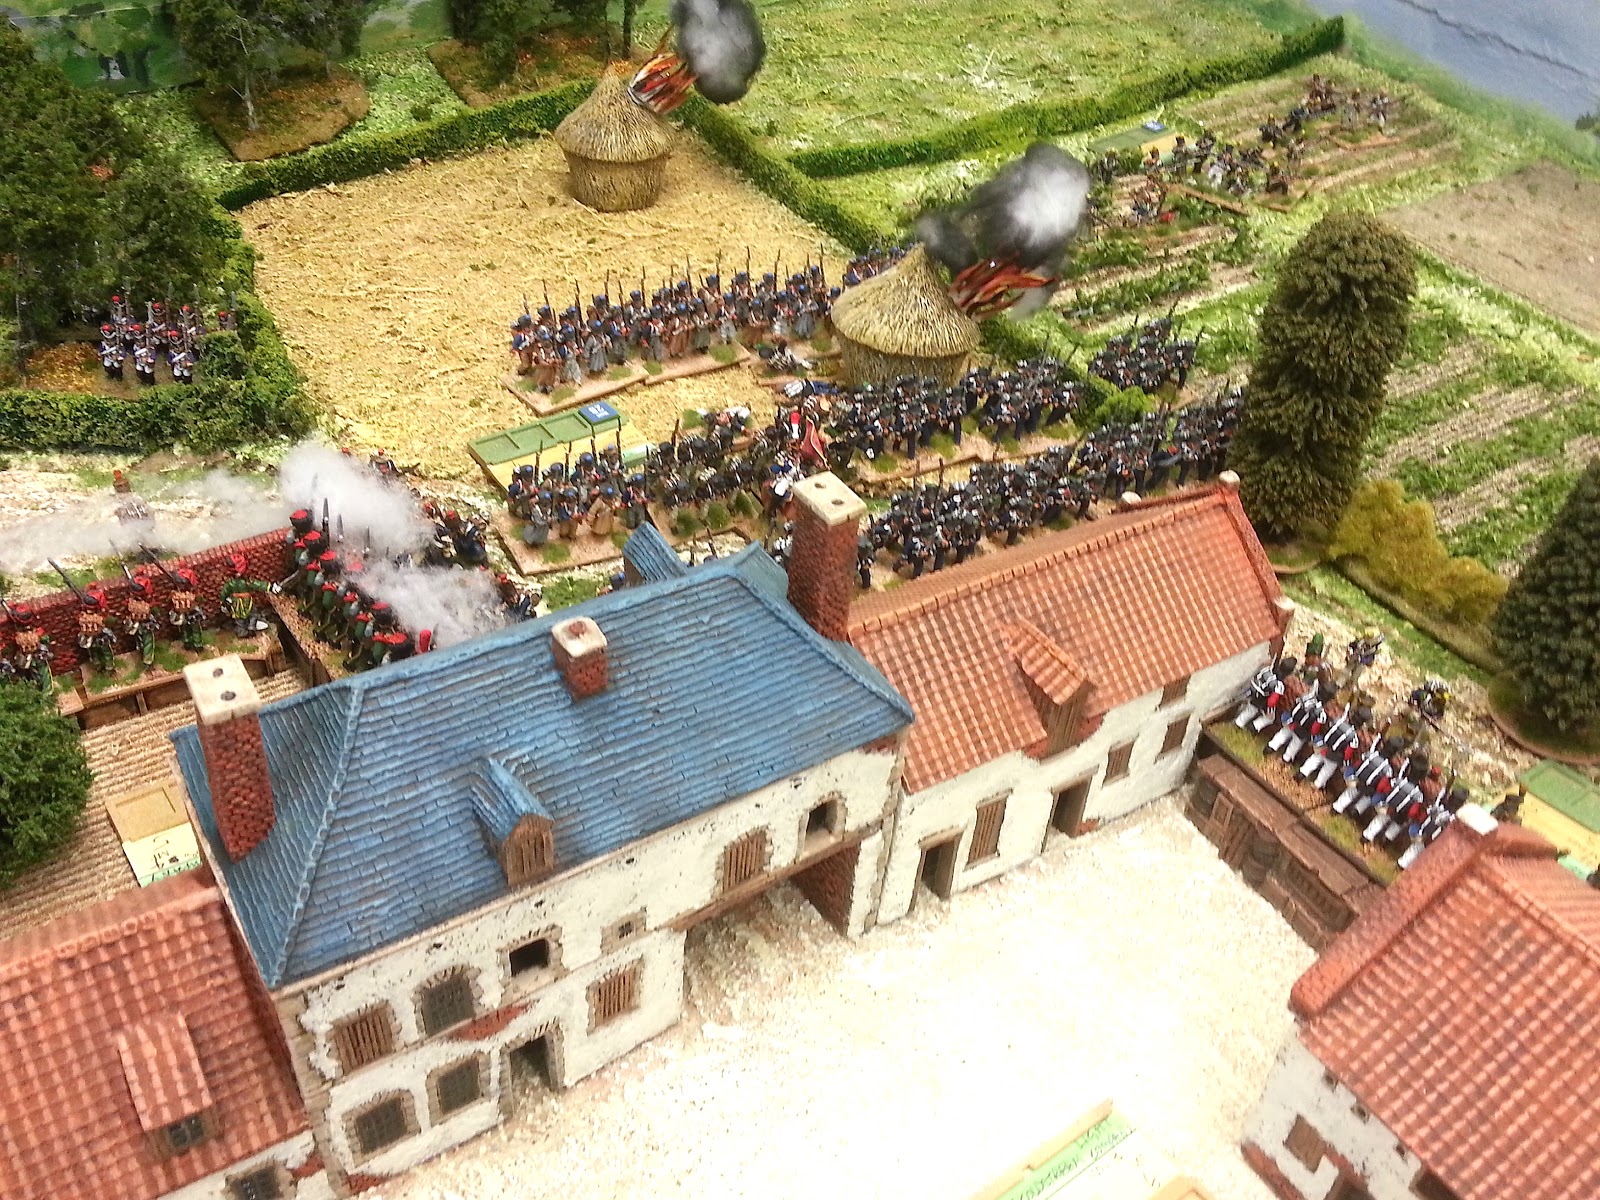
I will finish off with a few randomly selected photos of the game in progress just to give a taster of what is to come. These five photos by Kevin East.


Next time - Hougoumont wargame planning and methodology, though that might be a couple of weeks yet before I can manage the time.