Recap
I rather naughtily last time left my readers hanging just before the last moves of our refight which took place in mid-August 2021. That was because after nearly a full day's play and 3 hours of game time (9 moves) the Saxons had held on without collapsing and were being reinforced by the arrival of the C-in-C, the Marquis de St Pern. He brought up a brigade of French Grenadiers and a brigade of line infantry so we needed a bit of time to dwell on the consequences, I thought my readers might like that too.
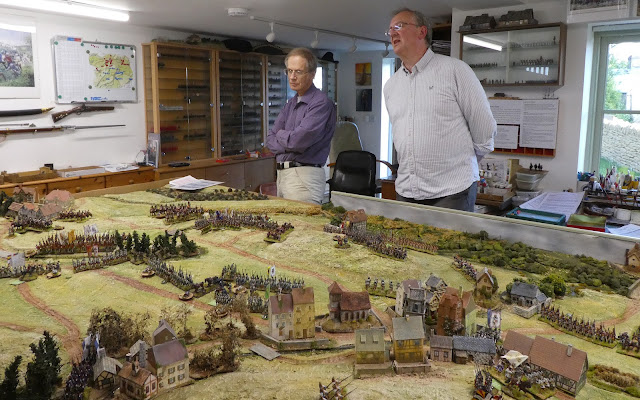 |
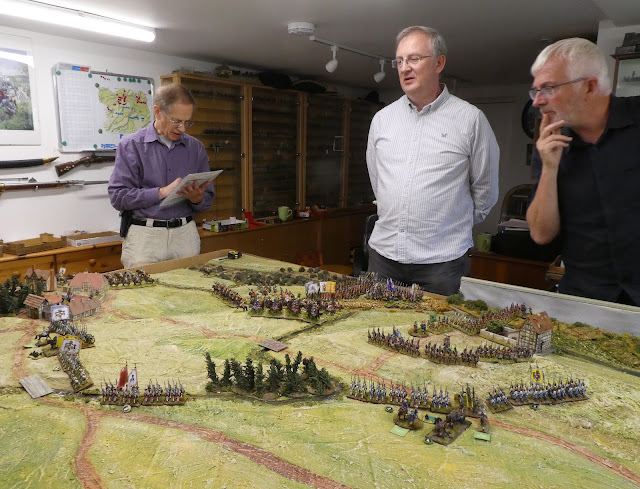
| CG in rare "listening" mode (Photo courtesy of Richard Newcombe) |
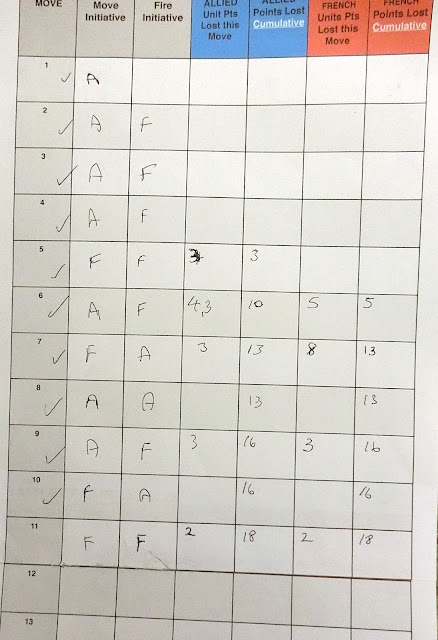
Move 10-11 Summary (10.00 - 10.40 am)
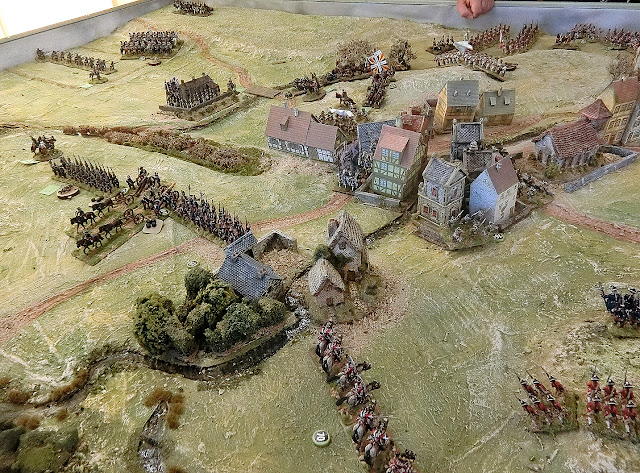
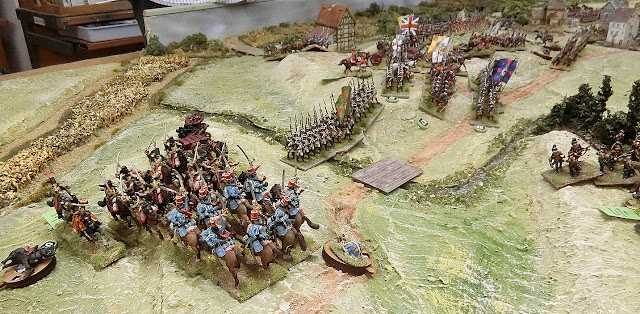
The first photo is a different, longshot, view of where I left the last post. In the distance the French reinforcing Grenadiers can be seen emerging from the wooded Ufhofen ravine. The left flank Saxons have formed a box-like defence from Langensalza town round to one of the line-of-communication routes back towards Eisenach but have been pushed back from the Sumbach stream. General Wangenheim is down there looking as if he is forlornly trying to summon another attack by the mass of Hanoverian cavalry, which has been initially repulsed and now is reforming to try again. Towards Langensalza the Allied infantry is reforming on the high ground, but in the Allied right centre Colonel von Donop's Hessians are at last on the move, although they have to negotiate dense woods held by French skirmishers on their way across the Sumbach
 |
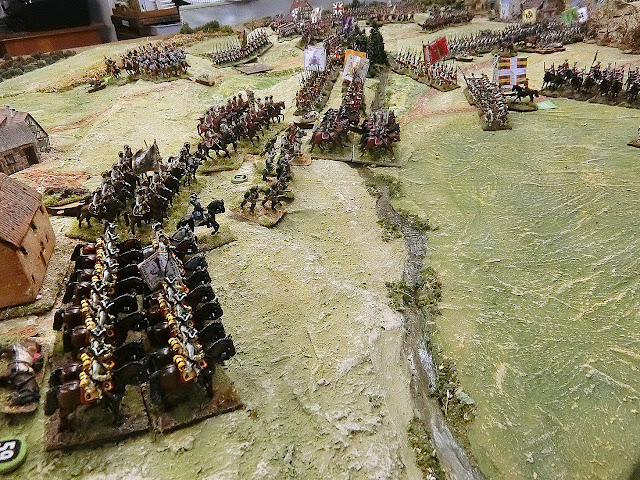
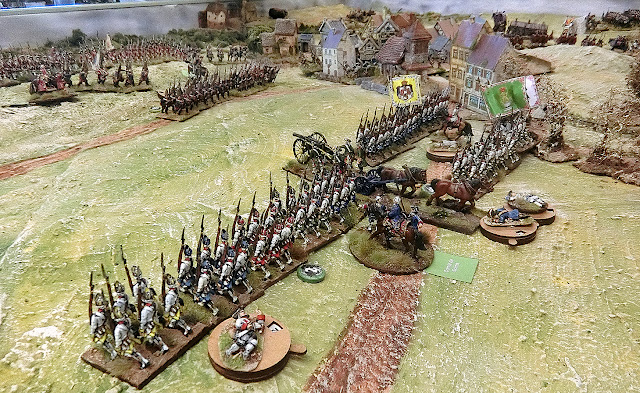
| Hessian Grenadiers form the front line on the right-centre high ground and Hanoverians the second line, but all have casualties from their previous efforts. The Hessian Musketeers appear at the extreme right. |
 |
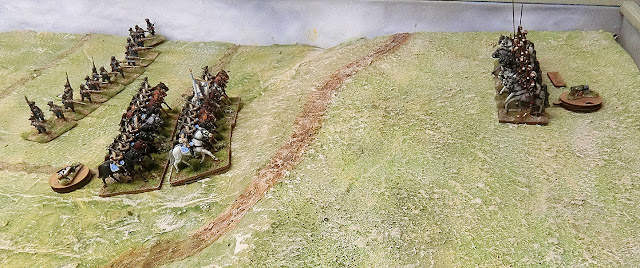
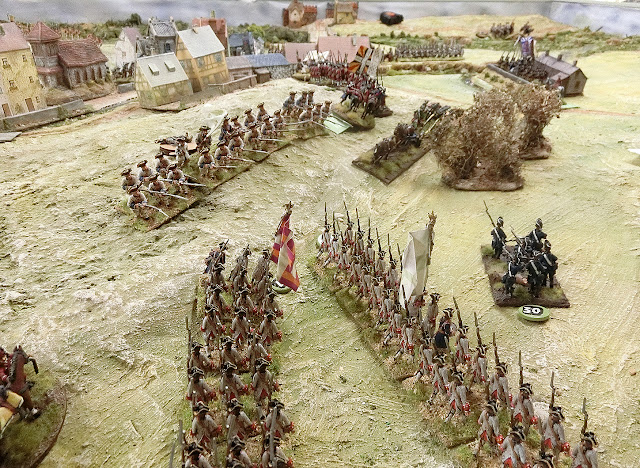
| By about 1030 some Allied cavalry reformed enough to make a tentative return across the Sumbach and von Luckner's Jagers have come up from Schonstedt to join the attack. |


- Only one Allied brigade was effectively unbloodied but that was led by a Dithering commander and most of the others were only just reformed or reforming. Allied commanders knew they had done their best but it was not as good as they hoped given the apparent initial advantages. Dice had evened out across the game so far except for poor Paul's Hessian Infantry brigade. Their failure to make progress was truly significant in giving the Saxons a stable infantry line at 10.00 am
- The Saxons/French were very pleased with their achievements so far. The left flank and centre-left had held on better than the tactical situation suggested it might. The town and high ground were still in their possession and though the right flank was vulnerable the reinforcements had arrived in the nick of time. Most importantly in the centre the arrival of the Grenadiers meant the French could go on the offensive there.
- Historically, Paul and Martin conceded that Allied Commander, von Sporcken, had not achieved anything like a decisive blow to the Saxons and to press on now would most likely result in the whole Corps not being a viable strategic unit at this outset to a new Spring campaign. To retreat with some honour intact seemed the most realistic outcome, perhaps holding the high ground and bridgeheads until the rest of the Allied Army manoeuvred a way forward for them.
- Also from a historical perspective the French accepted a limited victory in that we had put some artificial "fighting spirit" into the French /Saxon army and that to save the Saxons from a disastrous and costly withdrawal was a significant achievement. To inflict a major defeat on the Allied attackers was never an expected outcome.
- Most significantly Both Paul and Guy felt they had had plenty of satisfaction and a good return for their painting and organisational effort, as did I too.
 |
| CG in "checking the rules" mode (with Paul B and Martin) |
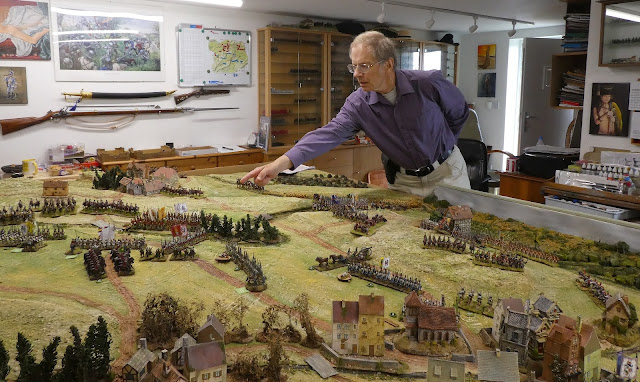 |
| CG in "director mode" (photos courtesy of Richard Newcombe) |
I did not notice till we were well into the game but our version bore a remarkable tactical resemblance to Waterloo. The Saxons are Wellesley's "infamous" army - an infantry-strong force of units of mixed ability containing some stalwarts and some ne'er do wells, but mostly average. They have to hold a fairly wide area which has outlying strongpoints and high ground but not enough resources to put up a good show everywhere. The Prussians are represented by the French main force arriving when their opponents are stressed and weary and enabling the offensive to be taken. The Allies are strong in cavalry and artillery; just like Napoleon's army they have a significant boggy area to cross which holds up the deployment of the guns for an hour or more. They have the tactical opportunity and space to outflank, but only if they are quick and resolute. A subordinate commander has access to a lot of good cavalry and if reckless he could lose them to the musket fire and bayonets of resolute infantry (happily Paul was sensible!). Both sides have a good corps of Grenadiers/Guards which are destined to meet in the centre of the field........
However, for us, the reinforcements merely brought the defenders to parity, not giving them an overwhelming superiority.
I hope you have enjoyed reading about it and seeing the pictures as much as we did organising and playing. Any thoughts, comments or questions very welcome and thanks for staying the course.
And those who worry about my custom sculpted terrain being a "one trick pony" I have had 7 more games on it since in various guises and in three different historical periods - more on them later.
Chris, a great conclusion to the game and so nice to see the Saxon's get a win and... you got to use the table again! That must be a plus. Have a great Christmas mate. Cheers Greg.
ReplyDeleteThanks Greg. Never played Saxons before but historically I like to see if we can give an under dog a chance in a scenario. Seasons Greetings to you down under too
DeleteBeautiful game, just beautiful!!
ReplyDeleteThanks for wrapping things up for us and all the post game thoughts etc. Very good to read this sort of thing:). Looking forward to seeing what other offerings you have for us in the future.
ReplyDeleteA great write up and a magnificent spectacle. Hats off to you sir.
ReplyDeleteA v interesting concluding part and I really like the close up photos. I never thought of the Waterloo comparison. It was great to get the Saxon's on the table for the first-time and even better they did not disgrace themselves. A cracking game all round rounded off with an evening in the pub. What more can you ask for.
ReplyDeleteGuy
I totally agree Guy and thank you so much for all did to make it an enjoyable success. Perhaps we need to look at a battle where the Saxon cavalry can partake? cheers CG
DeleteA spectacular game with stunning troops and terrain - I am in awe!
ReplyDeleteRoger, Steve, Paul and Stryker. Thanks for your appreciation and constant support. My plan is for a near Christmas post giving a taste of the other games and asking what readers would like to see first/most in more detail.
ReplyDeleteBrilliant series of posts Chris and as always, figures and terrain to absolutely take your breath away. Outstanding once again.
ReplyDeleteSo glad you enjoyed it all Carlo. I can always rely on you, mate, to take it all in and give us a nice comment, thank you.
DeleteExcellent all round, as always - the game, the visuals, and all the interesting explanation - but especially good to see the French and Saxons do so well! The tweaking of an historical event is so very satisfying too. Glad to hear that that battlefield, which took such a lot of work, has proved useful for a number of games.
ReplyDeleteCheers,
David.
P.S. My reply to your latest email will be on its way to you later this weekend!
Thanks David. You've summed it up well and thank you for your continued appreciation of our doings. In the real battle a few Saxon infantry units fought on well till surrounded and had to surrender, so I think given better leadership (Guy and Richard!) we have vindicated them.
DeleteThank you Chris for more fantastic 18th century wargaming eye candy and even more inspiration. 6 Months until Kenilworth I am looking forward to catching up and a good bit of soldier shuffling over the weekend.
ReplyDeleteMerry Christmas and happy gaming,
Willz.
Thanks for all your support Willz and I'm looking forward to Kenilworth too, "Soldier shuffling?" is that some Frederician tactic I have not yet read about?
Deletecheers
Chris