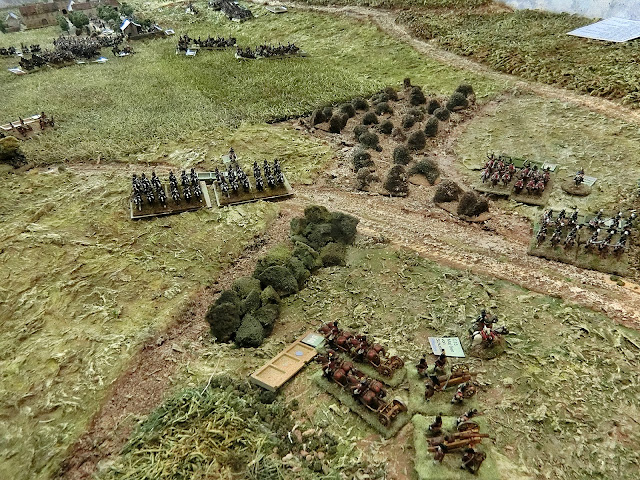
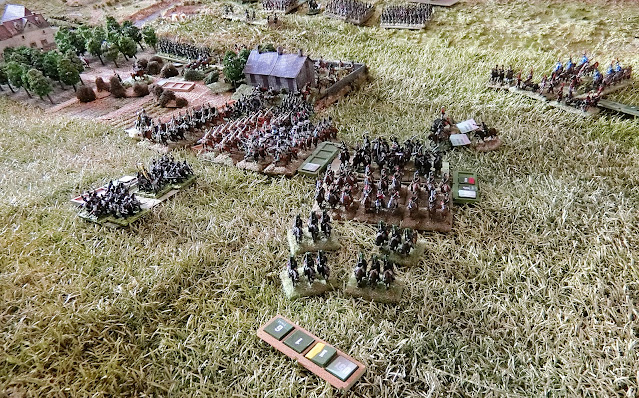
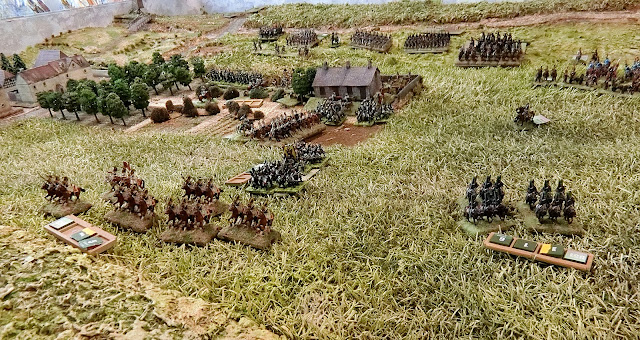
Monday, 7 August 2023

1809 Campaign: Test game two - Landshut/Altdorf, 16th April 1809

 Those who are following my progress with this project  ( see Reviving my 1809 campaign)  might think I am being slack by not posting often, but if anything, the opposite is true. It's just that I tend be striving towards the next goals such as rules updates, research into battles and orbats, designing maps and making terrain features, not to mention more troops to paint and base, rather than blogging my every step. In the previous post we saw how I'd got a workable set of rules (my expansion of Honours of War) that still needed some significant adaptations, particularly to skirmishers and artillery to make them more worthwhile. Also I had been too ambitious and the big game for only two players in a day had not tested the extended rhythm of play.

For the next one I was confident enough to start our "refighting" of some of the important engagements. Happily the first was the Austrian toehold into Bavaria proper across the Isar river at Landshut on 16th April 1809. I say happily because this was only a Division plus-sized action and would be manageable for my 1:50 "Corps sized" rules in a day. It would enable us to see how the eb and flow worked over 8-10 moves - around 3 hours historical time.

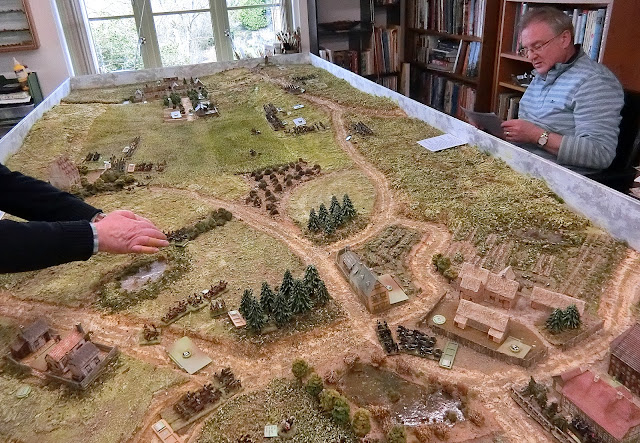
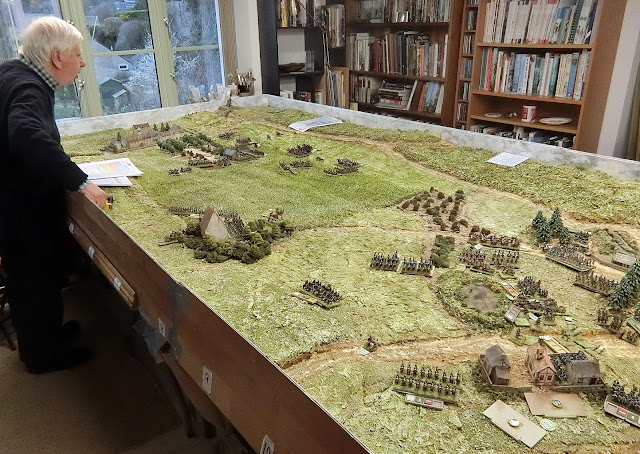
Steve Johnson and Richard Newcombe fully concentrate on the action

John Gill's excellent map of the whole action from Vol 1 of "Thunder on the Danube"

The actual battle
Briefly, the Archduke Charles led the central column of the Austrian main army thrusting South of the Danube, trying to press the French and Bavarians while they were split up and ill-formed to fight a campaign. The experienced Bavarian General, Deroy, was tasked with holding up the advance and he deployed one brigade and some artillery in Landshut to contest the Austrians trying to rebuild the two bridges to cross the Isar. His second brigade was deployed back on the heights above a 3 km wide floodplain near the village of Altdorf. 1st Brigade held for a couple of hours in the morning and Deroy organised a skilful withdrawal back to Altdorf (there was only one road across a marshy floodplain not fit for artillery). Eventually the Austrian Advance Guard, under the later famous Radetzky, caught up, and a battle ensued along the escarpment and into Altdorf. The Bavarians gave a good account of themselves and retreated by late afternoon up the Pfettrach Bach valley. They continued to retreat throughout the night back onto the main Bavarian Corps positions and the Austrians did not pursue, being content to occupy the heights and consolidate the bridgehead.

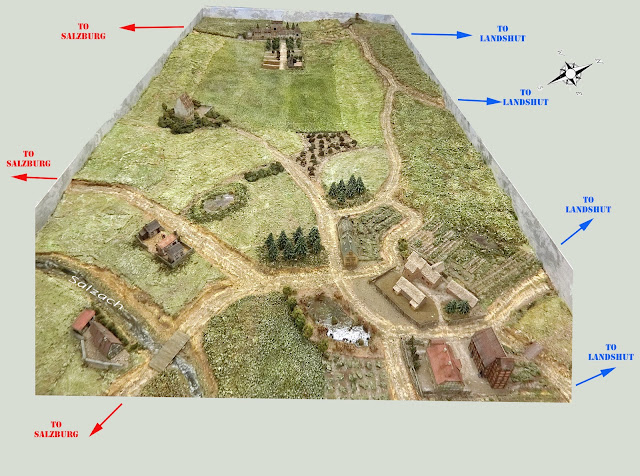
 I used Photoshop to colour Gill's map and remove the historical units. Then planned out how my 8 x 6 table might work to give maximum gaming to a rough scale of 2 feet (60cm) = 1 Km. This was inspired by, but not a copy of, Michael Hopper's Altdorf scenario in his book "Eagles over Bavaria"

Preparing the battlefield

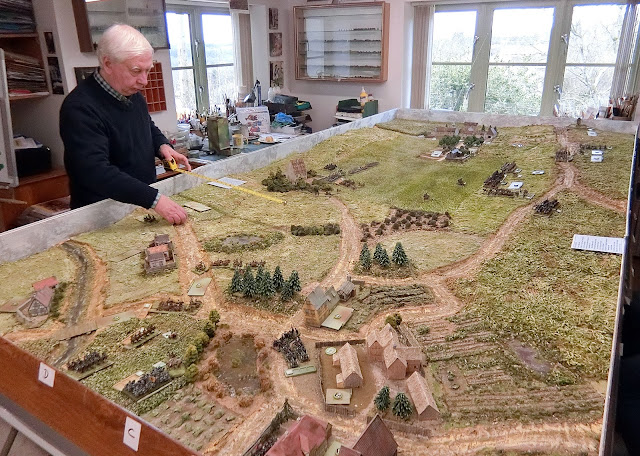
I had to dismantle the previous 12 x 6 terrain (and salvage most of it to store) but the following sequence will show that I was to make Altdorf as a reasonably sophisticated landscape built on my flat table top, not fully sculpted this time. The following sequence shows the main steps.

Ridges and hills cut from previous sculpted tabletop terrains were
cut and persuaded to go together in an aproximation of Gill's map
as shown by the 8x 6 grid
 

I then used tape, paper and PVA to blend them together to hide the joins

This part is always fun - blending a mixture of plaster, sand/sawdust, PVA and paint to build up the texture and match the existing table surface


It's just a matter of working at it with dry brushing and adding discrete scatter and sawdust till I'm happy that it is good enough

I'd got my kids to treat me to some more 3D printed German buildings (12mm) for my birthday and enjoyed painting these and making some little walled enclosures compatible with my figure bases, as well as cutting away the insides of the bigger ones with lift-up roofs to accommodate troops

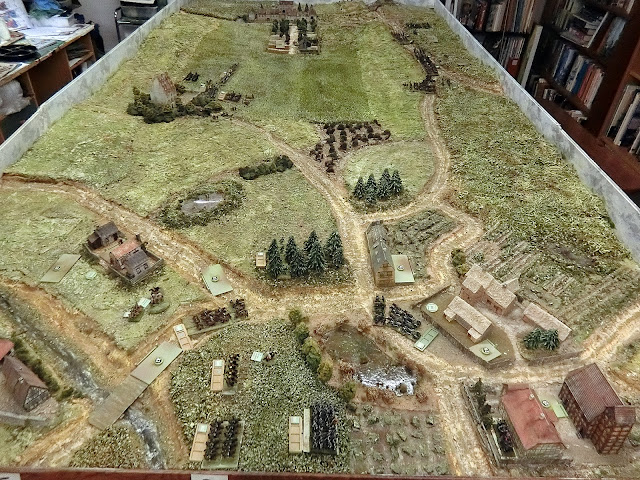
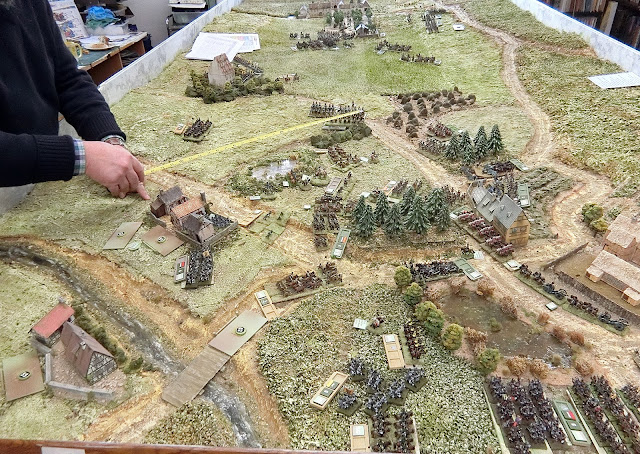
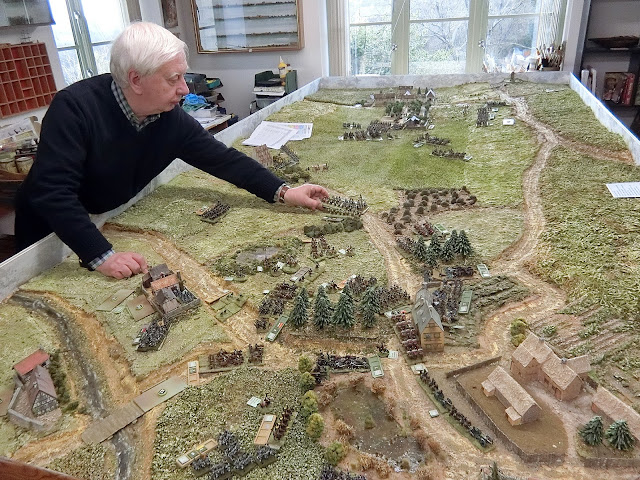
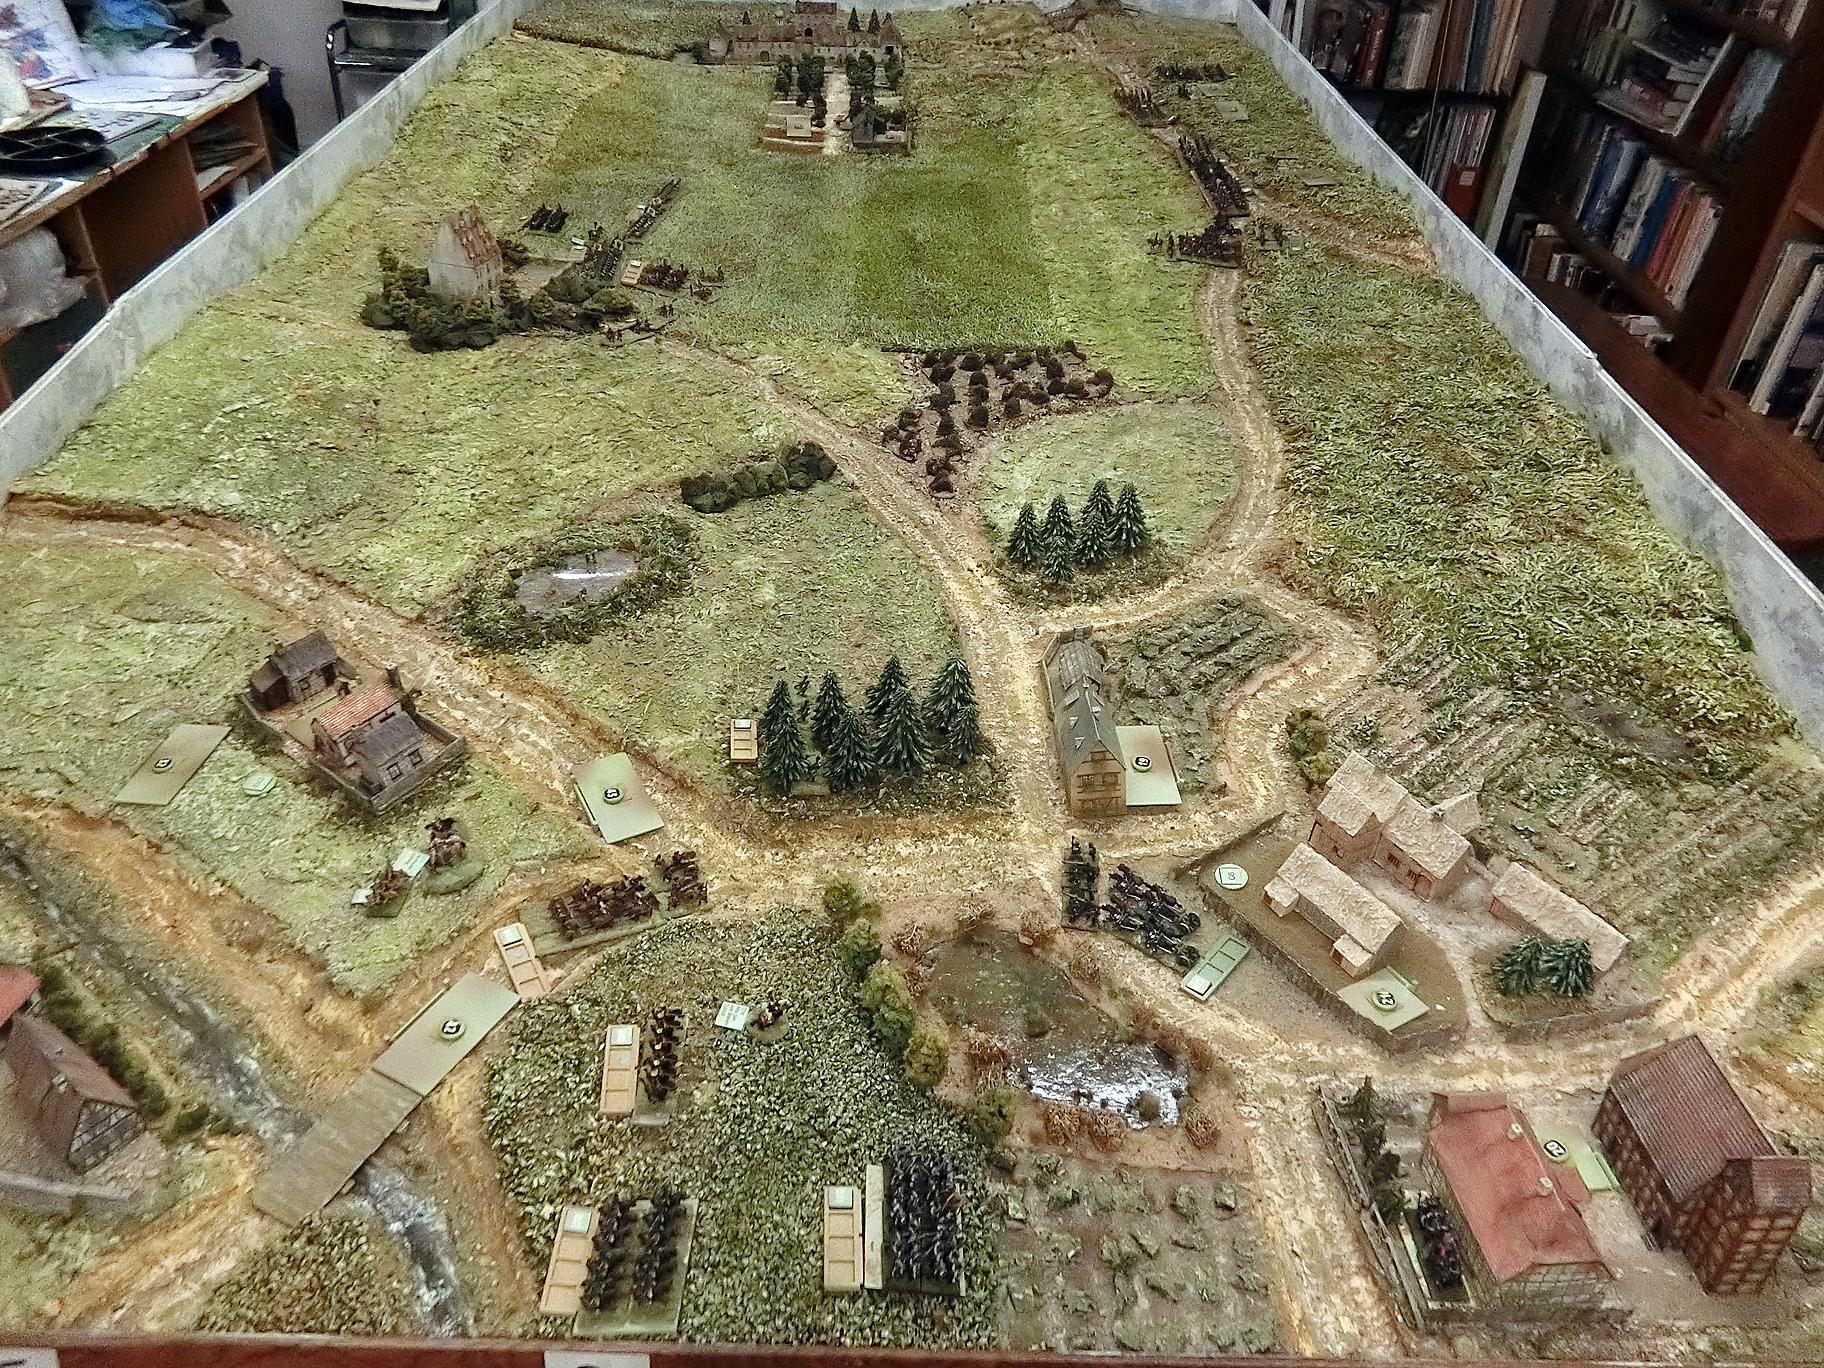
Everything else was just "add-on" features (roads, rivers and trees) temporarily lightly glued in place. It was important to show the marsh, impassable to artillery, which I did with green scatter and sawdust. This is the initial set-up for our game played in mid-May 2023.

The map I gave the Austrian Commander (Steve) to plan his deployment.....

.....and the Bavarian equivalent for Richard

Altdorf- the wargame

Those who are interested can access the full Briefs and Orbats as PDFs here or via the Napoleonic link in the right hand side Downloads bar. Bear with me that there are a lot of photos. I got a bit carried away reviewing them as this game had a lot of incident and surprises and it was difficult to decide what to  exclude. I'm giving you about half the ones I took and will let them tell the story.

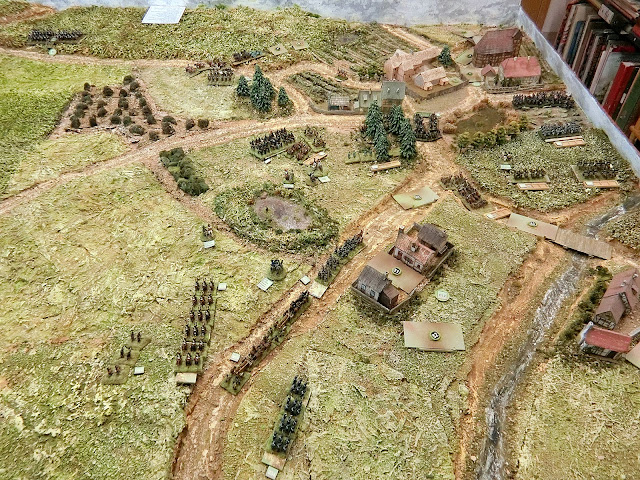
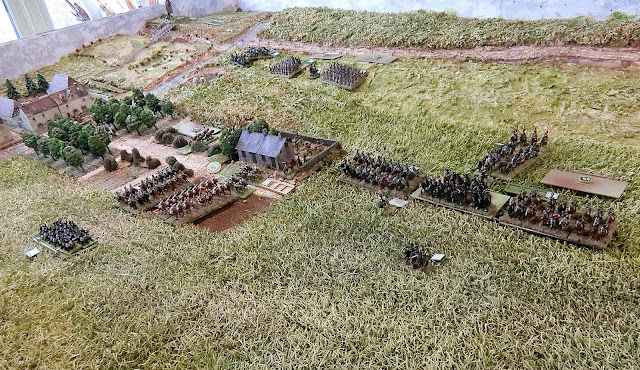
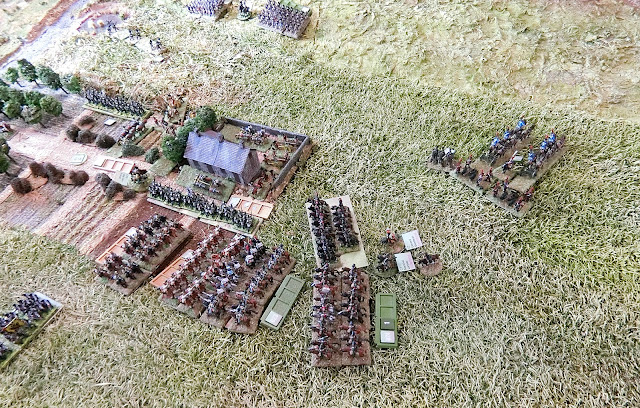
View above the Bavarian positions. Plastic bases with numbers on are Blinds waiting to be revealed. The two in the foreground were actually dummies just to fool the Austrians for a while

7th Light Infantry in the dense woods on the Bavarian right high ground

Richard originally placed two Line regiments in Altdorf village

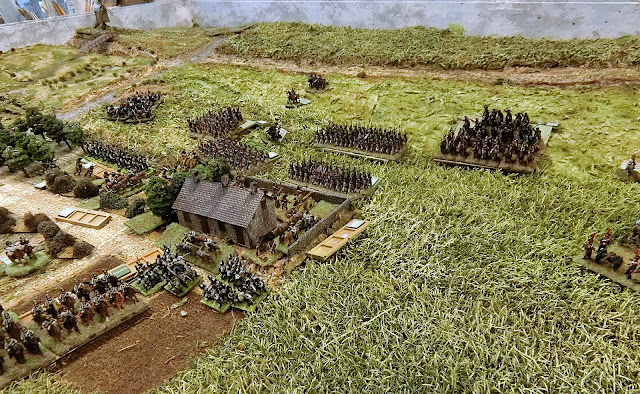
5th Light Infantry occupied the church and churchyard. The blank base next to the church is a Bavarian Foot battery I decided need not be revealed till it fired.

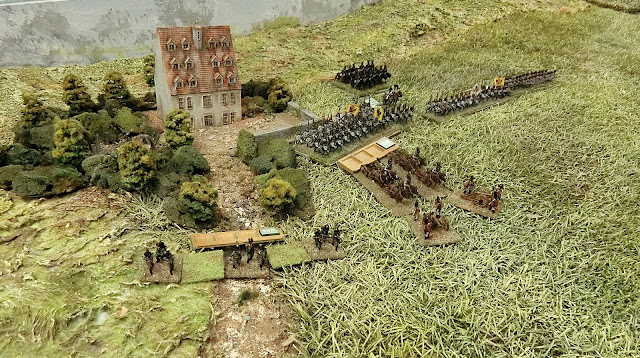
The 1st Division of V Corps provided the serious backup to Radetsky's Advance Guard. This is their left flank

General view of the Austrian advance from the St Nikolas suburb of Landshut

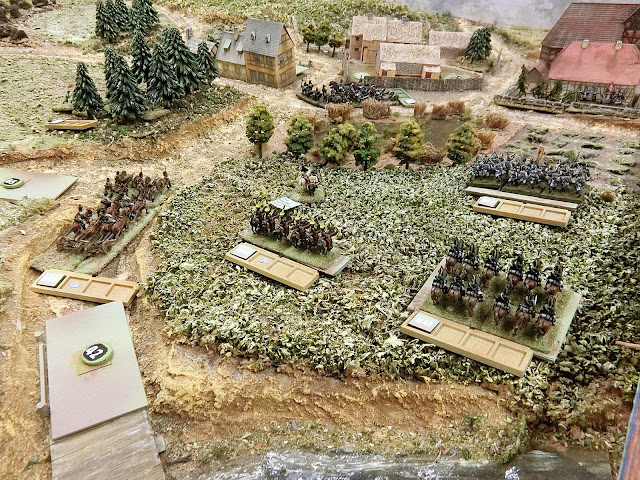
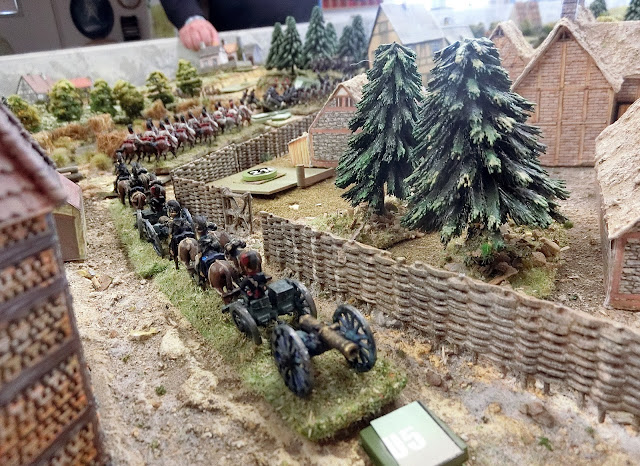
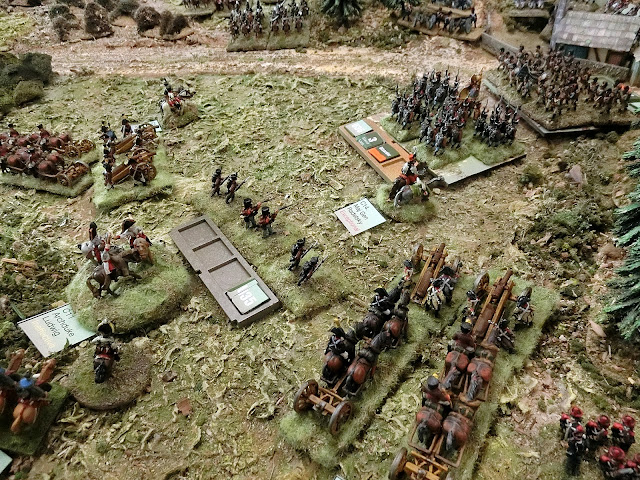
A really big disadvantage for the Austrians was that the artillery was restricted to the causeway across the lowland. It was only wide enough for one gun model of the two forming a battery, and at the start Richard was careful to place his own batteries for converging fire on the road if needed.

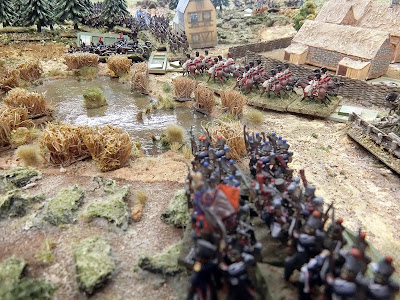
View from 5th LI in the church and yard

Poor Steve rolled a 1 for his "Ineffective" right flank General who promptly decided retreating for one move distance was a good idea! Also in Move One the Bavarians decided to step back a bit and gain the higher ground up the slope


Seeing there was no opposition on the West side of the Pfettrach Bach Richard decided to bring his line infantry onto the East bank, soon followed by 7th LI from the right flank. By the church the Bavarian battery now opened up causing a bit of initial pain to Steve

Richard consults the Hit Table and Steve checks his Order of Battle information

Austrian infantry suffer Hits approaching Altdorf Church

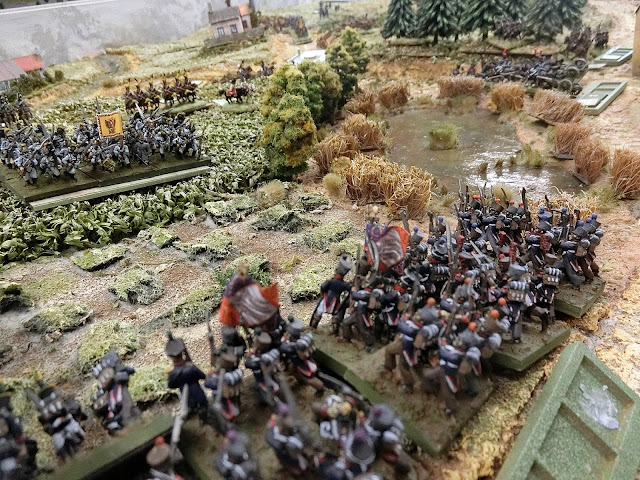
This photo looks dangerous for the Bavarian infantry retreating to a new holding line, so they turned to a facing position along the contour. Meanwhile an Austrian attack goes in to the Church area but they suffer from Light Infantry volley fire frontally and canister in the Flank quarter

The Austrian right flank has recovered with a double move and Steve hopes to threaten with both brigades of light cavalry

Above and below: The accumulated casualties on all three Austrian left flank units proves too much. One is shattered and flees and the other two withdraw to recover. Archduke Charles iwill soon arrive on-table from Landshut and begin to try to bolster these units.


Steve is not easily put off as it gets worse. Radetsky's Light cavalry have been forced to retreat from artillery Hits (below) but he presses on with infantry, and the large Lancer regiment meets the Bavarian Light horse who have the uphill advantage


The Lancers are repelled on 4 Hits.....

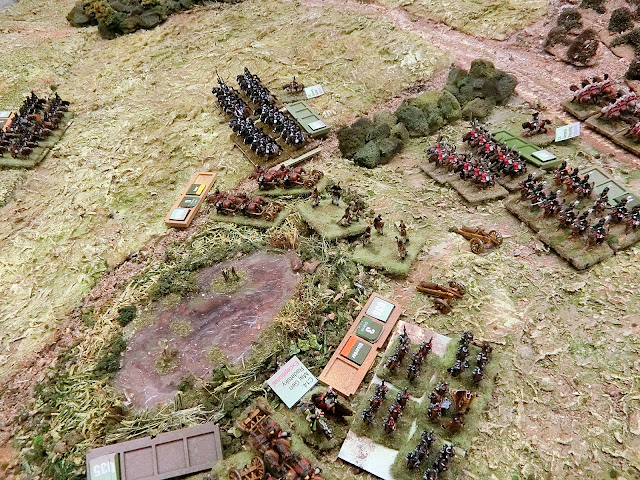
.....but the Bavarians suffered 5 Hits and, in my system, being large, just had to withdraw two moves to reform. So this is the view from their new, hilltop position. Down in the valley you can see one Bavarian battery has had to retreat from Hits from Radetsky's Horse Artillery who have established a full battery frontage. Also the "trivial" size Grenz group of marksmen has scored Hits too.

 A large Austrian infantry regiment forms a firing line to maximise its effect on the other Bavarian battery, even so they have suffered 3 Hits from artillery fire so far (orange marker).

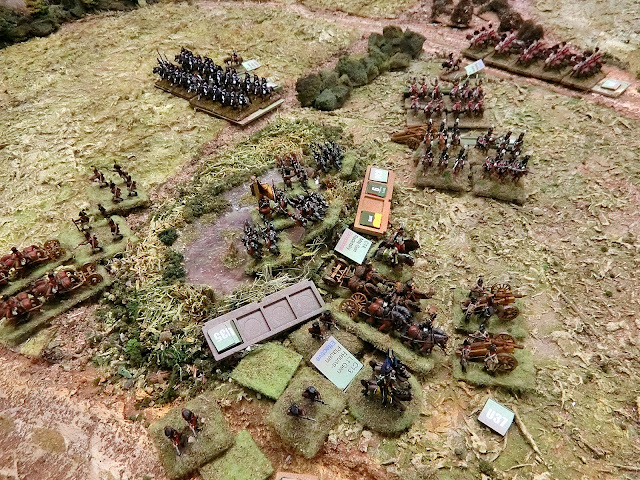
More Hits on both sides in this exchange and it resulted in a withdrawing infantry regiment but the battery held firm for now

The central Bavarian battery was limbered up withdrawing to try to reform (red marker)....but those Marksmen, on three Hits, are still viable

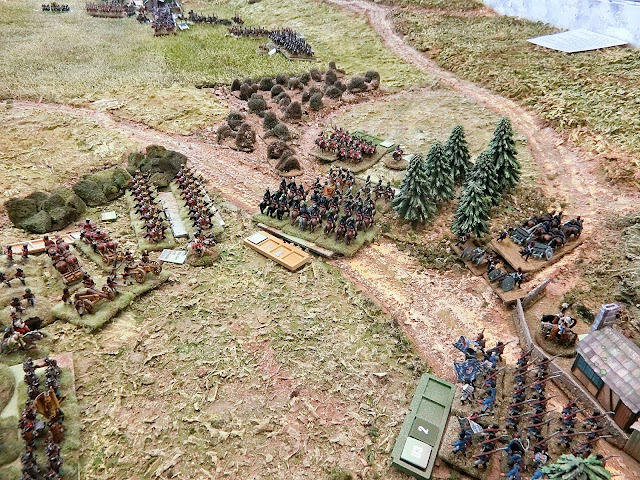
Not counting the artillery, Richard's plan for an orderly but slow withdrawal was working North of Altdorf village and up the hillside across the mouth of the valley.

5th LI came out of the churchyard to skirmish......

......but were not quick enough to stop those pesky Grenzers rushing the retreating Bavarian artillery and destroying them

All of a sudden the Bavarian Horse Artillery battery was looking very isolated

A bit more good news for the Austrians was that Charles had called forward the two Heavy Artillery batteries of V Corps which had been in action at Landshut that morning, but had taken till mid afternoon to get down into the plain.

Bavarian 7th LI has now reached Altdorf church to complete the new defence line

Before Richard could rescue his artillery an exciting incident occurred. The battery had limbered and was retreating but was rushed by that pesky "battalion" of  Grenzer schutzen, who in turn were attacked by the recovered Bavarian cavalry thundering down hill

At that point on the northern hilltop nearly behind the Bavarian line (Square A7 on the maps) appeared the remainder of the Grenzer regiment. These had been on a pre-ordered flank attack through the village of Ergolding which was an option I had given Steve for their use. Interestingly Richard had pulled his line back by then so they were decorative value only at the moment.

By now, although far back, a lot of Steve's Austrians had recovered and were ready for the fray again. Archduke Charles was in a good position to organise a renewed advance. You can tell Steve means business - sleeves rolled up and his glasses have come off! (...see no evil?.....)

Extra tension had been created by the Bavarian 5th LI getting a double move and menacing the Austrian Horse Artillery with musketry, while behind them their own HA had been destroyed in the melee and the Grenzers were running helplessly before the Bavarian Dragoons

The latter, with their brigaded Chevaux-Leger regiment, rode on downhill to be met by Austrian Chevaux-Leger and Lancers. The 5th LI formed up and charged  the Austrian "cavalry battery" with the bayonet

The outcome was two broken cavalry brigades and a dispersed Austrian cavalry battery

Behind all this, and now rather exposed, Austrian heavy artillery had unlimbered along the causeway and opened fire on the Bavarian defenders of Altdorf and the church

The church was set on fire and 7th LI forced to retreat

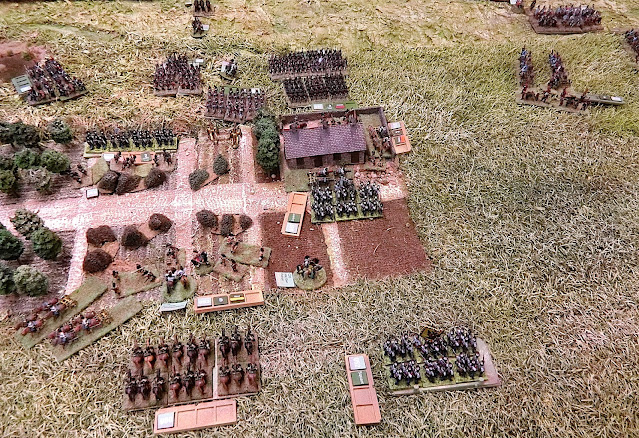
The wider angle view shows that 5th LI's forward position was totally untenable and Richard quickly pulled them back as a collection of large Austrian units closed in.

The intact Bavarian Line regiments, 7th LI and the remaining artillery battery  withdrew together to a third line due North of Altdorf

There are still a lot of capable Austrian units in the bottom half of this photo but too far away to disrupt the planned Bavarian retreat up the Pfettrach Bach.

My rough time chart showed that we had had 8 out of the 10 Moves I wanted by "going-home-time" and attrition losses of "Done-for" units were nearly equal, but what about terrain and the strategic advantages?

Wrap-up

I had stretched History a bit by allowing the Bavarian cavalry brigade of Preysing to arrive on our battlefield from late afternoon. By the following randomness:

<<Preysing’s cavalry brigade arrives North of the Pfettrach bach in Squares 1B/C dependant on a

D6 roll:

Move 6 - requires 6; Move 7 - 5 or 6; Move 8 - 3,4 5 or 6; Move 9 - automatic>>

In the event Richard did not get a score to bring it on early but his orders allowed him to retreat once they did. So we notionally thought through what might happen in Moves 9 and 10 and concluded that the Bavarians would be able to start their getaway unopposed, especially with the help of Preysing's cavalry to cover them.The full Victory Conditions did not depend much on Attrition losses as I did not want to stultify either side by too much caution - and boy did they both go for it! You can check the VCs out by the Briefing downloads linked near the start of this post.

What mattered in the end was their "Expected" or "Hoped for" Victory. Neither side knew the other's Victory Conditions but this one was the same for both sides in essence

<<No enemy units on your side of a line through squares E1,D2,C3,B4,A5>>

By Move 10 both sides would have achieved this so I sent home two happy bunnies by telling them they could both report to their Masters that they had won a Victory!

Conclusion

This had been a really good game and I'd like to thank Richard and Steve for the effort they put in and the determination of both players not just to try to achieve victory but to test the rules as much as possible. They tried their hardest to do so. In a normal pick up game the Austrians probably would have felt defeated by Move 4 or 5, but later Steve remarked how successfully the recovery rules worked to enable the eb and flow of the way battles read in the books. I've introduced a concept into the simple HoW system that when units reach the break point (usually 5 Hits) they can roll a D6 score of 5 or 6 (aided by close leadership and unit quality) not to Flee but to remain in the game and retire to recover most of the Hits. Hence my Army Point casualties for Done-For units (a 6 point scale depending on size and quality of unit) are lower than my 18th Century games and I need to take that into account when setting Victory Conditions.

Both players said the rules worked well now and they could not pinpoint anything especially to change. So, bringing me back to the first paragraph, I spent much of the time from this game until late July preparing a big weekend game (as trailed by the map in the previous post). That employed about 1500 figures, which was a big step up from the approximately 500 of this one.

Next time I will present the first part  (Intro, background and making the terrain) of the dual battles of Hausen-Teugn and Dunzling, fought on a 12 foot by 6 foot sculpted terrain at my little eyrie in The Cotswold Hills of Gloucestershire - Don't miss it!

FOOTNOTE

I mentioned in passing the Scenario book by Michael Hopper of Canada, "Eagles over Bavaria". I need to elaborate because I will be using this book as inspiration and a very strong guiding hand for all my 1809 refights, at least in the Bavarian part of the campaign. Michael has produced four books on 1809 , the three I have breaking down into Bavaria; the advance along the Danube to Aspern-Essling; and the fighting at Wagram and vicinity. The maps and orbats in the books are exceptionally well researched from multiple sources (but using John Gill's "Thunder on the Danube" extensively). The scale and detail is such that one could take each scenario and use the info to refight with any set of rules from the battalion level of General de Brigade up to the grand scale "Age of Eagles", and indeed my own "Abensberg to Wagram" which uses brigades and battalions where necessary. I recommend you get a second hand copy if you can as in a recent email Michael told me: 

<<I am sold out of all four (4) books covering the 1809 campaign and likely have ten (10) or less copies of Rise of Eagles 1805. All I can suggest is providing my email address = log1cal.mh@gmail.com on your blog. It would allow me to hear from inquirers, send them sample scenarios and (hopefully) they might then buy whatever I have in stock (the first two Albion books)(These are about Britain's part in the Napoleonic Wars - CG).  I am considering a very limited reprint of the first two books on the 1809 campaign - Eagles Over Bavaria 1809 and Duel Of The Princes 1809. There have been a few inquirers. I have not made any effort to talk with a printing company though.>>

So get in touch with him if you want to correspond with an expert on this campaign, or enquire about his other works. He told me he is working on 6 more books , but did not say what they are!


Saturday, 24 June 2023

Napoleonic: Reviving my 1809 Campaign games

 Sincere apologies to those who follow me for active wargaming content. To be honest it has been a very productive and creative year artistically (model buildings and terrain, 2D paintings and painting several hundred 15/18mm figures) but not many actual games. However a lot of that effort has been spent in writing a "new" set of rules for large regiment/brigade level games, and this post will show you the first experimental "big game" with them.

Some may recall I wrote an intro to my ideas and showed the armies at the end of my wrap-up blog post from 2022. Please have a look if you need a reminder. 1809 Armies at New Year 2023

I'm pleased to say all the aims I wrote in that have been achieved and we are pressing on to success.

I put "new" in inverted commas as the very generous-minded Cotswold wargamer/author extraordinaire, Keith Flint, gave me the go-ahead to adapt his SYW "Honours of War", which I love, for my Napoleonic games. Anyone familiar with HoW will take to my "Abensburg to Wagram" (A2W) set very easily. The ideas have been to change the scale to 1:50 from the notional 1:25 of HoW; add an extra layer of Commander ability and make leadership more significant; change the emphasis of the Hit table and addition/subtractions for a Napoleonic battlefield; allow flexible formations and unit sizes (from Trifling German schutzen to Huge 3000-4000 man Austrian regiments); allow for the flexibility of a lot of Light Infantry units; and a Hit/Recovery system that is less predictable than HoW.

The Battle of Emmerting-Burghausen - test game

I was keen to try a big battle on the 12 x 6 foot table while I still had it intact from those games in 2022 (remember the Winter Jacobite game of Althorp?). So I restored it to a green/brown terrain meant to be Bavaria in a wet April of 1809. I added in my newly acquired 3D-printed German buildings and spruce trees, then concocted a fictitious battle and a campaign background to give it some context. Here are the briefing documents and orbats for anyone interested Emmerting-Burghausen documents.  The idea was to have a large French and allied Corps army pressing an even larger and still viable part of the Austrian army which had the incentive to retreat, after a set number of moves, by roads to the rear and Eastern corner. The French force had more effective leaders (Paul B. was Marshal Lannes) and therefore the ability to move faster, so might interfere with that plan.

I won't give a link to the rules at this stage as they did not entirely work (that's why we test!), and we only got four, fairly eventful, moves done.  No point dwelling on it in too much detail so I'll present a lot of photos and hope you enjoy them, and then I will wrap up at the end and say what we did next.
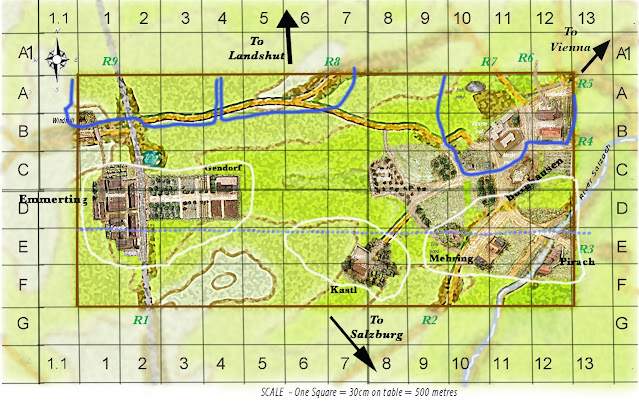
Austrian deployment areas are in white, and their basic line of retreat was towards Salzburg. The blue dotted line marked the limit of the Austrian commander (Richard  N. as Archduke Ludwig) to place dummy units  - we used a Blinds system and scouting to reveal hidden or distant formations

Table before the troops. 

An overall view at deployment time. The blank green bases are blinds which may or may not conceal real units. Next few photos are a tour of the armies on at the start

I had a lot of "Wargamer ADC" bases left over from Waterloo 2015 games so snapped off the four small compartments and these are used for Unit number: Hits suffered: Status, and probably, but not yet, Size.


This is a reduced size (missing out one of the storeys) 3D printed building from a row of very tall Leipzig town houses. I am using it to represent Kastl, which I imagine as a stately schloss in its own parkland


3D printed buildings which were the subject of a post earlier this year


Both sides were due to get reinforcements to their front lines very early on. Richard is bringing up light troops at speed

Paul will be bringing his on shortly on his left flank

Nearest villages are mostly downloadable card ones which followers will have seen on my18th century tables

Up to this game (March 2023) the vast majority of the troops were bought on Ebay and painted by others. They are nice but I can't take any credit. More of mine in future games.


In the distance Paul has advanced quickly with Montbrun's Cavalry Division, hoping to exploit the unoccupied enemy central area

Richard has brought up Radetsky and this has enabled an Austrian advance on the French, who had opted to stay mostly in Burghausen village until the Bavarians began to arrive (Light Cavalry brigade behind the distant woods)

To Montbrun's dismay Lannes' scout squadron has revealed a Brigade of Austrian Cuirassiers lurking  behind the hamlet and gardens of Gendorf

Bavarian Dragoons and infantry advance through Burghausen

Bavarian artillery

Austrian Grenadiers in Gendorf will soon want to form squares

Bavarian and Austrian light cavalry brigades clash

And battle is also joined between the larger formations to the West. French Hussars backed up by Chasseurs 


Austrian attacks have been repelled in the foreground and at  the cavalry fight  near mid-table. But a French Cuirassier brigade has attacked right through the centre and is overwhelming Richard's lancer screen.

Richard has to pull back his Lancers

Action at the central road between villages. French Light infantry have stormed through the woods and repelled Austrian Jagers but there is an artillery stand-off with batteries doing little damage (a lesson for our Hit Table)

A regiment of Archduke Charles Legion attacks the Bavarian infantry supported by two artillery batteries

The successful Cuirassiers look menacing

More Austrian Grenadiers in squares while the cavalry fight - Chasseurs have broken an Austrian Hussar regiment

Although the front Austrian Cuirassiers have been broken collective losses have caused all Montbrun's cavalry to withdraw to reform

Richard is content that the cavalry threat to his centre has somewhat receded. Unfortunate Initiative dice by Paul had stalled his infantry division above Emmerting. The line of retreat for the Austrian Grenadiers and Cuirassiers is not clear through being dominated by two French batteries

French infantry at last attack Gendorf and the nearby orchards and kitchen gardens

French turn to form squares to defend the gap in front of the Burghausen rathaus and church

Austrian lancers reform while eyeing up the Cuirassier threat

One Austrian battery is broken by Bavarian cavalry.......

.......who go on to hit Archduke Charles Legion in the flank, forcing them to flee through the pond

Not surprisingly the infantry fairly easily overcame the artillery at the hedgeline, but not so those protected by the Gendorf BUA. In fact we found it came down to who got the most "natural 5s" on Average dice to break the opponent. Again the Hit table and melee duration needed looking at. 

Conclusion

In only Four Moves there was, not surprisingly, no result of who might win, but it was only a test game so the main lessons were:

- The Hit Table needed to be more drastic, especially for Artillery and for Open Order troops.

- Units were "Done For" quicker than I wanted so that was still too predictable.

- Leaders did not have as much effect as I hoped, except on Movement.

- Squares need a better boost (we did not in fact test them but I had forgotten to give them an advantage - shades of HoW 18th century not yet shaken from my brain!)

- With the rules as they were this was too big a game to be played by only two players in one day to a conclusion. There were about 1300 figures in play, so representing about 65, 000.

- My new ideas on Leadership Ratings/Initiative and increased Movement rates had worked very well in my opinion.

Paul and Richard expressed some satisfaction with the game, and were both extremely helpful in guiding suggested amendments. They amounted to quite a lot but I felt the rules were now shaping up for something smoother.  

In the next post I will describe how I was able to move on to my first refight of an actual 1809 battle. I'm trying to take them roughly in chronological order so this would be Landshut/Altdorf.  It was only a large Divisional engagement, albeit with some peculiarities which I felt would engage the ingenuity of the players and test most of the rules I needed to judge.  The good thing was that it should enable a decent amount of Moves and to see how the different results of the Hit Table reactions and reforming rules would feel.

>>>>>>>>>>>>>>>>>>>>>>>>>>>>>>>>>>>>>>>>>>>>>>>>>>>>>>>>>>>>>>>>>>>>>>>>

AN INVITATION

I hope you enjoyed, at least the spectacle of this game, I certainly did. 

Landshut/Altdorf was a success, as you will read in due course, and little or no changes were needed from that game,  so I am currently planning the next historic refight. This will be the sprawling actions around Hausen, Teugn and Dunzling on 19th April 1809 with a few what-ifs thrown in to to spice it up. It will be a "big game" similar in size to the one in this post but with historical orders of battle and objectives and taking place over two days - 29th-30th July 2023.

I sent invitations to a lot of friends but it appears it is "that time of year" when so many are  already booked with holidays or family commitments. Only a few can make it - enough to play but there is still room to make a proper multi-player game of it.

If any of my followers have got this far and want to help me test Stage Three of the development of "Abensburg to Wagram", and can get to my place between Stroud and Cirencester in The Cotswolds of Gloucestershire for one or both days, please don't be shy  and email me for more info - Chris Gregg

Gratuitous plug - here is the map I have just made to design the table for Hausen-Teugn-Dunzling

>>>>>>>>>>>>>>>>>>>>>>>>>>>>>>>>>>>>>>>>>>>>>>>>>>>>>>>>>>>>>>>>>>>>>>>