Hopefully blog visitors will have read the Introduction and terrain making background to this battle in Guy's fictitious 1745 Jacobite Rebellion campaign, which took place over a weekend in mid September 2022. Those interested can see all the background documents (briefs, orbats etc) at the Battle of Althorp link in the right hand sidebar - 18th Century Historical.
Here is a reminder of the table map to help orientation.

The narrative report below is written by Guy (grateful thanks from me) and will give you his perspective as GM, lead umpire and assistant to the British Government side, which was led by Richard Newcombe as the Duke of Cumberland. I was back-up umpire (we had expected more players) but we decided as we only had one player per day that each of us would be an extra (non-executive) pair of hands to help the hard pressed commanders move and roll some dice when necessary (there were about 900 Scots/Jacobite figures and about 700 plus Government troops). Ken Marshall was Bonnie Prince Charlie on Day One and his place was taken by Steve Johnson on Day Two. The photos and captions are mine, and apologies that the "snow" effects tend to make the uniforms look darker but if you click on photos the larger image should mitigate that. There is a slight disconnect in places due to my difficulty in trying to find the most appropriate photos to illustrate Guy's narrative but I hope it does not spoil the story for readers. This post covers just our first day of play and game time approximately 8 am to 1030 am.
Battle of Althorp-game report
<<These were the opening positions on the table at about 6.45am as the early Boxing Day sunrise came up over the heavily frosted ground.
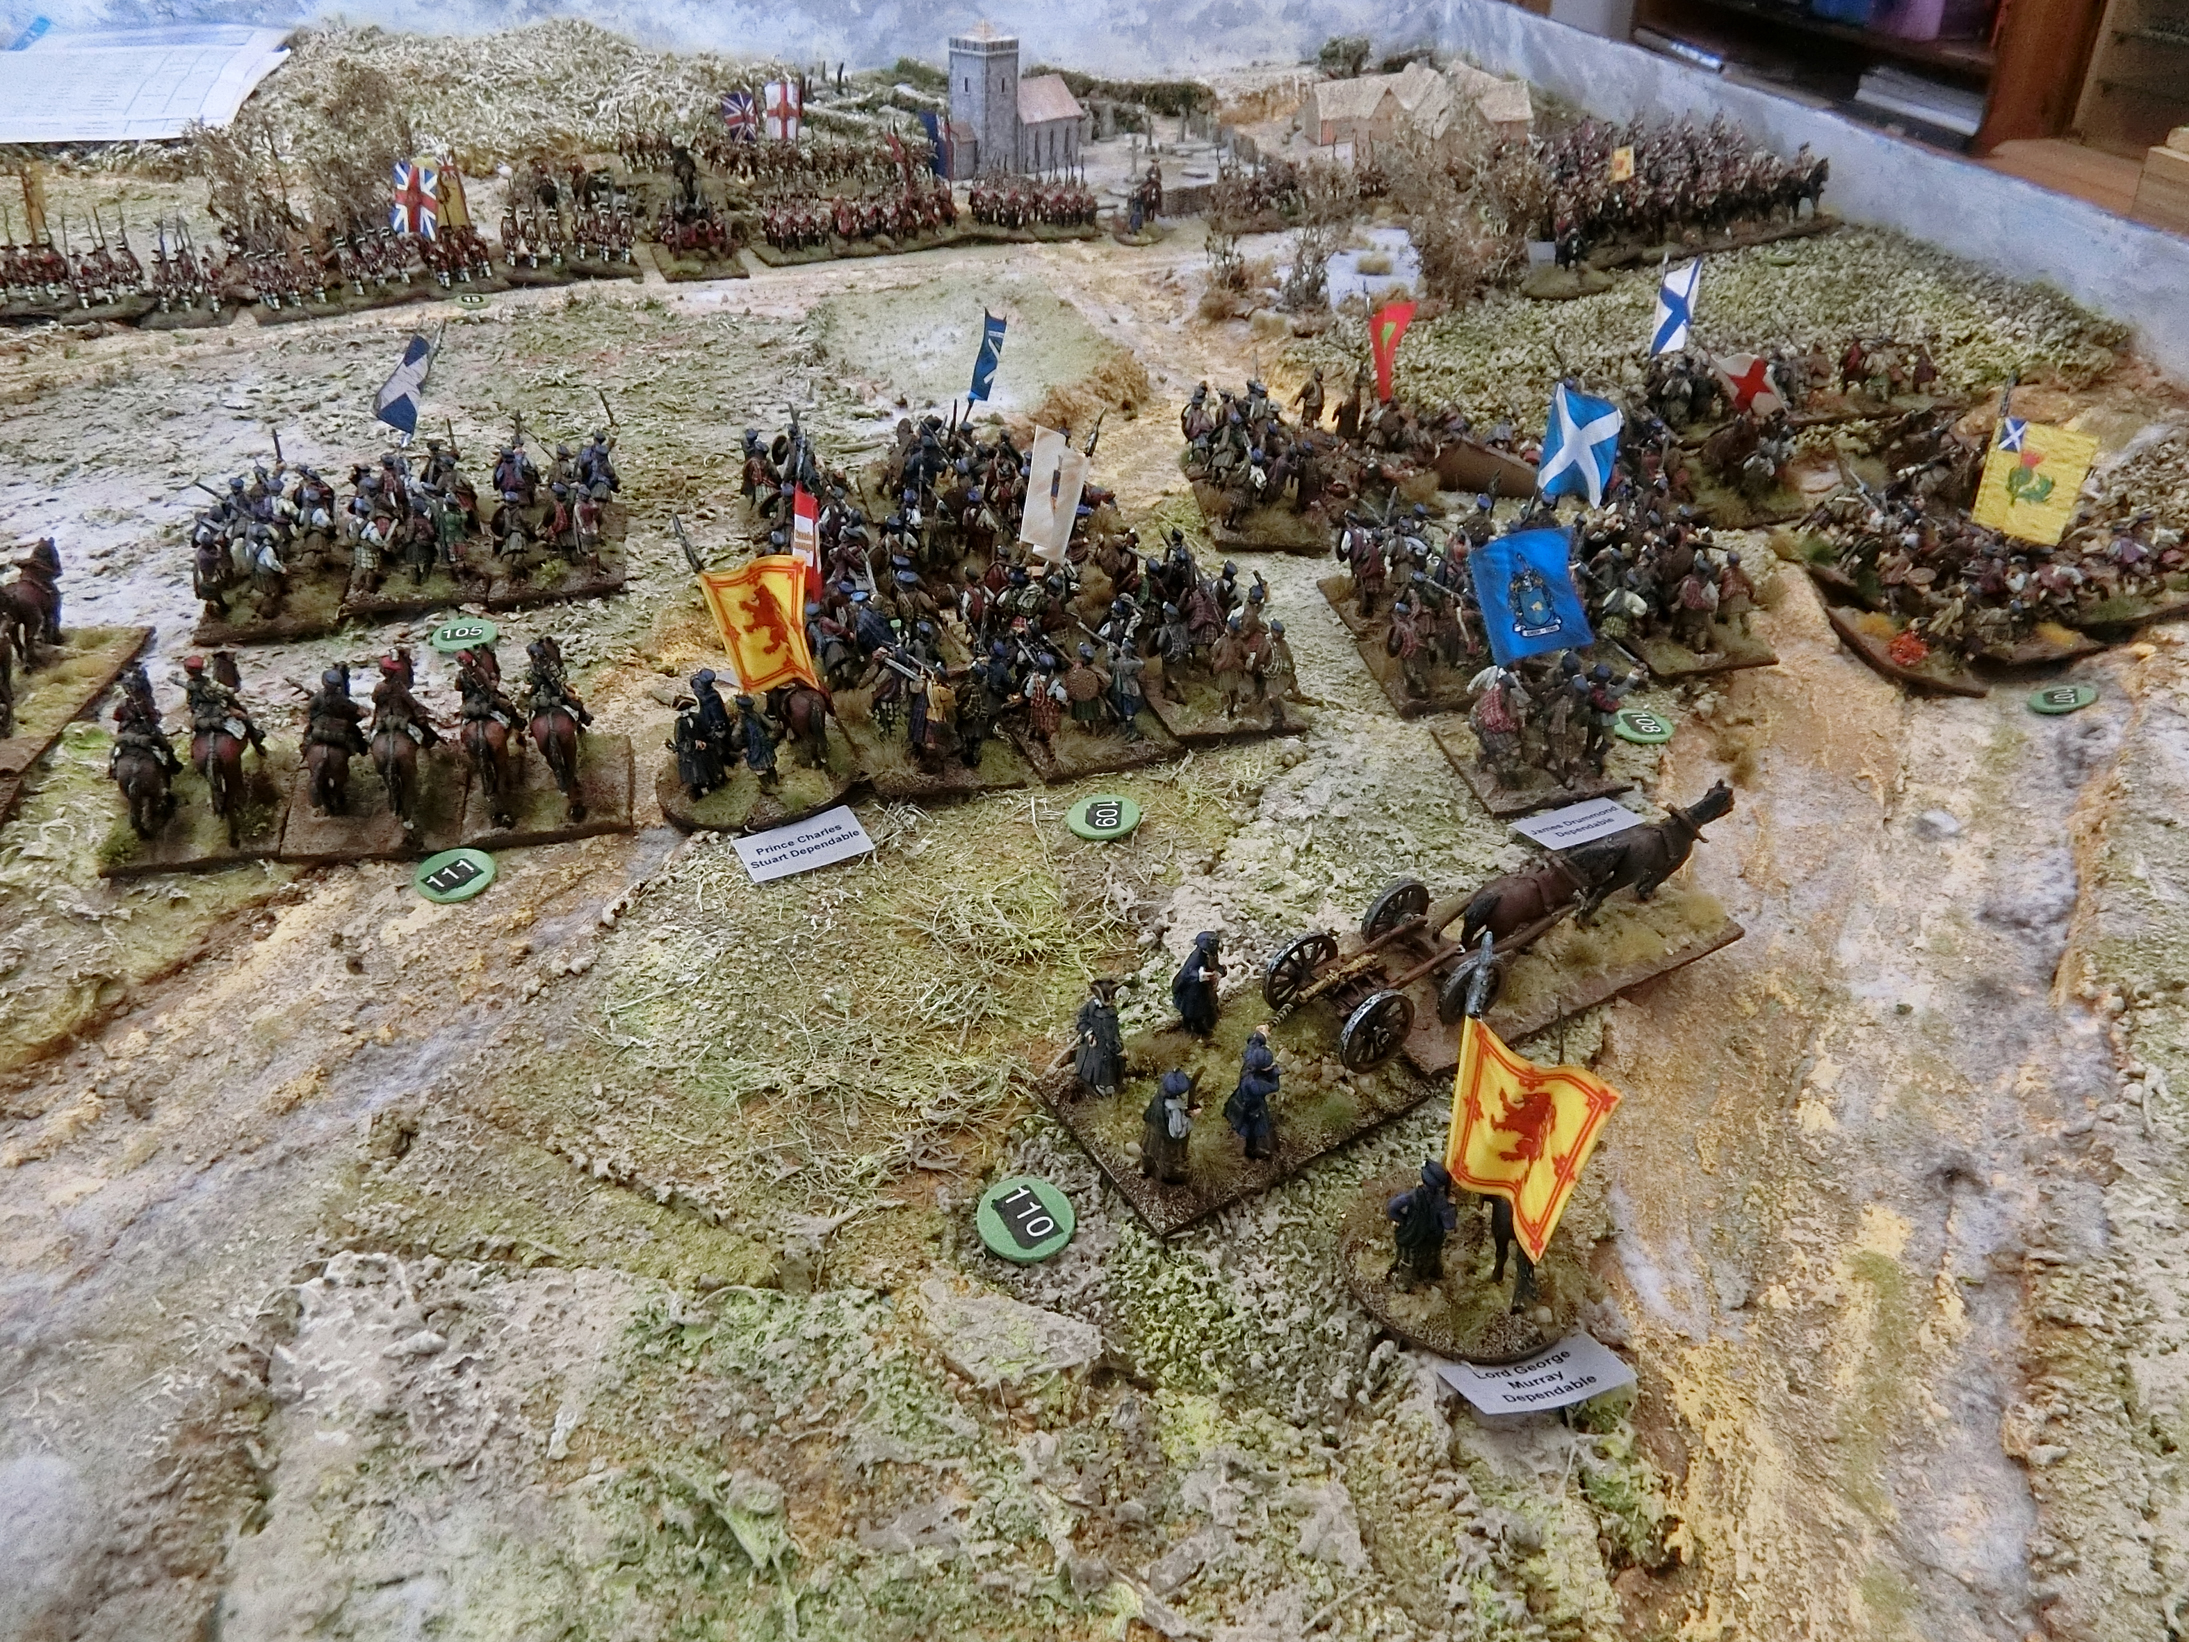
The Jacobite/Franco forces were advancing from the South (left in the photo) hoping to catch the Government forces from the rear. The French formed the centre. The Highland division was on the right advancing towards the village of Harleston and to turn the government flank. The second Jacobite division including the lowland regiments advanced towards Althorp manor.
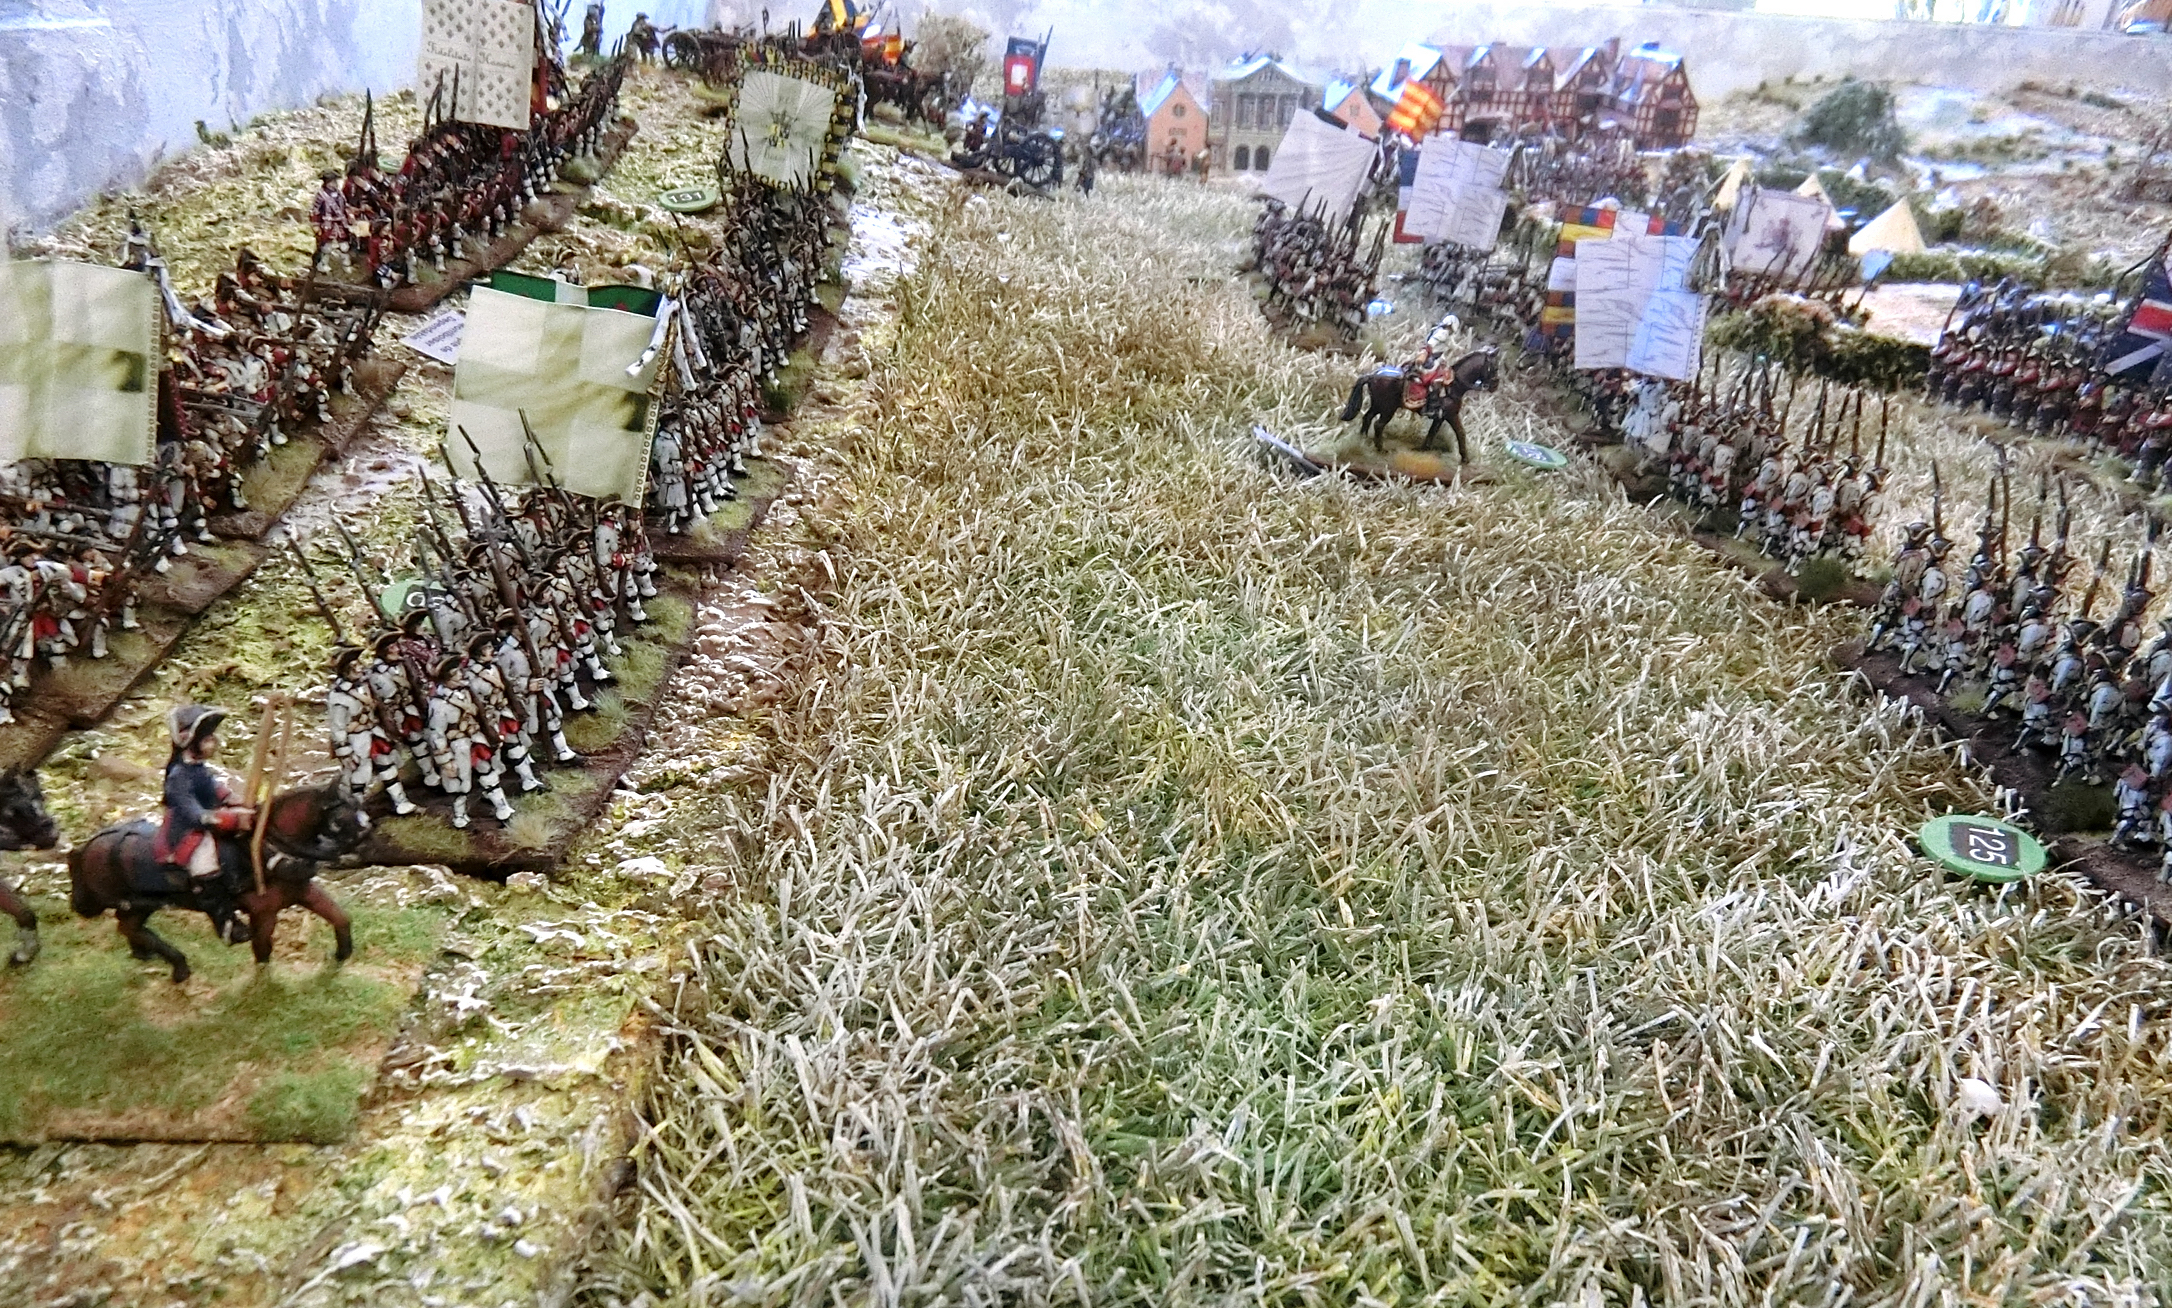
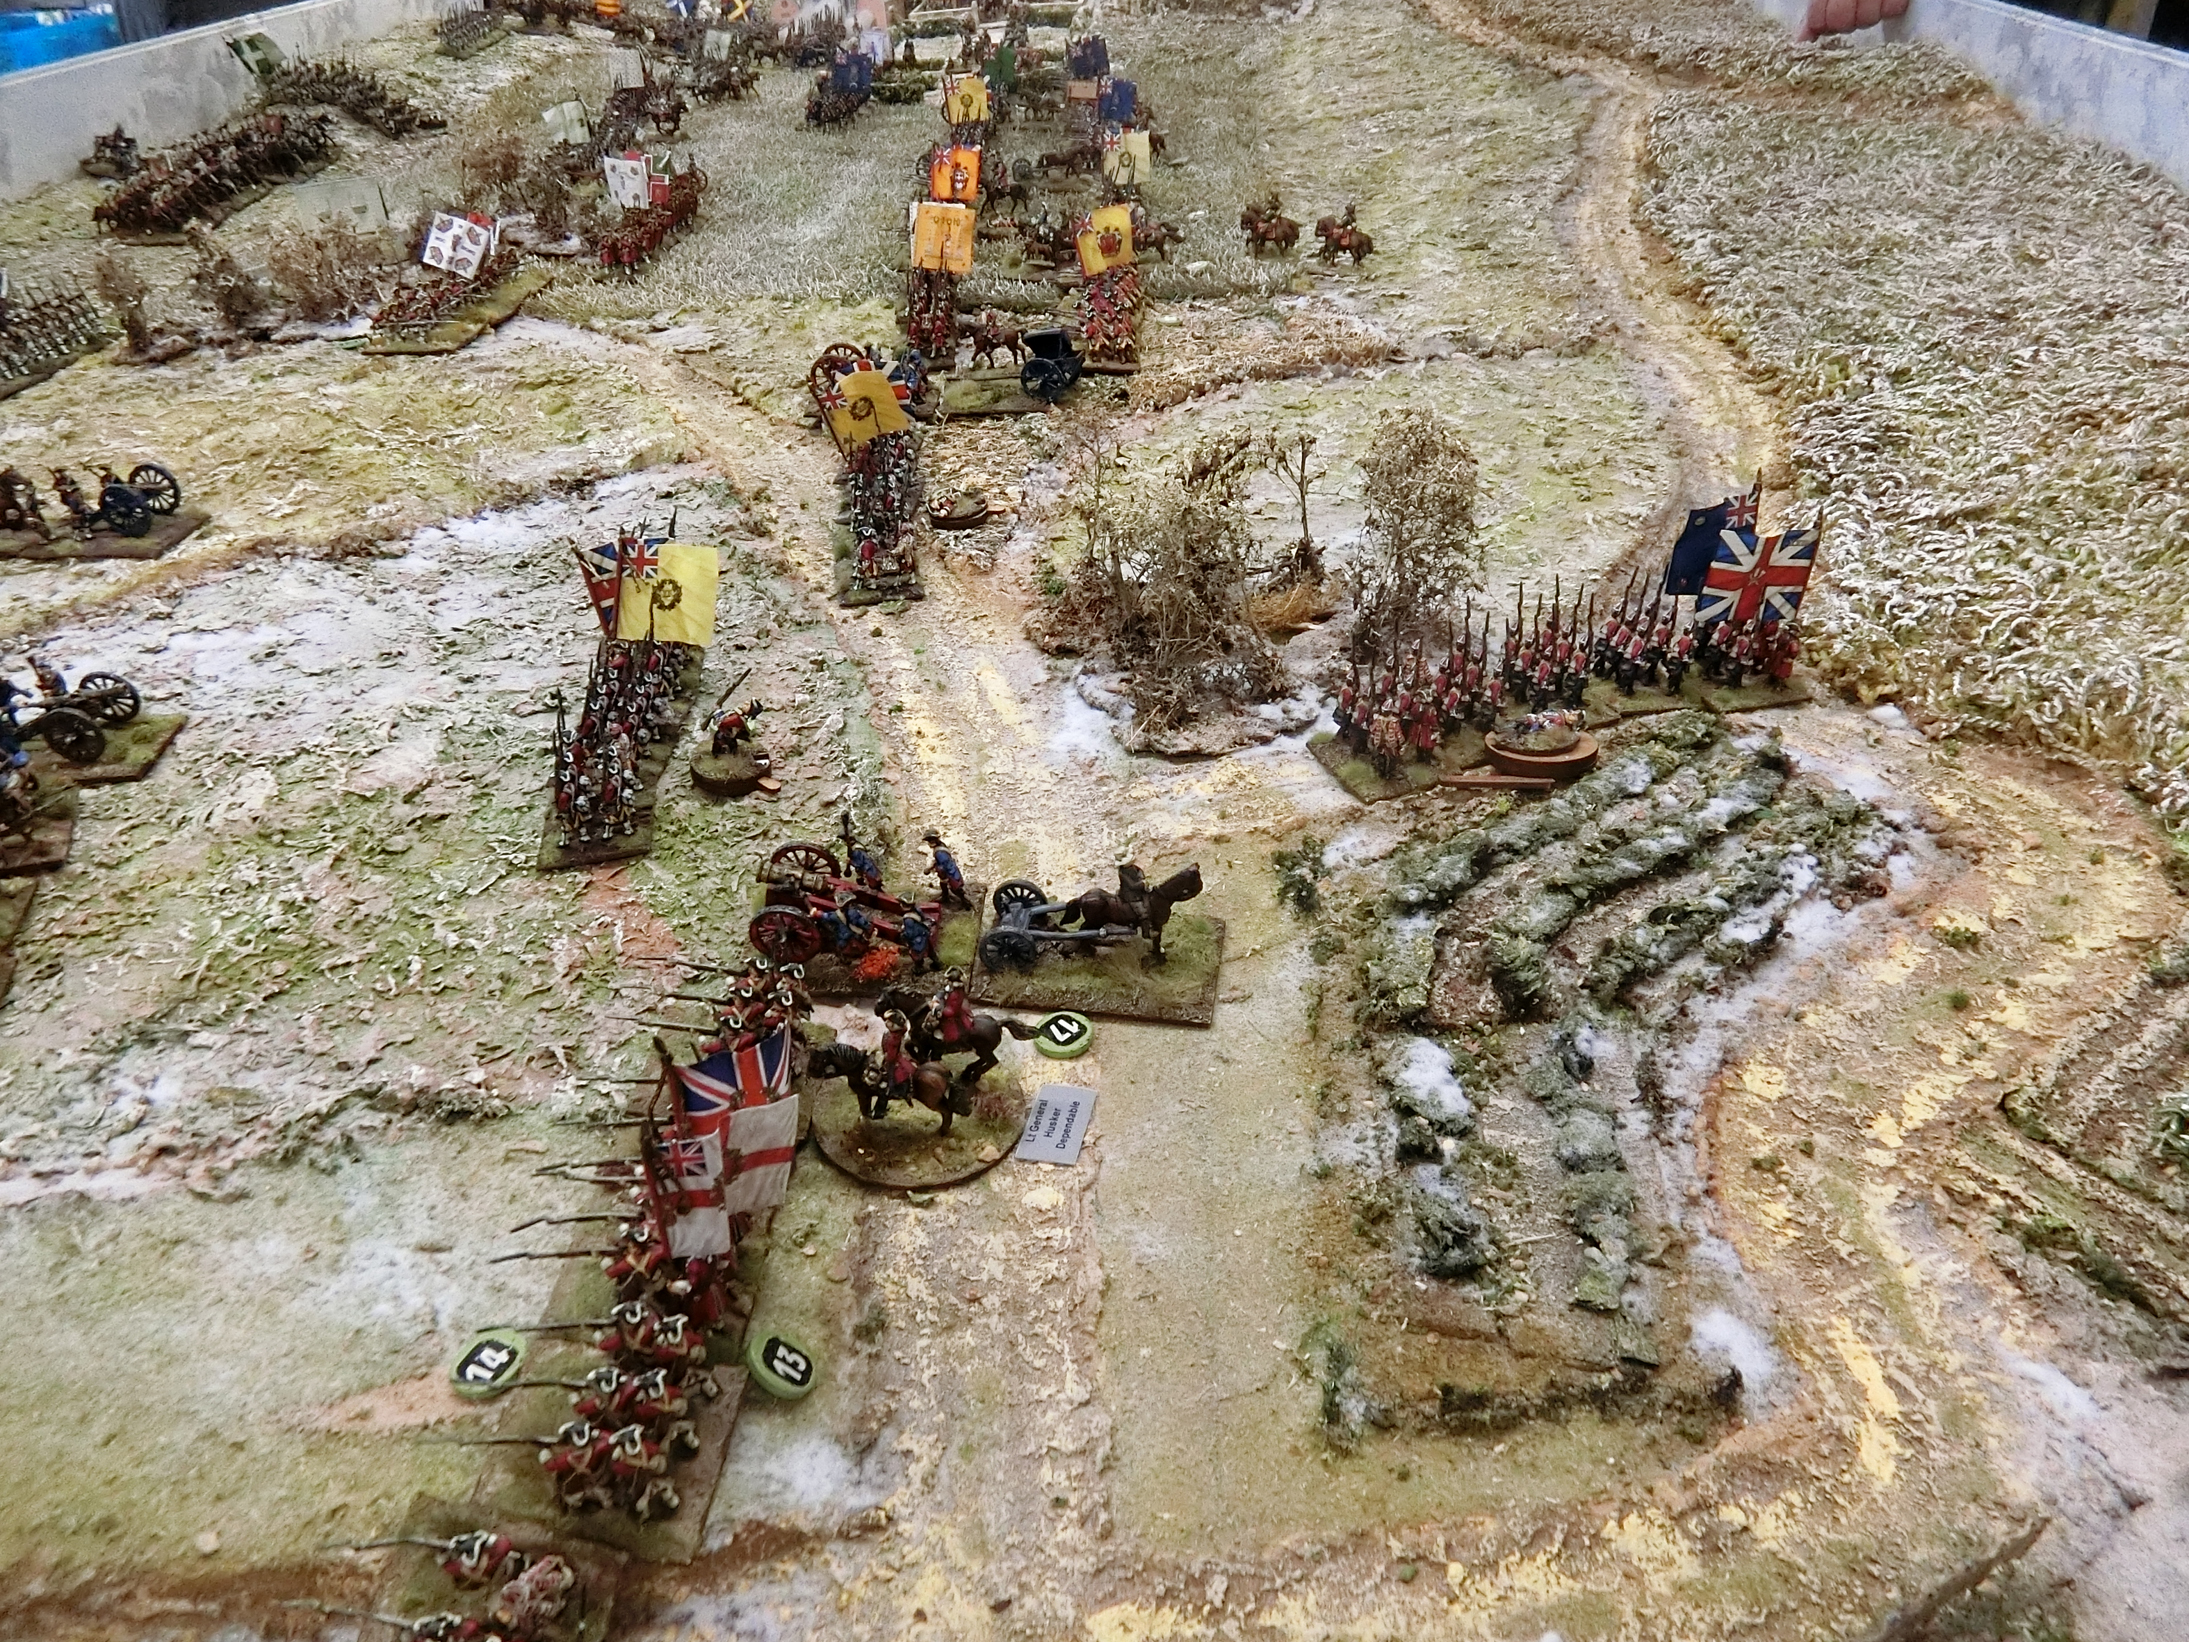
The government forces were arrayed in their battle lines but crucially facing north with their backs to the approaching rebels. The closest Government troops to the approaching enemy were a brigade of superior troops consisting of the 1st Foot Guards, the Hanoverian guards and 2 combined British grenadier detachments. [by CG: in fact the closest was Ferdinand Duke of Brunswick who was a visiting dignitary given command of a "corps" and promised a stag hunt on Boxing Day. He had overnighted at the Hunting Lodge with a plentiful array of supporters, gamekeepers, beaters, servants and dog handlers. We represented them by a "trifling" sized unit of dismountable Jagers.]
 |
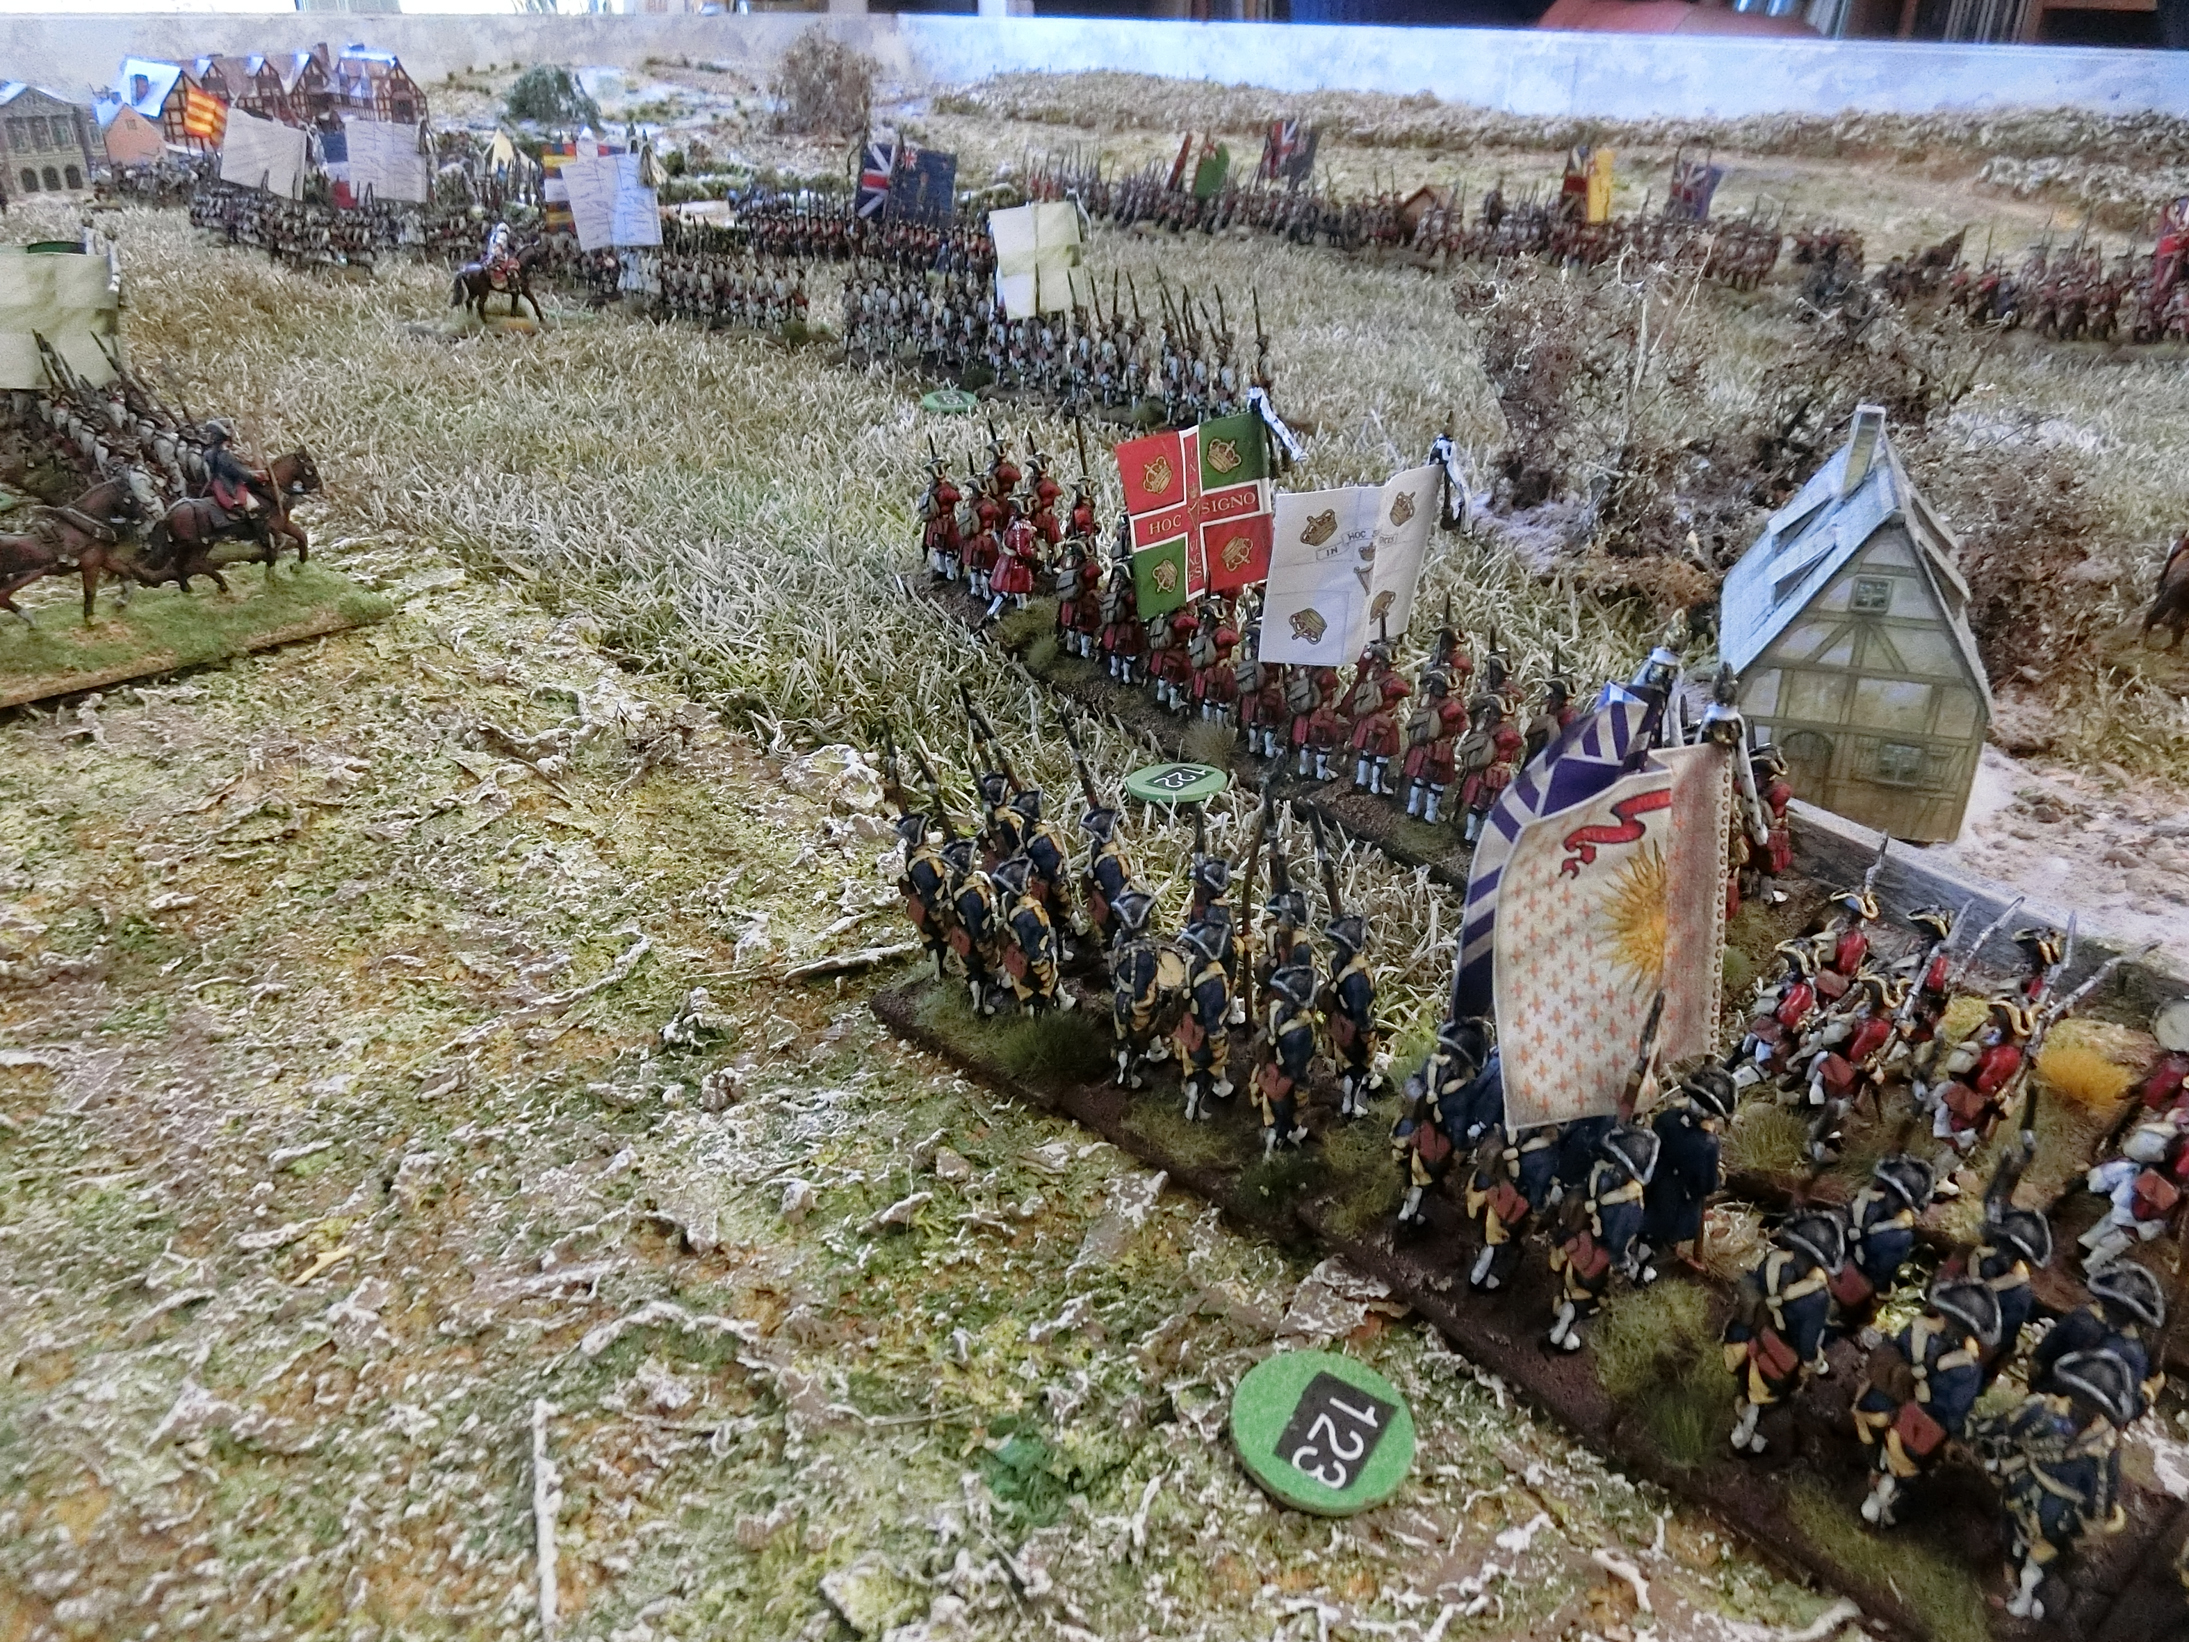
| View West along the Jacobite/French lines |
 |
| View West along the Government lines |
 |
| All the Government units were facing North, expecting a Jacobite advance from that direction! |
 |
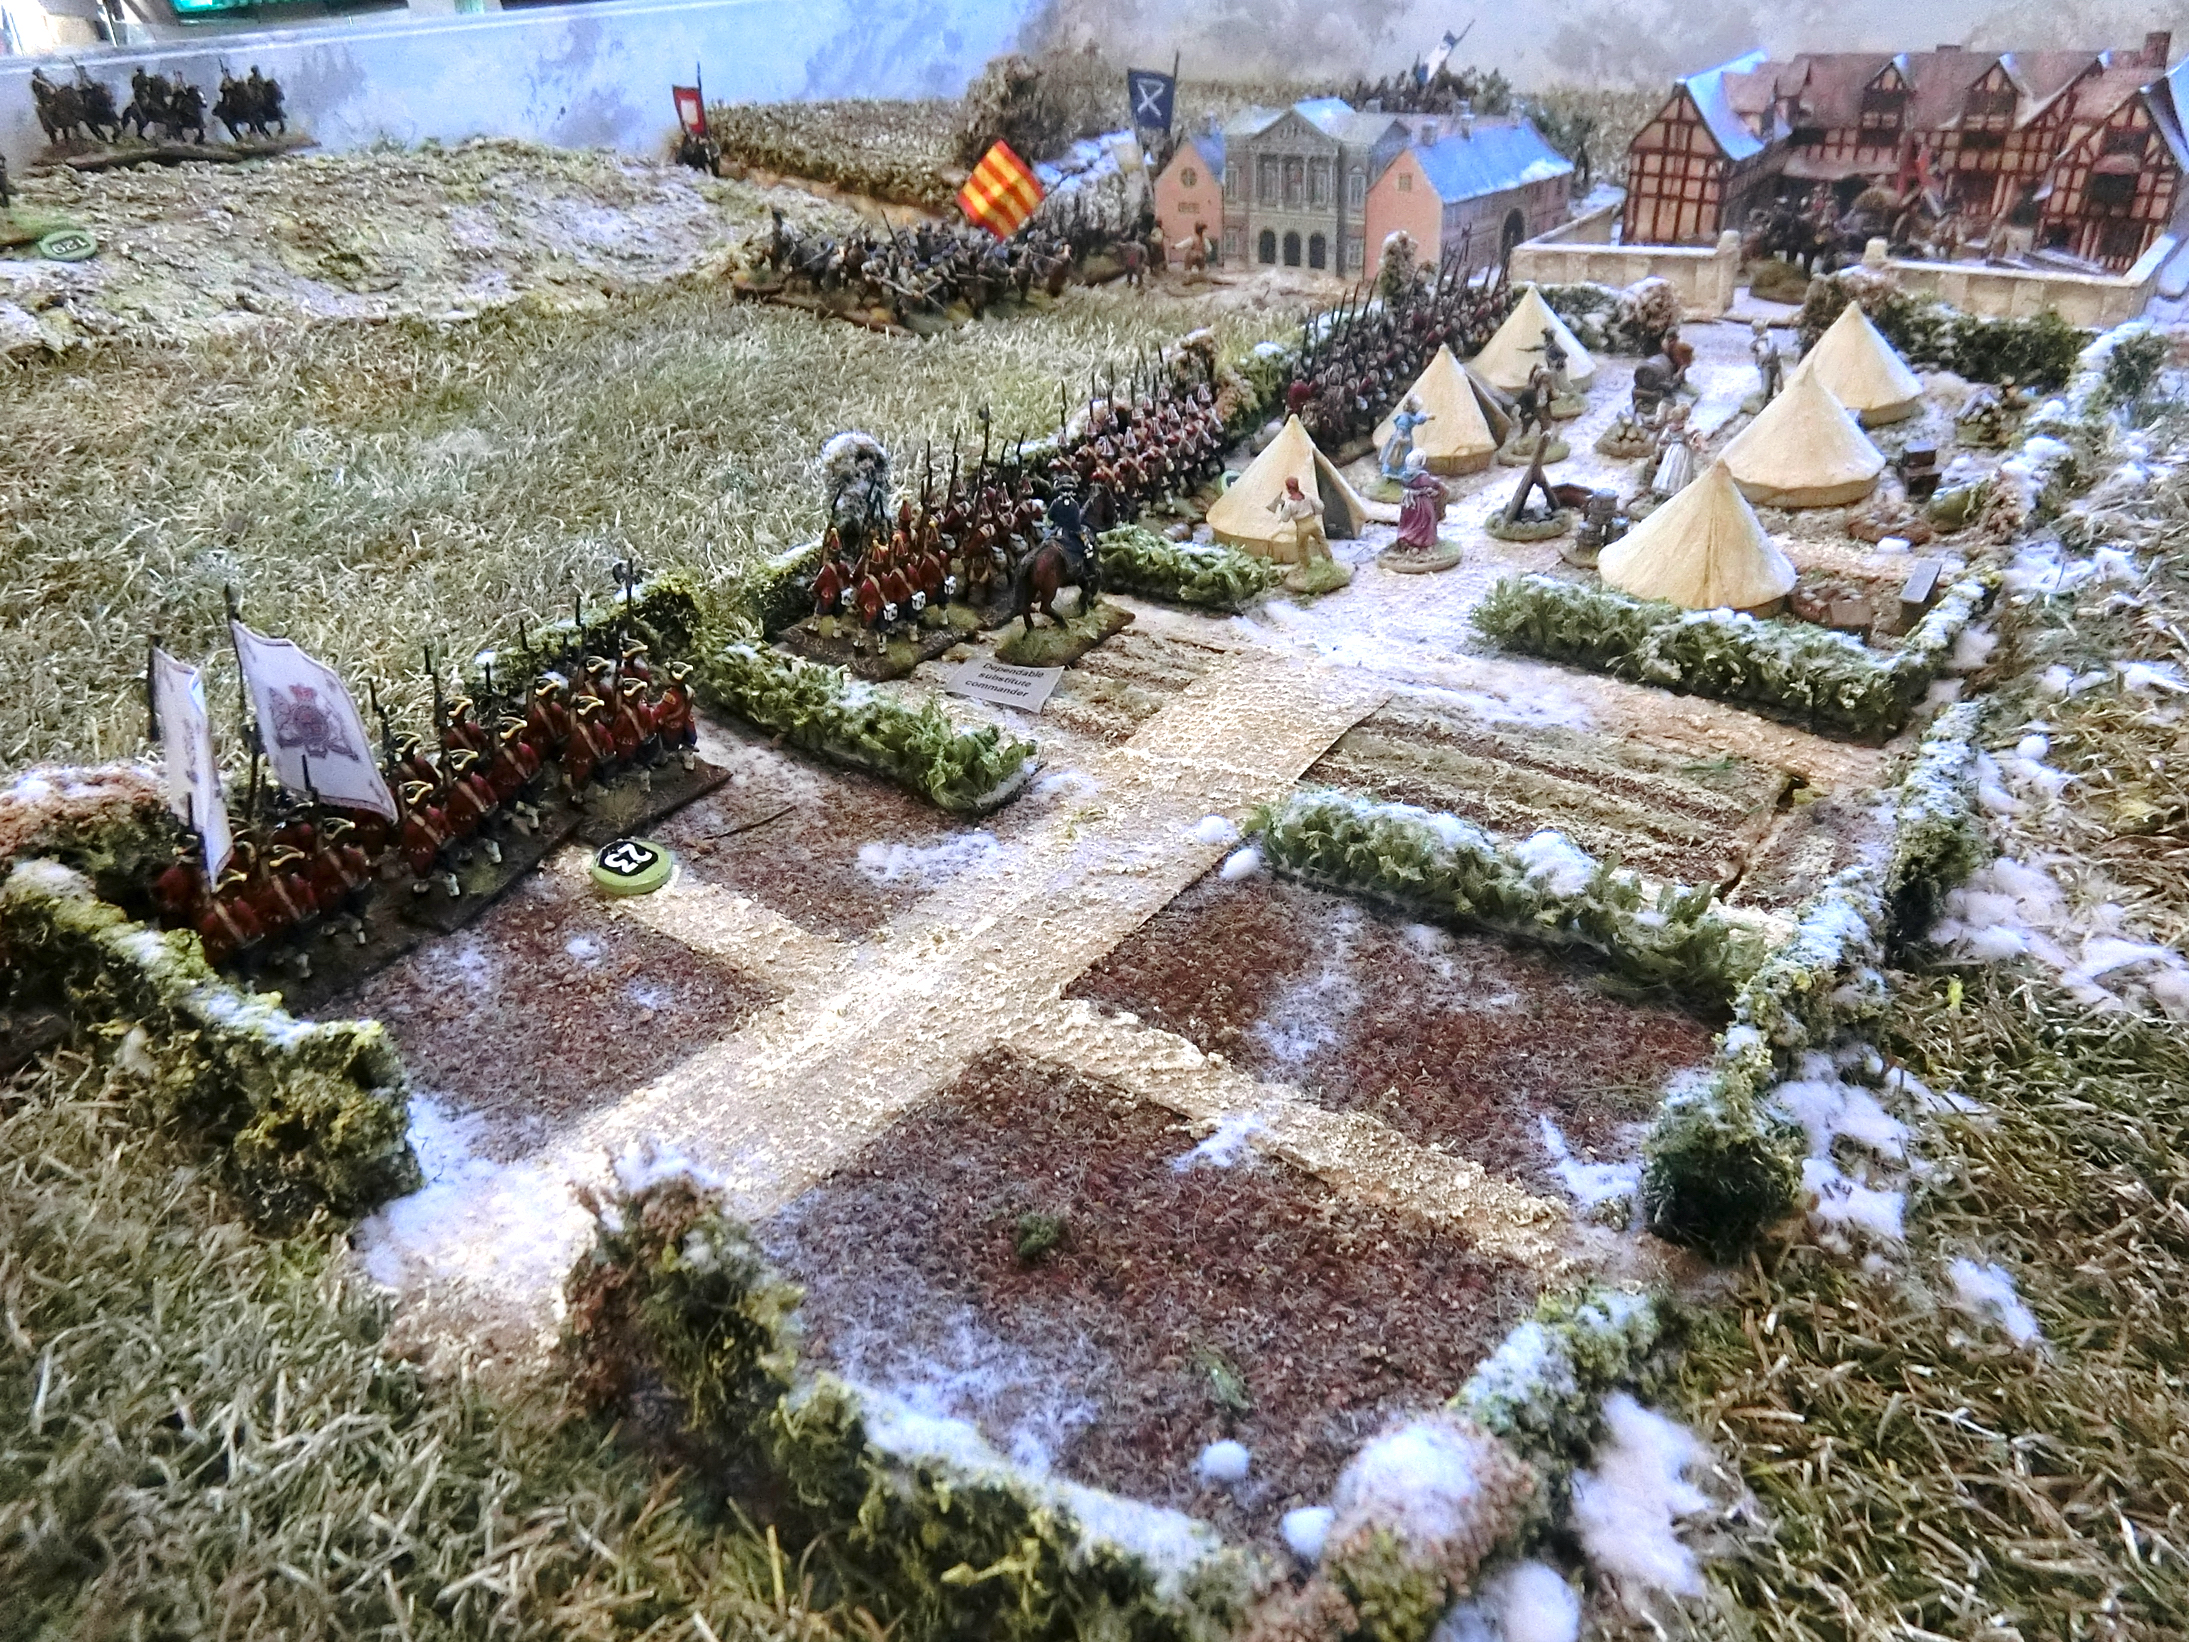
| Camp followers try hastily to pack up tents and collect supplies, alerted by a commotion in the direction of the Hunting Lodge..... |
 |
| ....but the Duke of Brunswick's followers soon realised it was futile to exchange shots with the French regular battalions advancing on their position |
 |
Those French included a squadron of Lanciers de Saxe sent to boost Prince Charlie's meagre cavalry
arm. |
 |
| The French view of the backs of Cumberland's Guards/Grenadier brigade |
 |
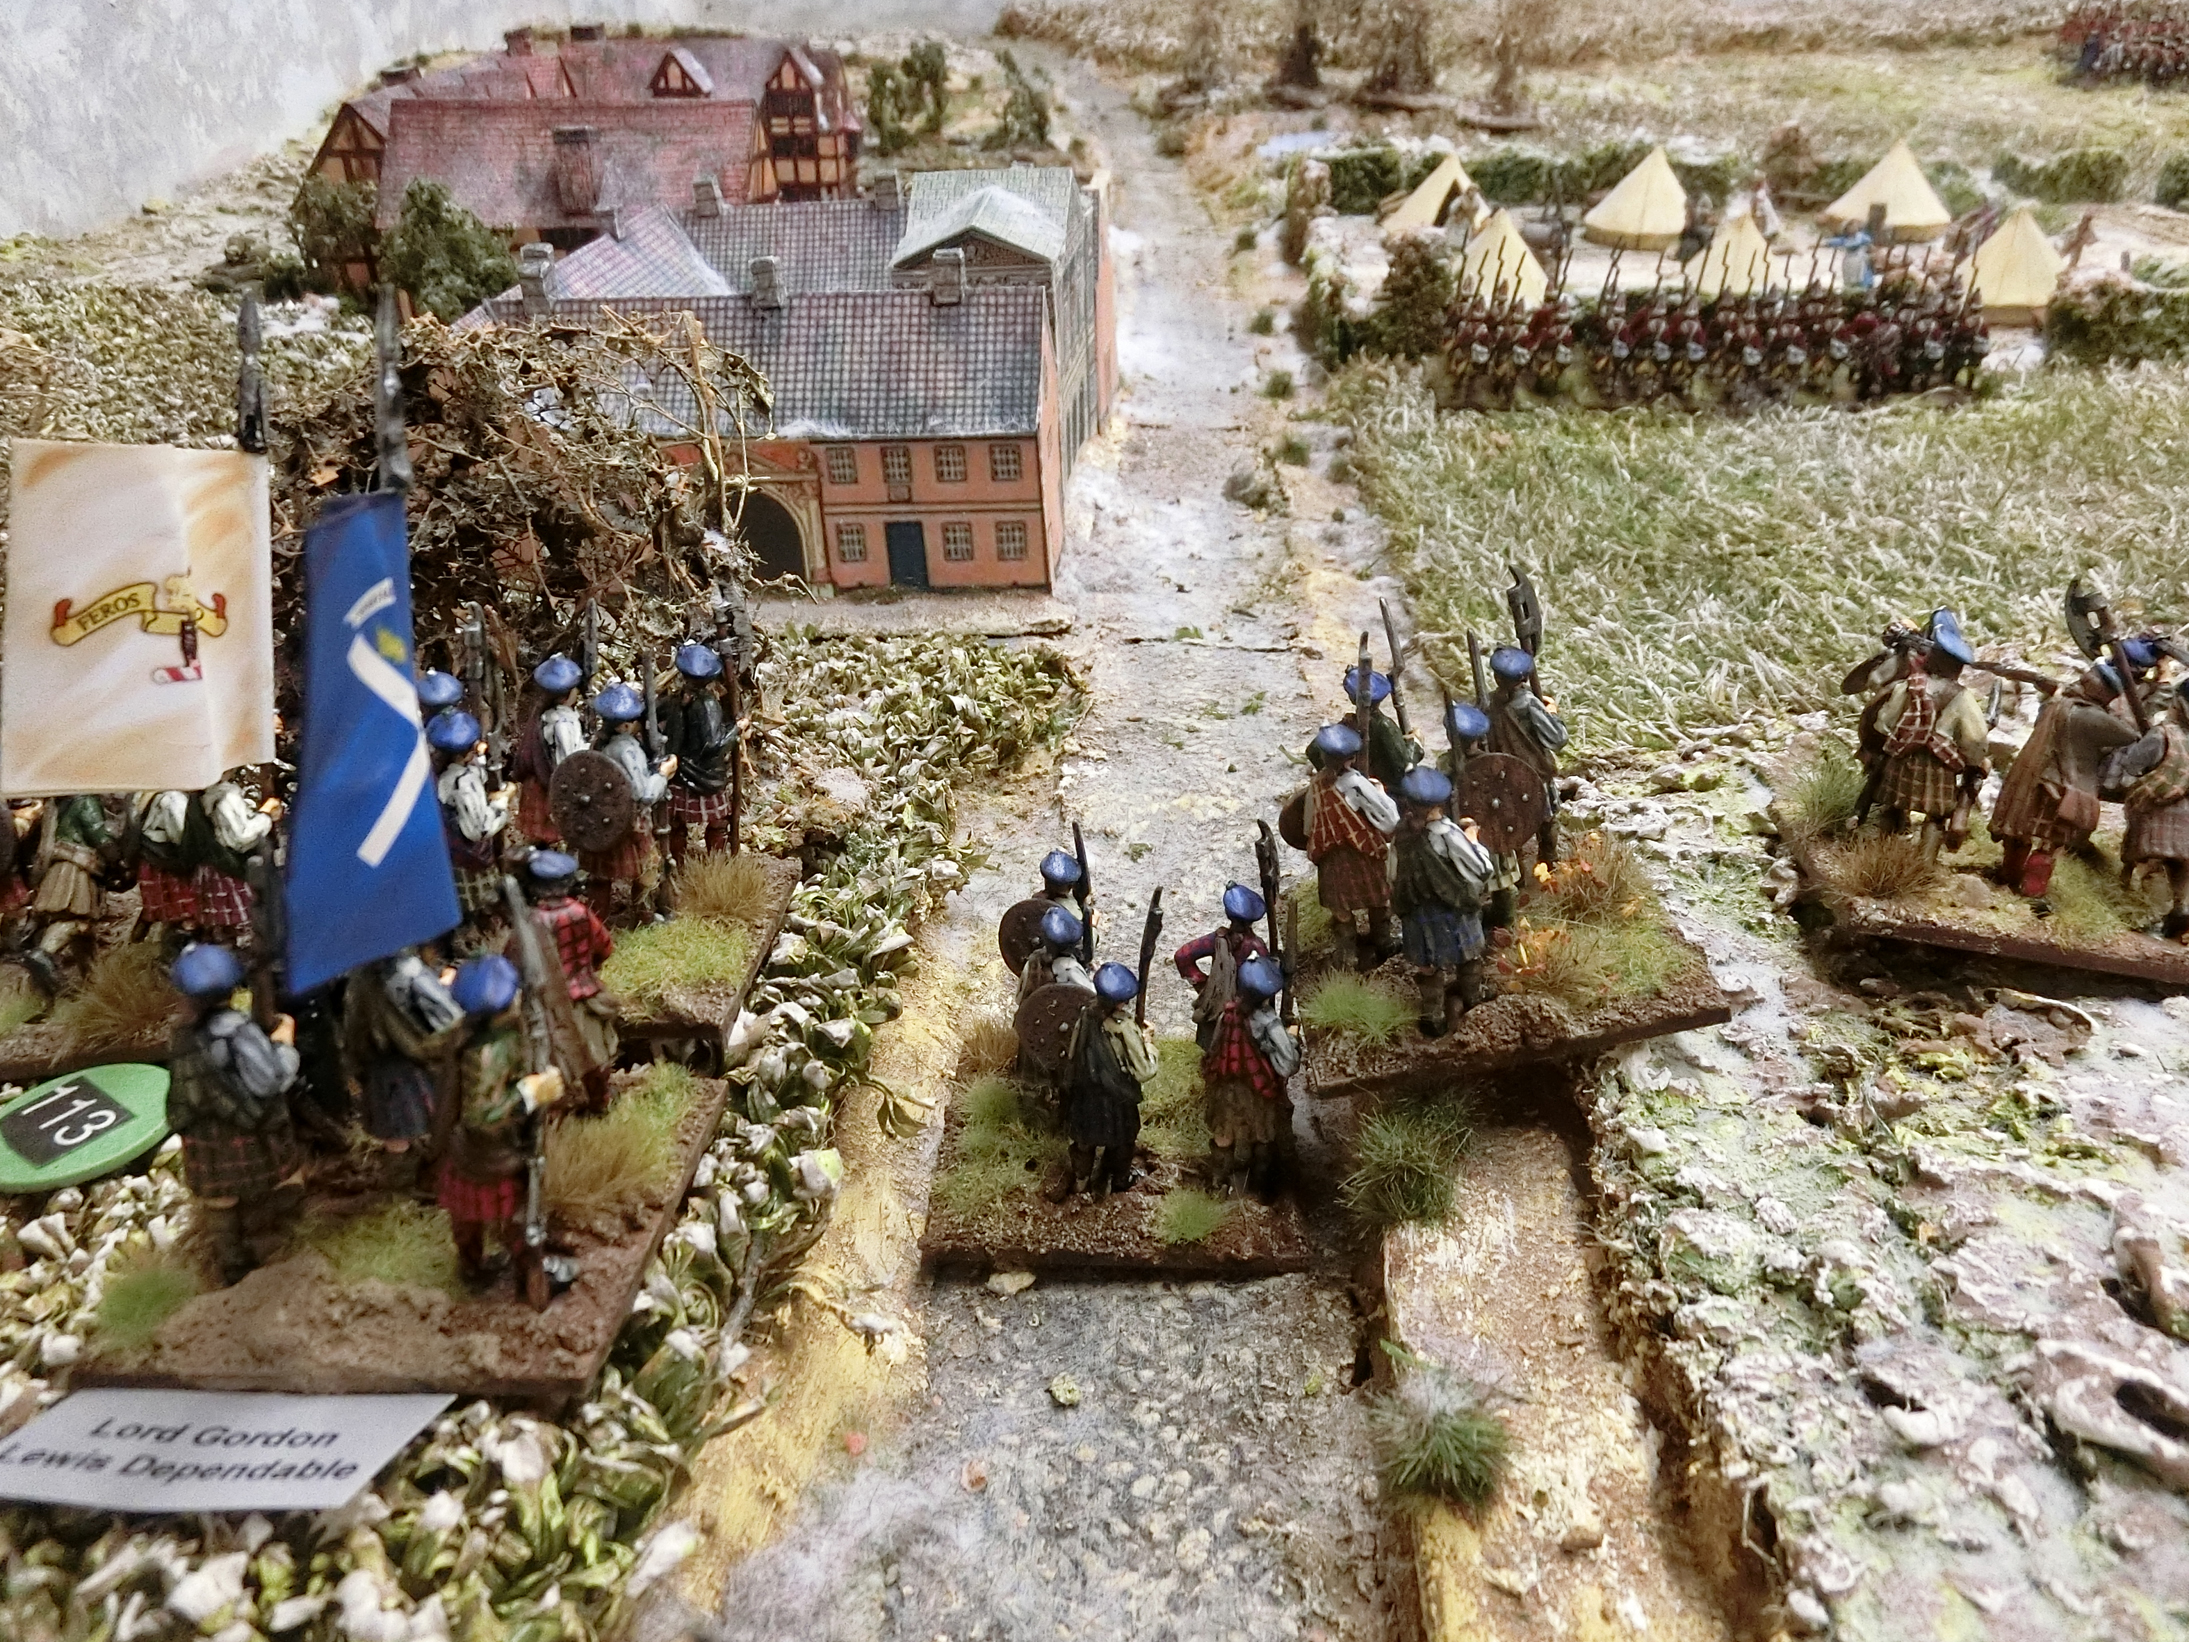
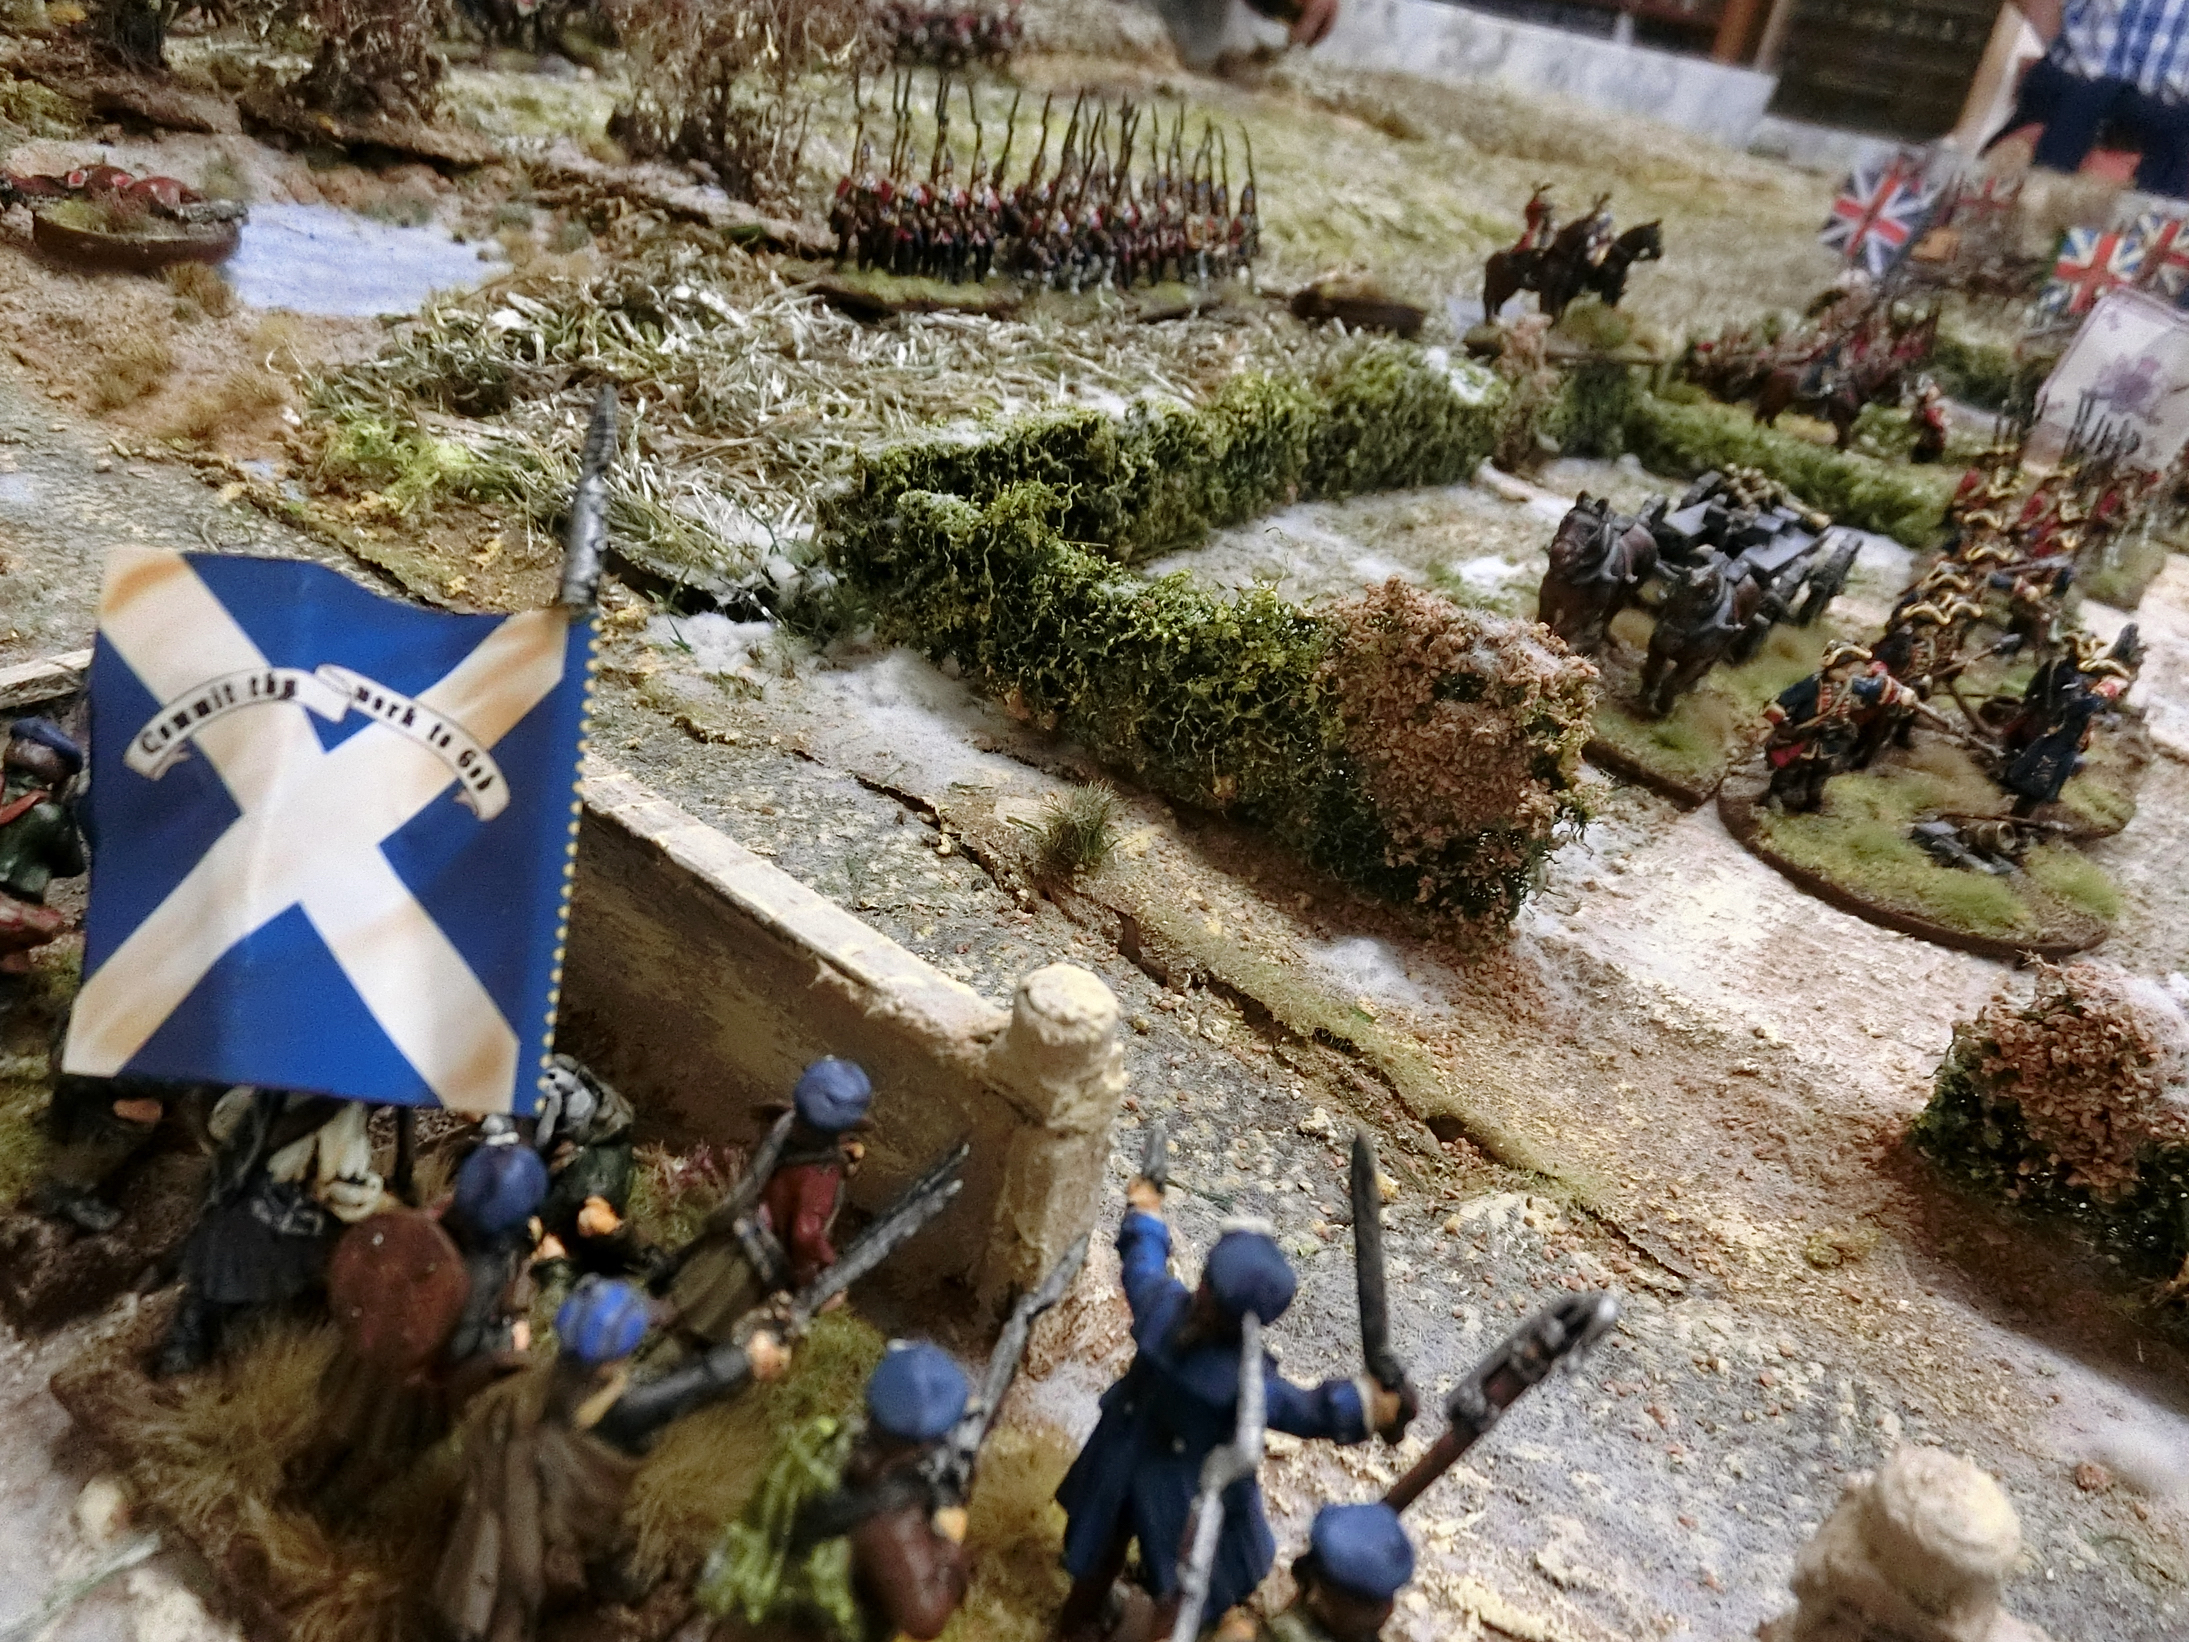
| Lord Gordon Lewis's Highlanders look down on the luxurious stables and manor and the camp and contemplate the possibilities of loot |
 |
| An overview of the opening positions looking north-east |
 |
Above and below : just off table the Jacobite/French had a
second line, and behind that a reserve brigade of
superior infantry and one of cavalry |
 |
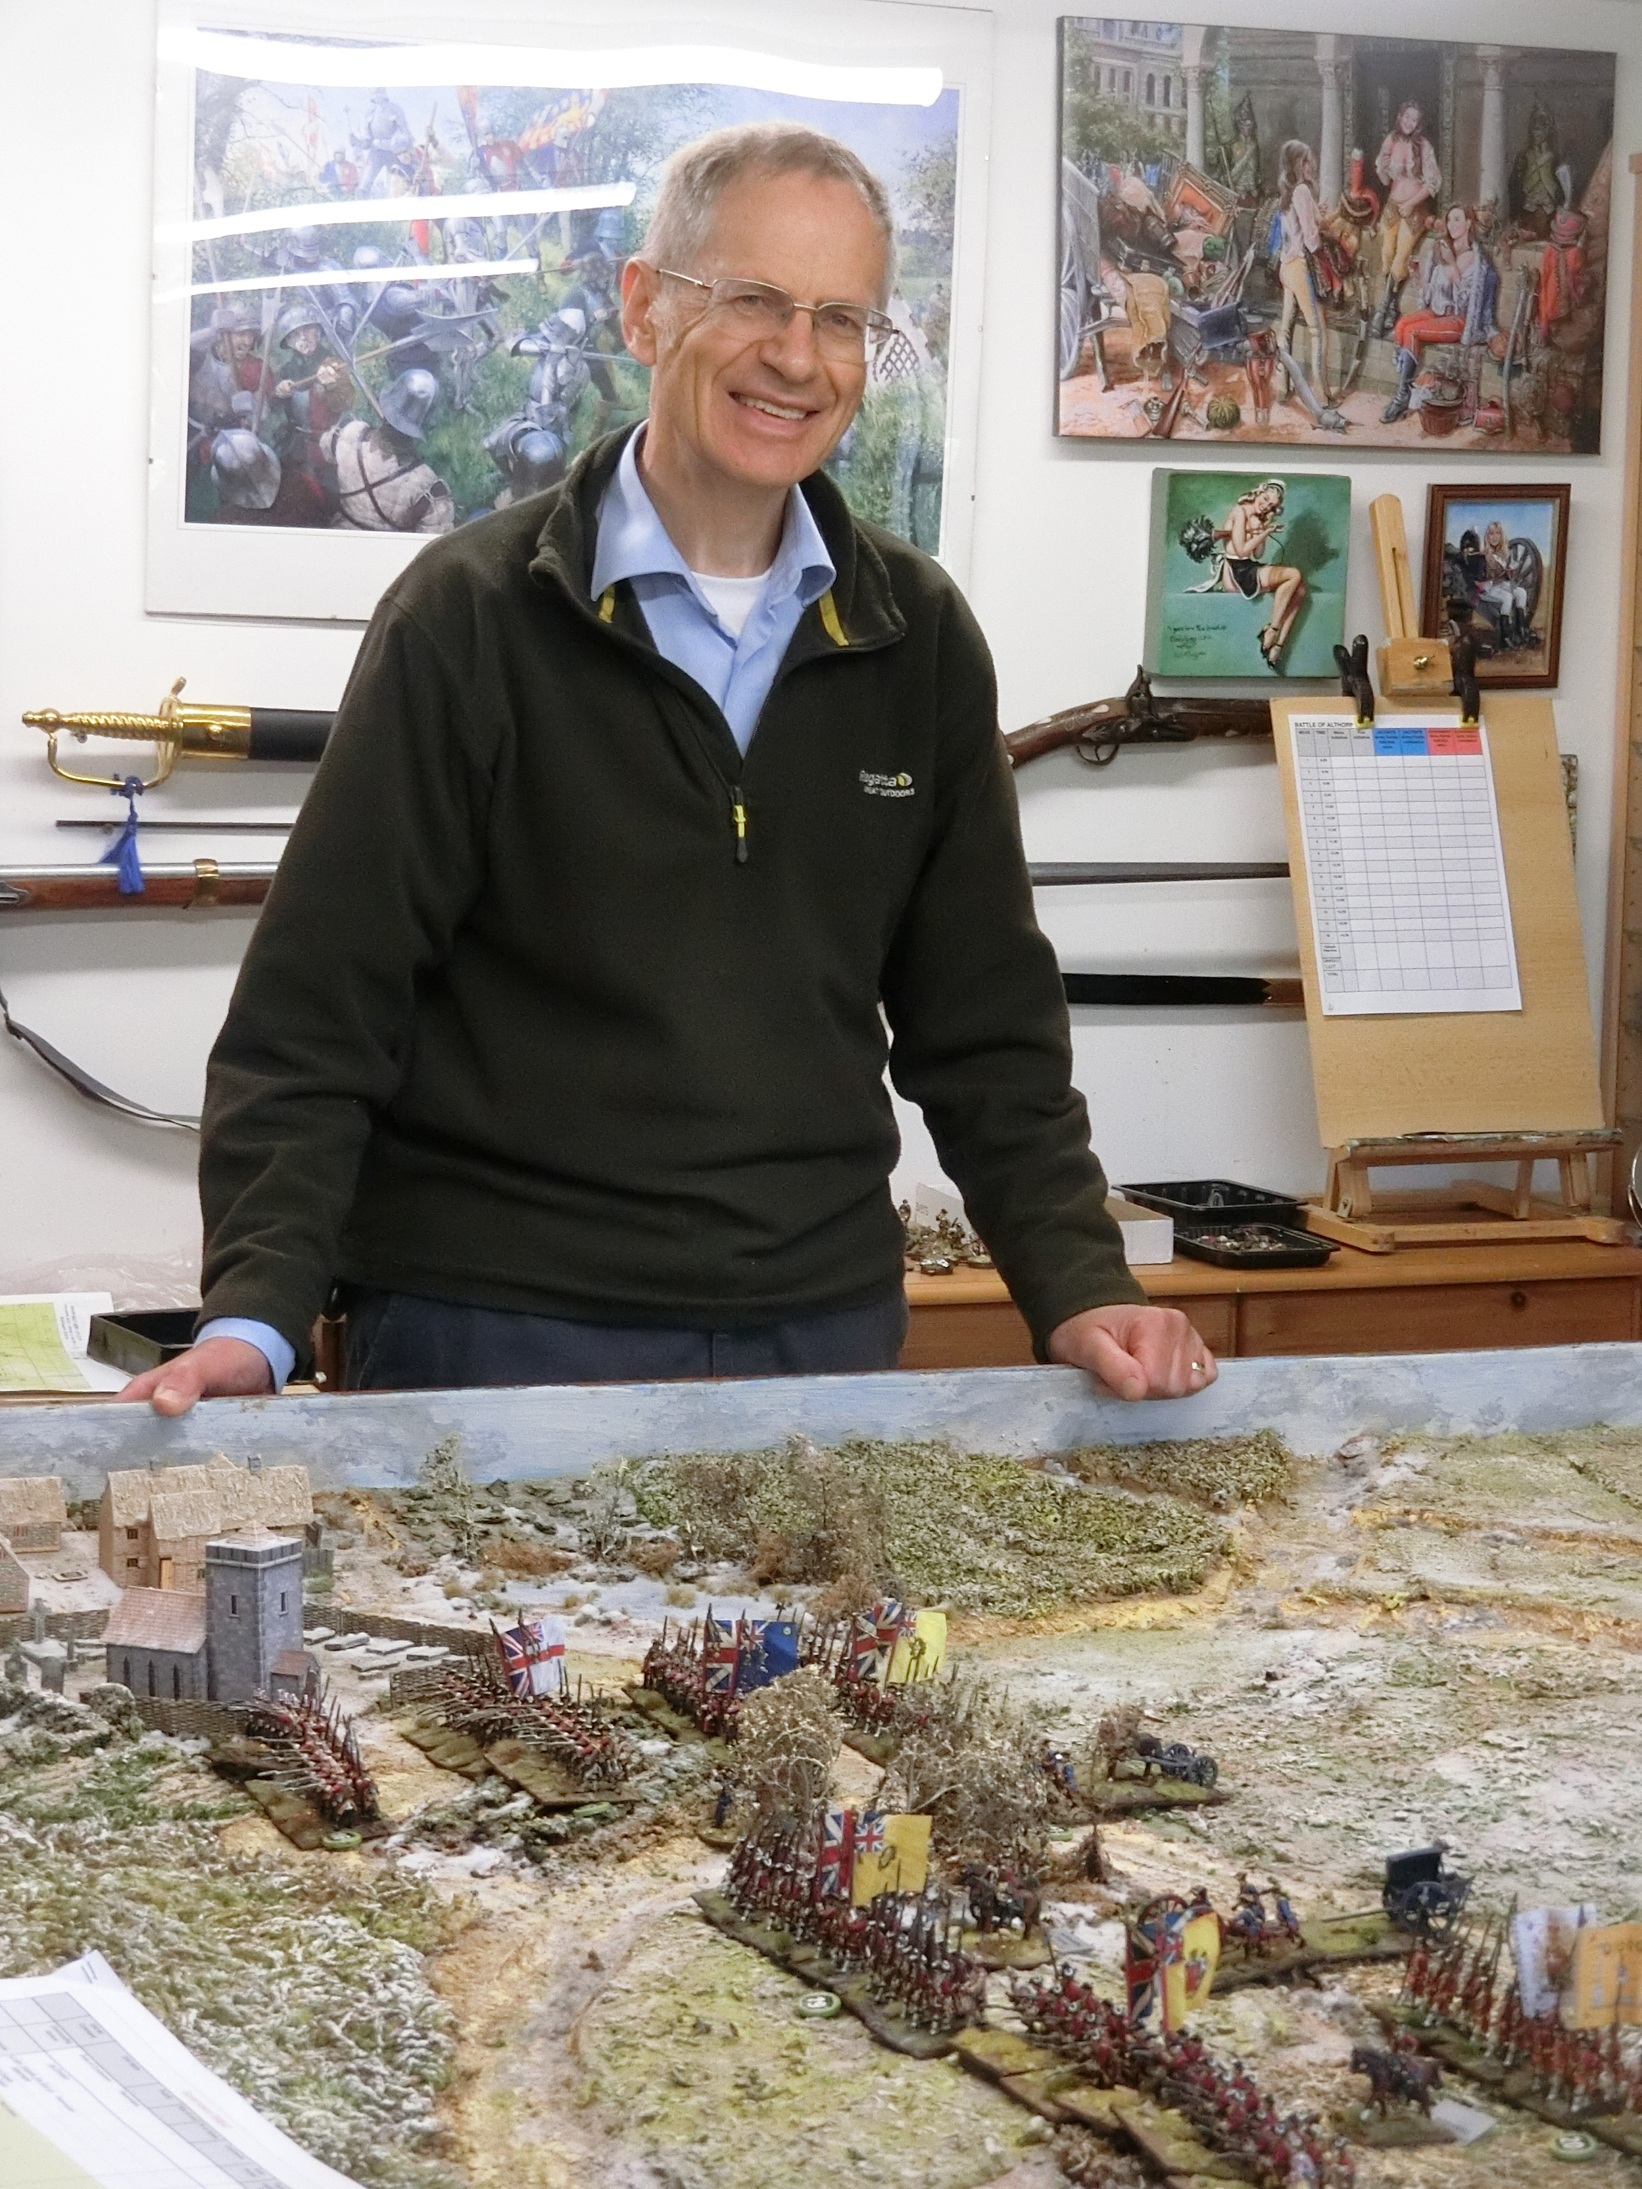
| Richard looks a little concerned; well who wouldn't if the GM had deployed your army with its backs to the enemy! |
 |
| I was there too |
[By CG: Worth saying at this point the Government Army had an advanced guard off to the north-west which would quickly arrive summoned by the shooting, and a cavalry brigade off the table near Harleston.]
Turn 1
The Jacobites won the initiative (as they consistently did throughout the game) and advanced across the whole front. However, they were not fast enough to catch the government troops in the rear and with much relief, the Government army swiftly faced about. The brigade of superior troops retired a short distance and took up position in and about the gardens of Althorp Manor whilst the main army formed a battle line from the gardens to St Andrews church. Desultory artillery fire broke out. Ferdinand and his small accompanying unit of jagers beat a hasty retreat to the main battle lines from the hunting lodge. The same applied to the Duke of Cumberland who vacated the manor and took position behind the superior troops.
 |
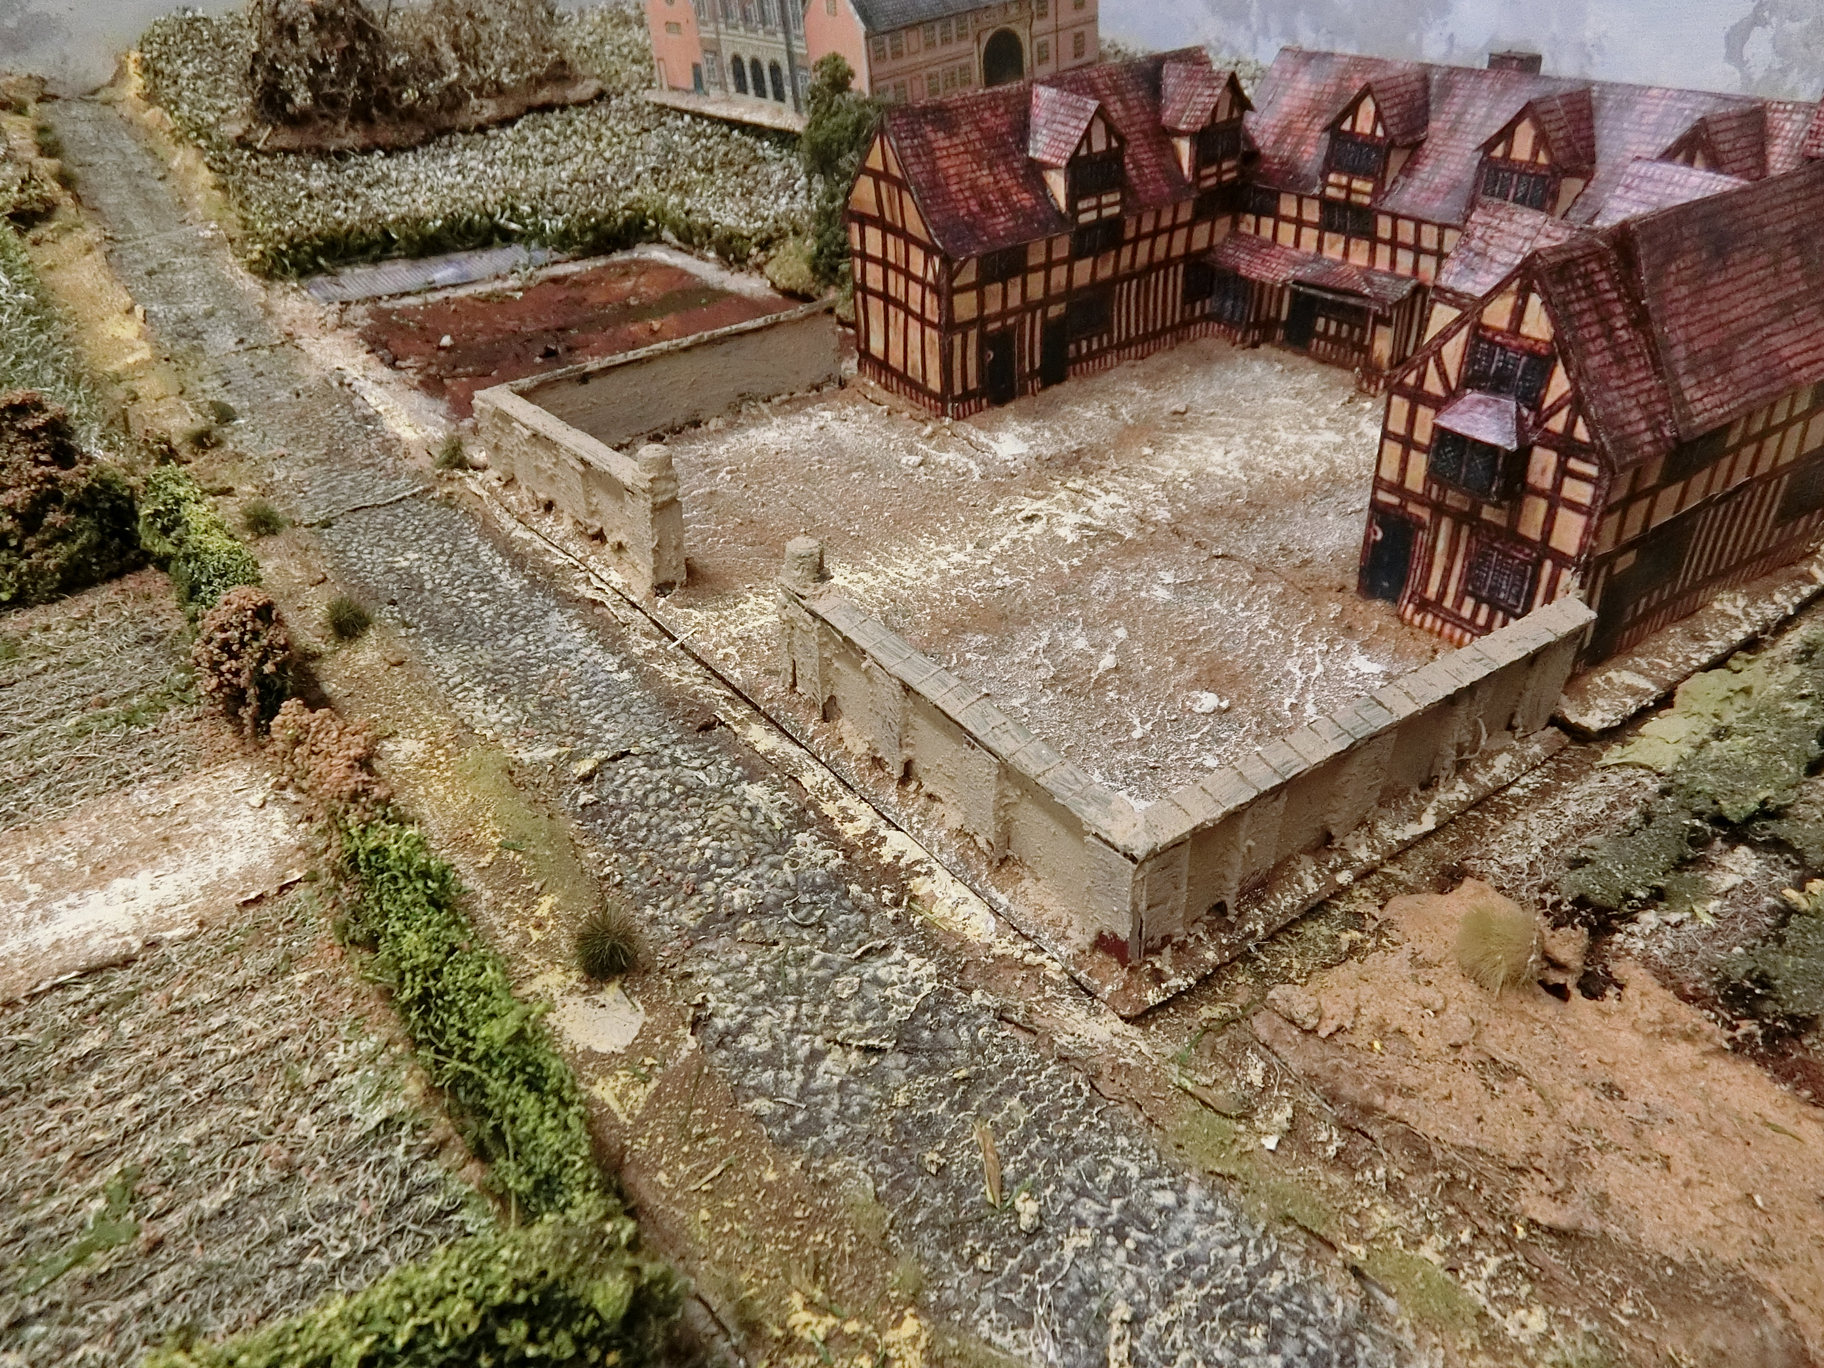
| The Jacobite left Division attacks Athorp. The stable boys put up a brave resistance |
 |
| Government Elite Brigade retires into the garden |
 |
| Cumberland has turned his battalions and skilfully the brigade commanders form a solid battle line. |
 |
| The French and Scottish advance continues all along the front. The second line troops have made their entrance to the tabletop |
 |
View along the reforming Government left flank
at Harleston. At top left Ferdinand of Brunswick and
his "jagers" evacuate the Hunting Lodge just in time. |
It subsequently transpired that a message had been sent to the French units in St Neots not to advance to the battlefield. They had been given the opportunity to see if they would arrive in time but mindful of the campaign instructions, they wished to secure a route to the sea if they suffered a reverse. With hindsight, the French concluded they had made the right decision.
Turn 2
The Jacobites on the left stormed ahead and attacked the stable block of Althorp House. The 200 stable boys and servants of the visiting dignitaries (a historic "fact" it is said that Spencer employed 100 staff in his new stables alone) put up a stout resistance and caused a few casualties but soon had to retire leaving the Jacobites in possession of the Manor which they thoroughly looted. (This explains why so much good quality mid C18th English silver and trinkets still turn up in auction houses north of the border). The Hon John Spencer took refuge in the priest’s hole.
 |
| A plucky clan charges Grenadiers in the garden using the hedges to break the Scots' momentum, so this attack was seen off |
 |
| Jacobites move into the stables to drive off the stable boys and servants |
 |
| Elsewhere in the garden French and British regulars exchange musketry while the mortar battery hastens to find a firing position |
 |
| The dense woods and Hunting Lodge enclosure prove an obstacle for the French Wild Geese Brigade ( not helped by a poor initiative roll by Ken!) |
 |
| But the French second line looks organised and formidable |
 |
| The stable lads are driven off |
Turn 3
The Franco/Jacobite advance continued, seizing the hunting lodge. The French in the centre soon came to realise they faced rather tough opposition to their front. As soon as a regiment advanced it was assailed by musketry from one of the superior British units such as the 1st Foot Guards, and combined artillery fire.
 |
| French troops move slowly through the Hunting Lodge and further West are badly hit by musketry and artillery fire. Below view of the same activity from Harleston church |
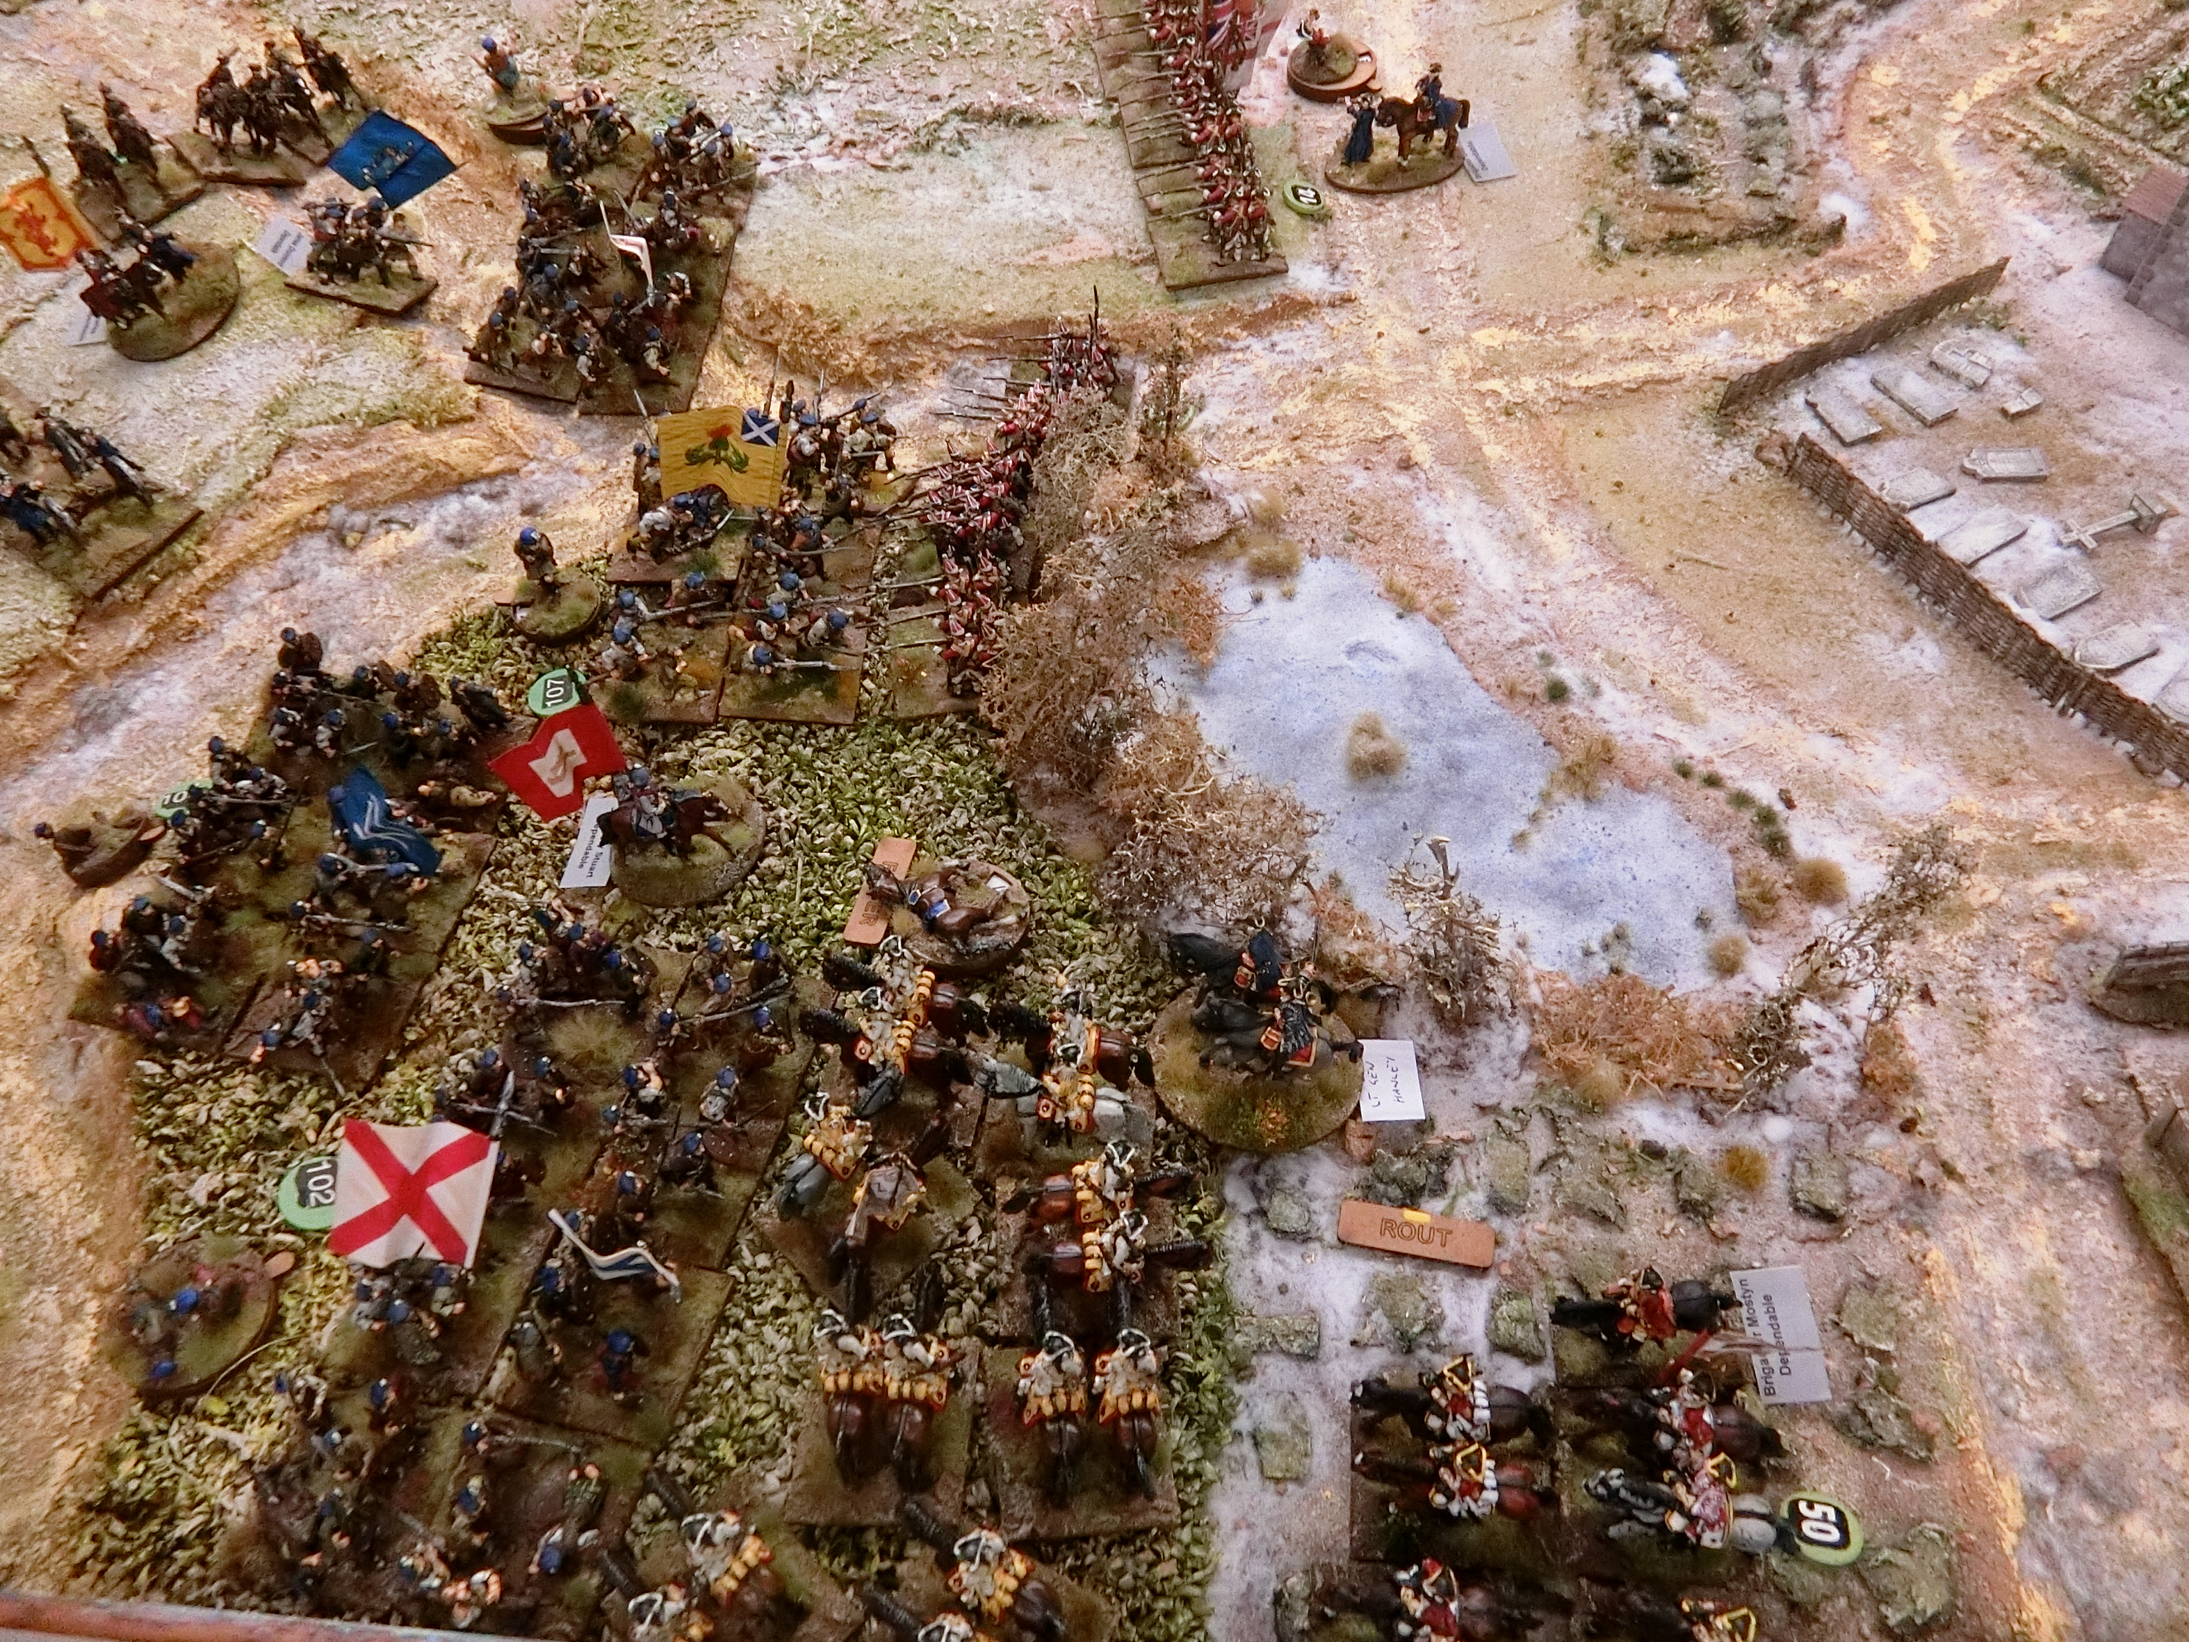
The first regiment of British cavalry started to appear in the eastern boundary of the battlefield by Harleston village. They were hit by a highland charge and were destroyed (see caption for clarification). Despite this success, the clan was then forced to retire in order to reform. This result was repeated throughout the battle as fresh cavalry regiments emerged. Three large regiments received highland charges and were effectively destroyed in subsequent moves.
 |
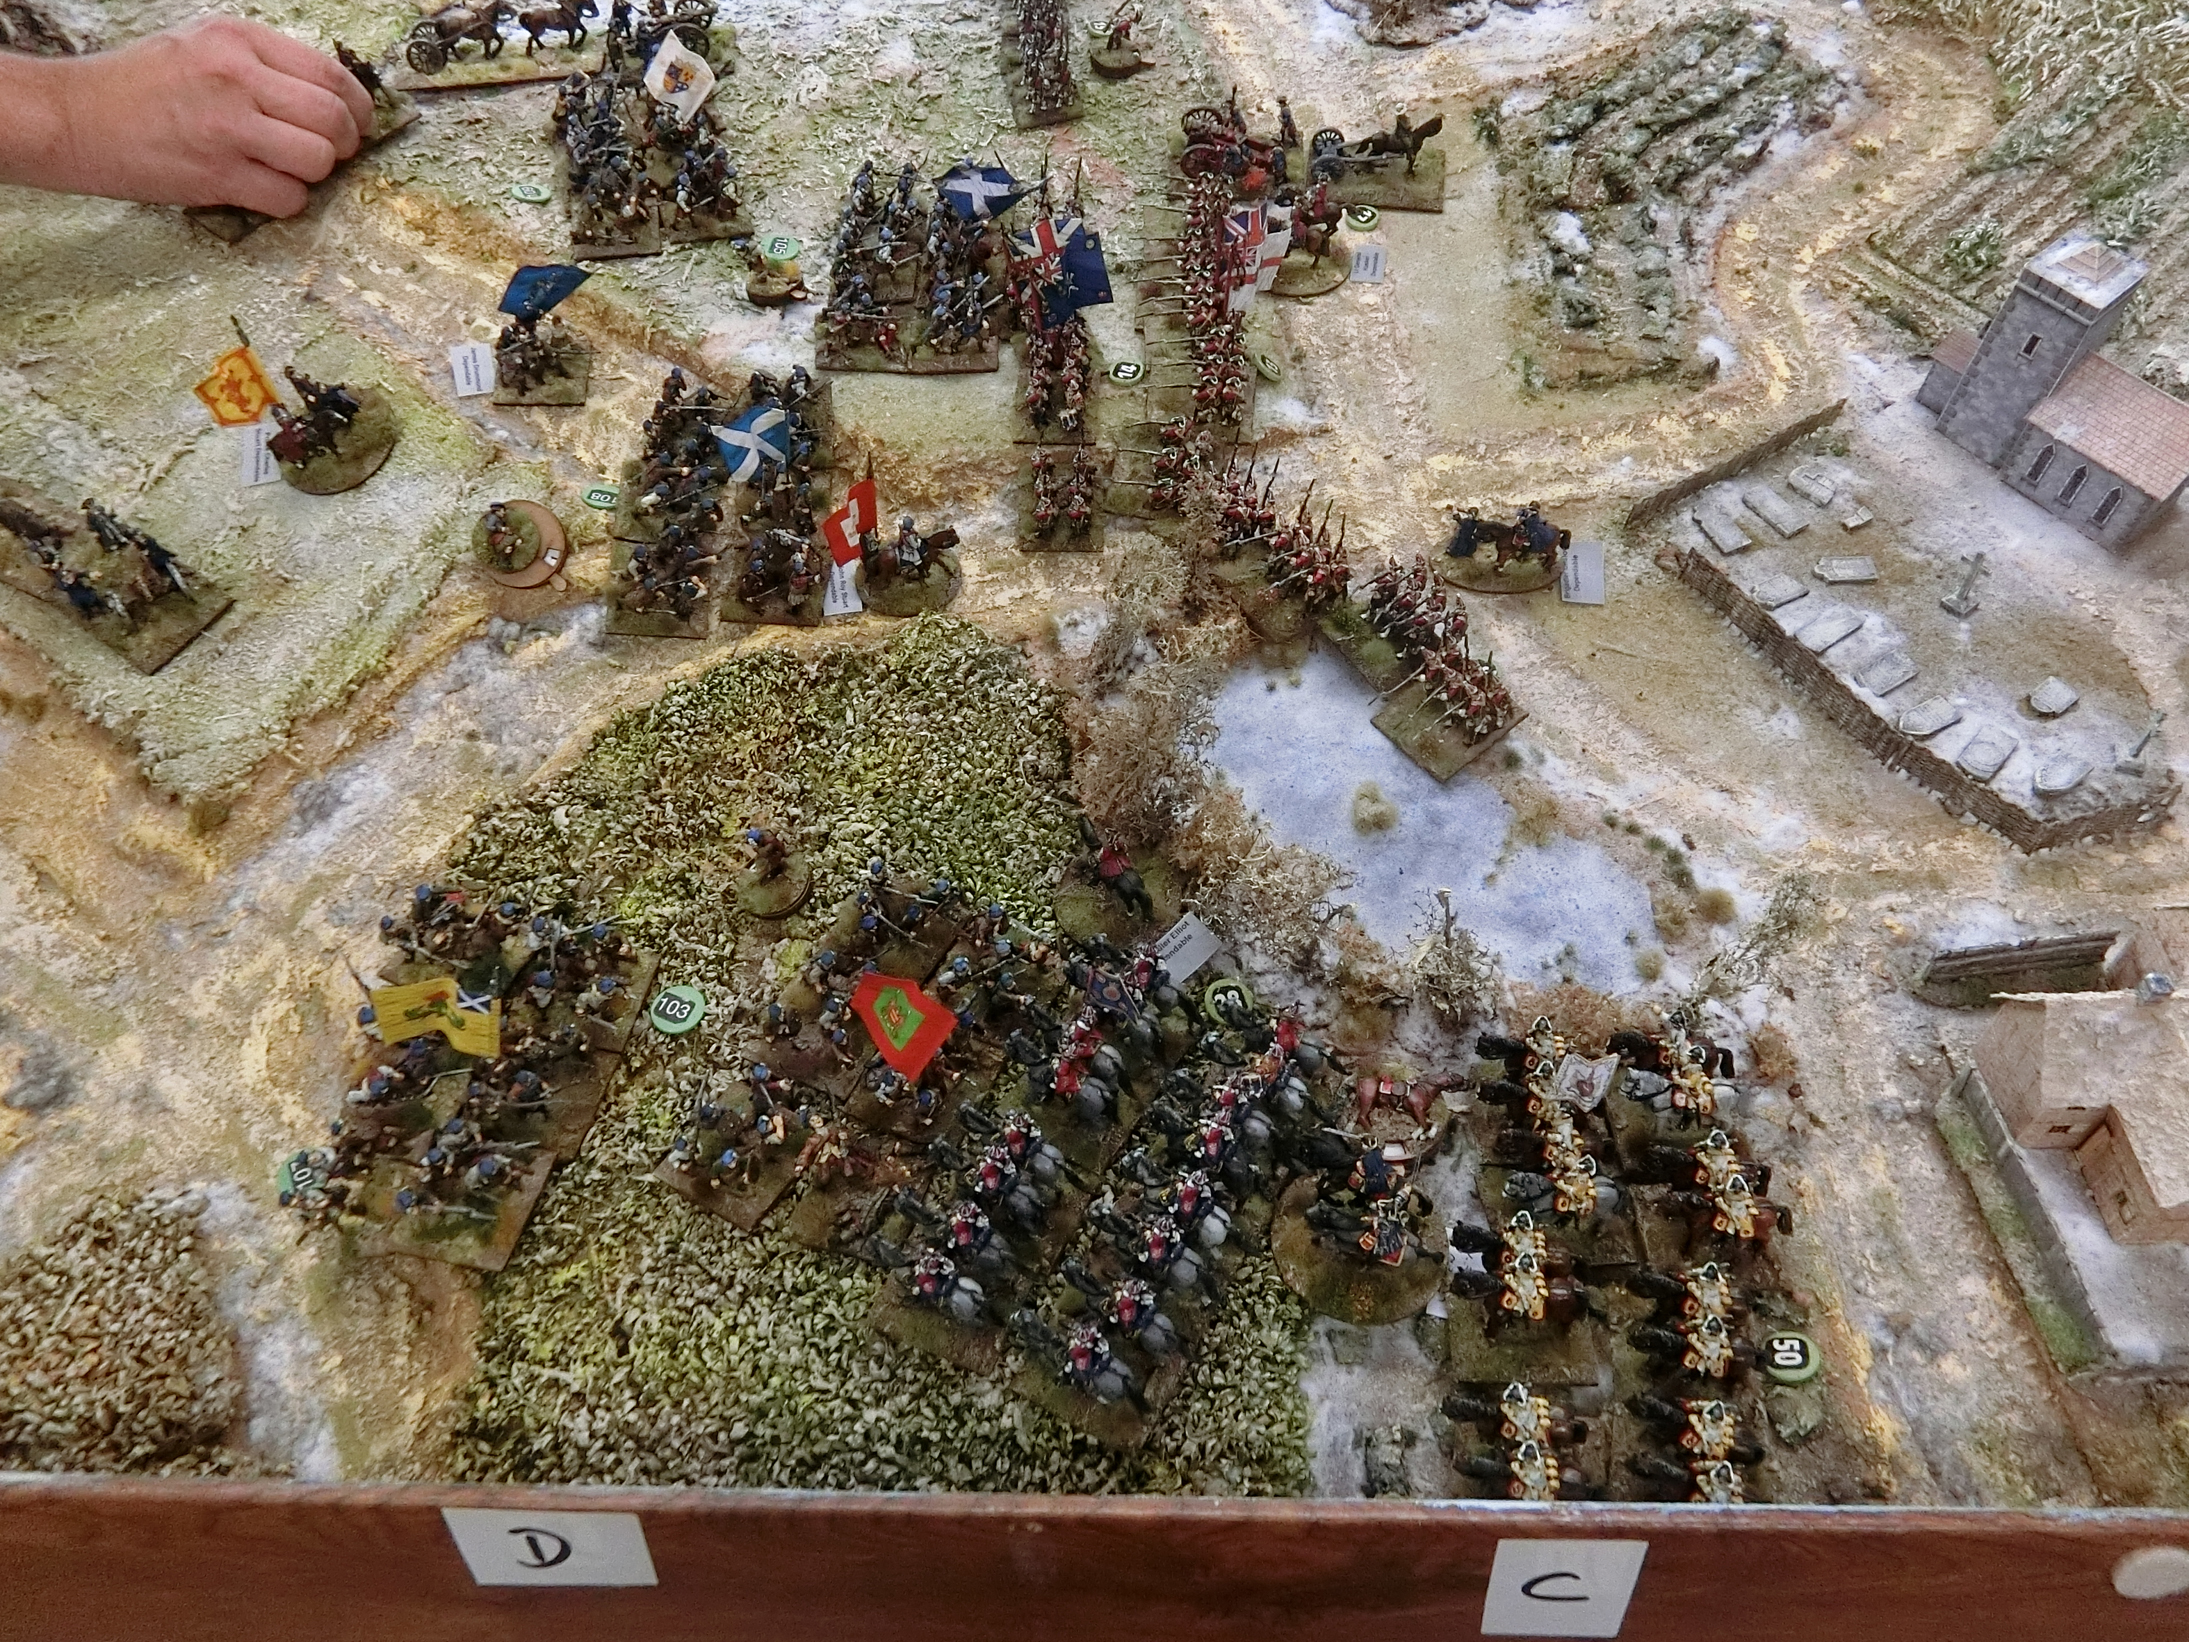
| Before the Jacobite clans could attack Harleston a large force of British cavalry began to appear to the East of the village pond |
 |
| View from behind the Jacobite right flank |
 |
| Not much room for all those heavy cavalry to squeeze between (off-table) sunken lanes and the frozen duck pond |
 |
| We modified the Highland charge rules to allow the Highlanders to confront cavalry by: attack, fire muskets, then receive the cavalry counter charge at the halt, swords drawn........ |
 |
| That meant the Highlanders were still formidable in melee but impetus bonus lay with the cavalry. But the front cavalry unit was broken and the clan forced to retreat two moves without muskets from 4 Hits. |
 |
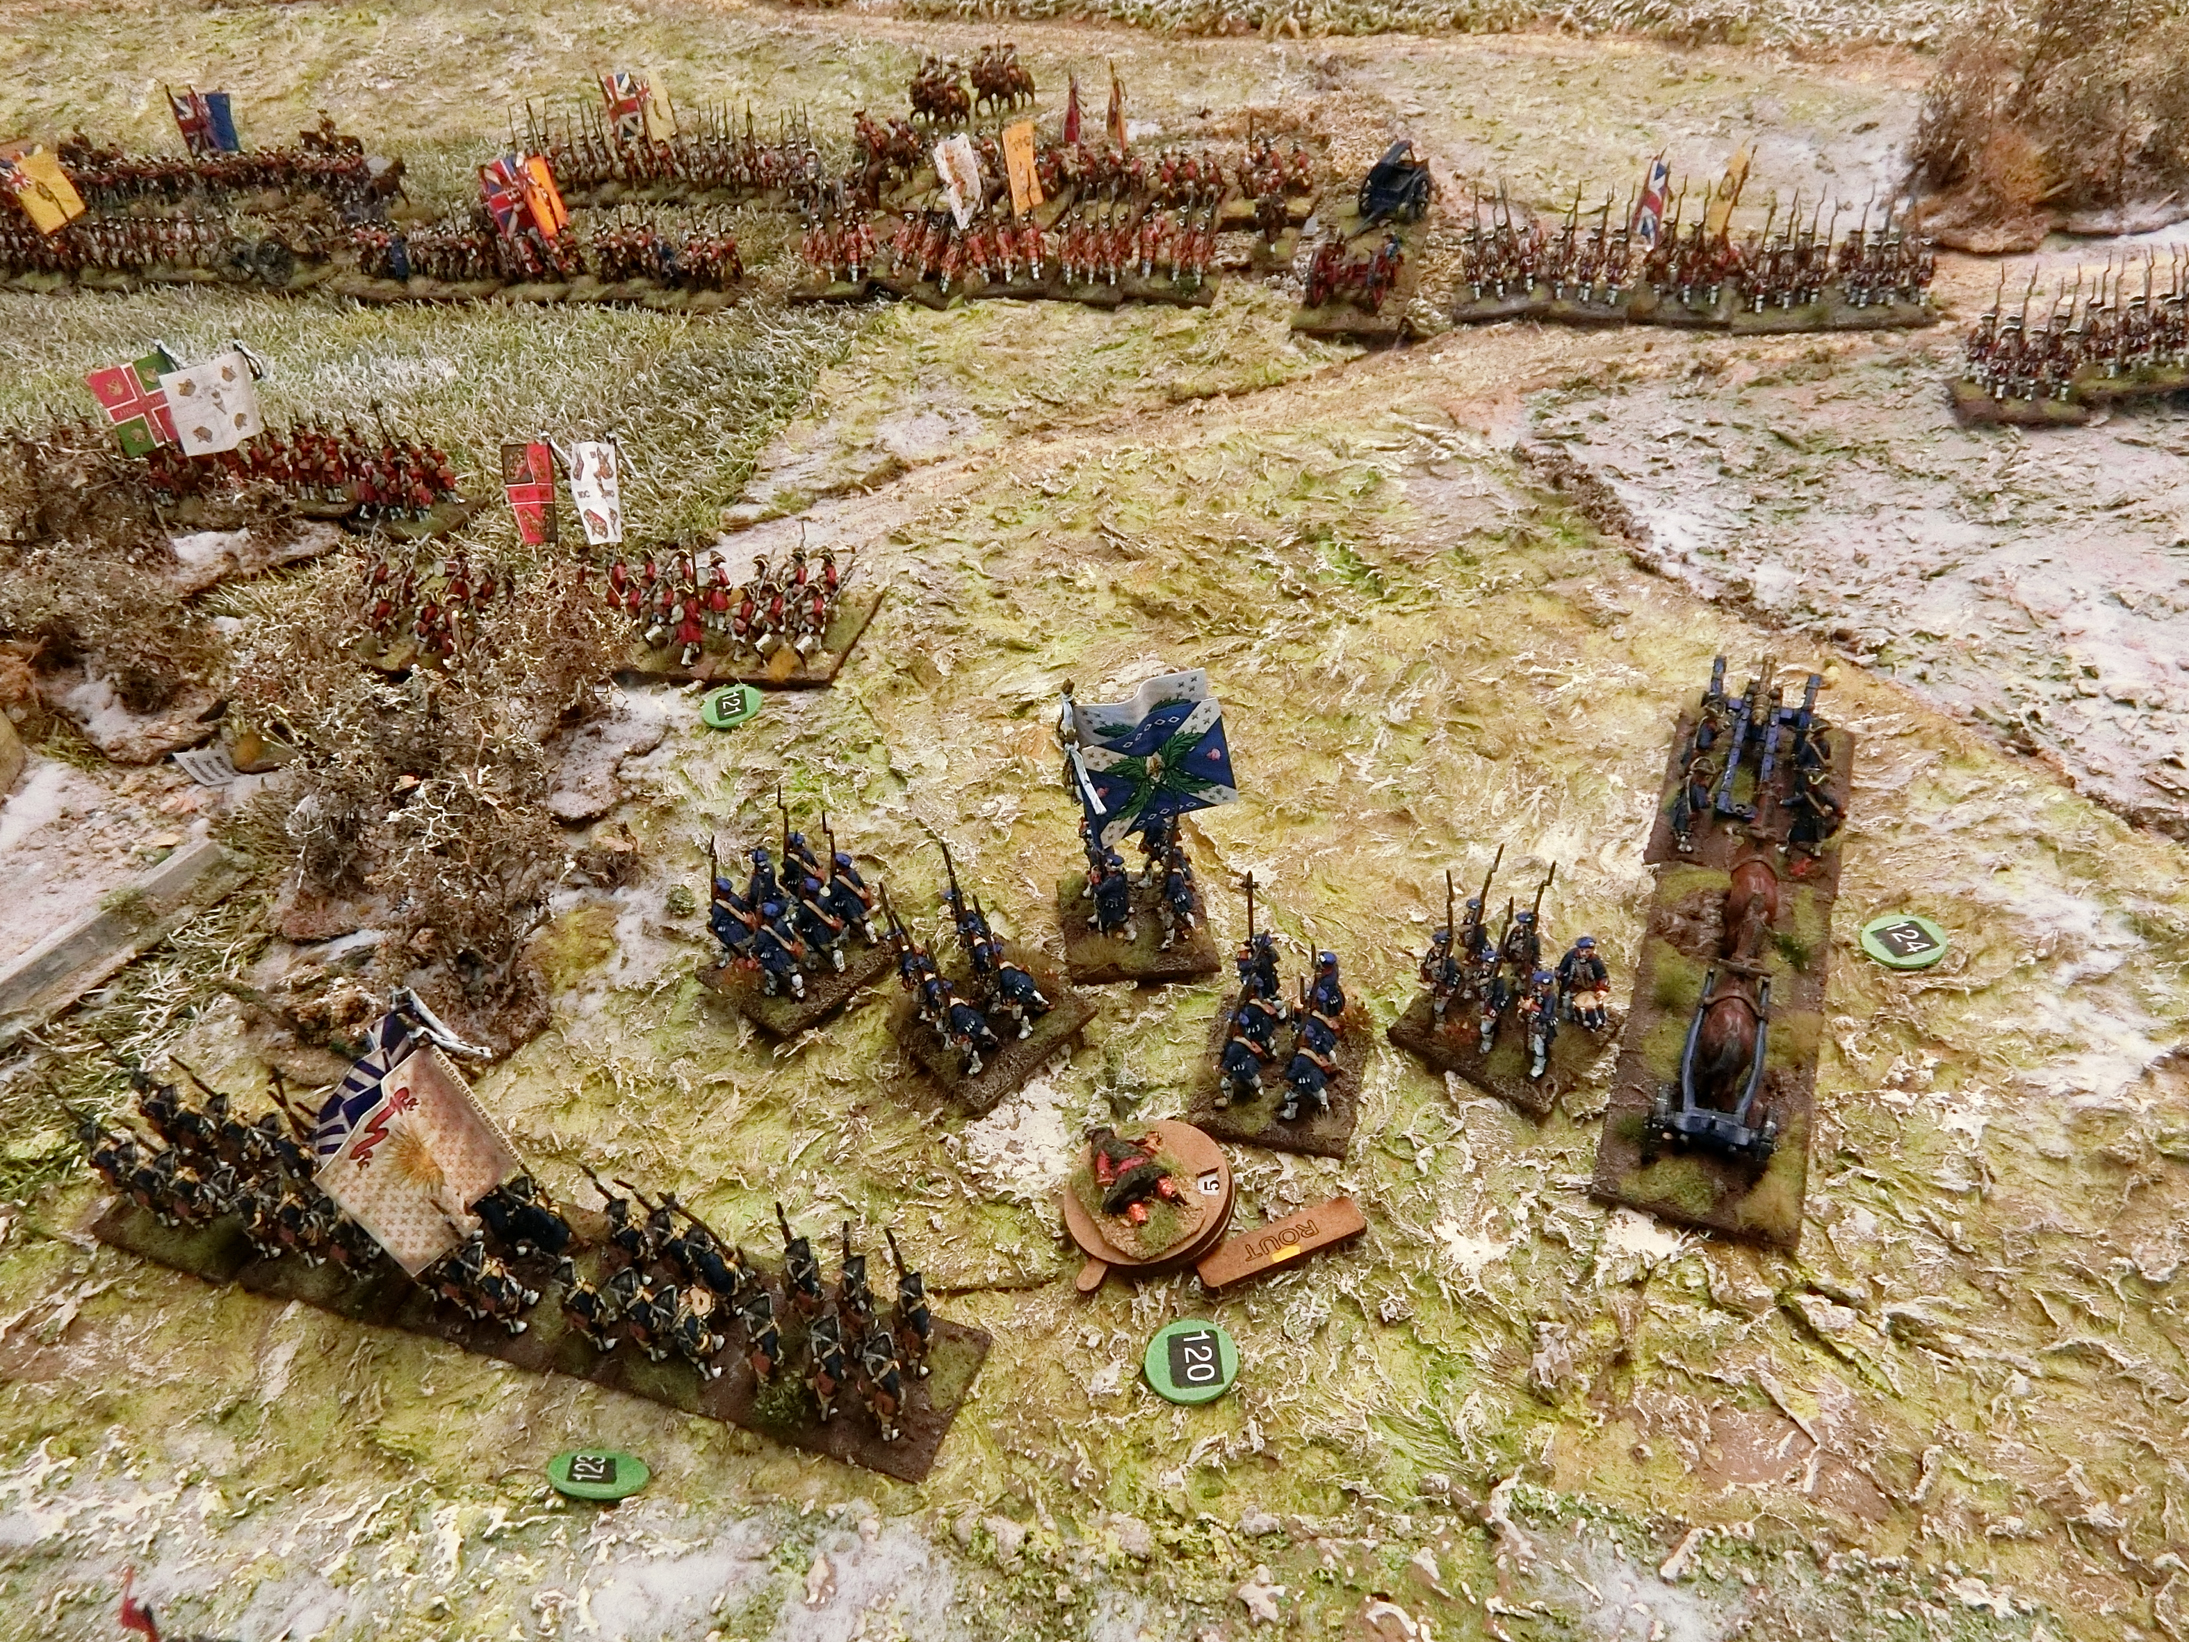
| French regular battalions began to sustain Hits from the Government artillery..... |
 |
| But when the French and Jacobite guns lined up on the Grenadiers Ken rolled some more low dice!! |
 |
| The first French battalion broke up under close range musketry from the garden hedge |
The government forces had some relief as the advanced units of the screening forces to the north started to make their appearance at the NW corner of the battlefield. This consisted of some infantry (mostly of inferior quality) and 2 more regiments of cavalry.
 |
| The Government Advance Guard has marched "to the sound of the guns" and appears above Althorp on the North side |
The French reserve units which consisted of superior infantry battalions and 2 regiments of cavalry were also trying to advance onto the table in the centre but were delayed as they reorganised their line of march.
Turn 4
More British cavalry appeared on the eastern boundary and were once again thrown back by fierce highland charges. By the end of the day the government forces had lost 3 large cavalry regiments attempting to force the flank. However, the Jacobite’s were unable to exploit this advantage because the government forces had used this time to form a strong line of defence of infantry and guns in and around the village and St Andrews church. There was the added complication of a large frozen pond which restricted manoeuvre.
 |
| The 2nd North British Dragoons counter charged another clan but met the same fate as their cavalry predecessors. |
 |
| Meanwhile more British infantry tried to stem the tide beyond the pond |
 |
| Clan battalions from the first wave reforming and collecting up their discarded muskets |
 |
| This general view shows the orderliness which Richard was maintaining in the Government lines but belies the difficulties Ken was having in making quicker progress. A 3pdr battery with every British brigade made a slow but steady rate of attrition among the French ranks |
 |
Just a nice example of Richard's glee at one of his
artillery "fives" (he's a modest chap and I got him to pose!) |
 |
| This was why - that die roll broke the Royal Scots |
However the British line looked a bit like wavering in front of the Manor. This was primarily caused by the destruction of the 2 combined grenadier units after a failed charge which left them exposed to flanking fire from a clan ensconced in the stable block. This sudden change of fortune left the mortar battery exposed in the gardens and its eventual destruction was widely anticipated by all onlookers.
 |
In front of the stable building two British Grenadier battalions advanced to within close range of a clan.
(The mortar battery can now be seen in a firing position in the centre of the garden, and the Advance Guard Brigade has sent cavalry down the road towards the Manor)
|
 |
| But the Grenadiers themselves receive heavy flanking fire at close range from Highlanders in the stables who still have their muskets, a ripple of shots from the clan they face and canister from the supporting Scots battery |
 |
| It did not end well for the Grenadiers - one destroyed and the other retreating back to the far end of the garden. Highlanders are filling the manor courtyard, giving the relieving cavalry regiment pause for thought |
 |
| The Highland First Division keeps pressing to try to make a breakthrough near Harleston |
 |
| As the Highlanders pressed on against the next cavalry regiment Hits began to accumulate and a clan was broken in the attempt |
 |
| Another Grenadier battalion has had to retreat, this time on the Harleston village front |
In the centre the French infantry continued to try and advance but combined musketry and cannon fire caused the destruction of a few French regiments without ever being able to make an impression on the government line which was unwavering. Classic C18th linear warfare was in evidence on both sides. (By CG: For example in Turn 4 Ken had lost a French line battalion, the Royal Scots battalion and 2 clan battalions to Richard's single cavalry regiment)
 |
| The French commander, the Duc de Grammont, is trying to inspire the Auvergne regiment in person in the face of heavy musketry ........ |
 |
........which bypasses him but puts paid to the 2nd Brigade's commander,
the Chevalier de Maupeau |
 |
| De Grammont retreats in the face of an advance by a British Royal regiment |
 |
| Ferdinand commands the centre of the British/Hanoverian line. Here he is watching the tentative approach of Irish battalions Dillon and Lally |
On the western side of the battle the Jacobites started to press their advantage by filtering units around and through the manor to threaten the British units in the gardens. They came under fire from the government mortars which to the surprise of everyone, actually caused a few casualties. This led to much jolly back slapping by the assembled gunner officers.
Here are the mortars, now effectively the right hand end of the Government line
 |
| Although the idea of "umpire assistants" for both sides was intended to speed things up, inevitably the commanding player's concern led to lots of watching those hands-off movements, accompanied by meaningful suggestions. When it worked properly the players lost a bit of control, realistically recreating some "fog of war" |
 |
| Ken at last got a double move to bring on the infantry of his Reserve Division. The faster moving cavalry regiments had untangled themselves from the manoeuvre shambles off-table and arrived half a move earlier |
 |
| Grenadiers de France lead a four battalion column towards the Government centre |
 |
| Following the Grenadiers - French Guard, Swiss Guard, and La Reine |
 |
| The Government is still strong at Harleston and another clan goes down to musketry |
 |
| Content that all is well except on the extreme right, Richard receives some "non executive umpire assistant" advice from Guy |
 |
A useful overview shot towards the end of Turn Four. Cumberland's skilful
forward defence, combined with many of Bonnie Prince Charlie's unfortunate
initiative and firing dice, means the Government have plenty of rear area
in which to redeploy the newly arrived reinforcements on each flank |
Turn 5
The Jacobites swept forwards on their left flank but the delay had given the government forces time to reform the rather thin looking, exposed red line.
(NB: Our modified Highland Charge rules allow Highlanders to recover their discarded muskets if they stay back on a red marker for two moves out of the battle. This had the effect of making Highlanders more interesting than the simplistic "one shot weapon", but did build in delays once they suffered an initial reverse. It would enable some of the Highland clans to return to the fray for our resumption of play on the next day).
At long last the French superior units started to appear. The infantry moved to support the French infantry in the centre and the cavalry started to move to the eastern flank in order to try and exploit the open terrain. >>
 |
| Duke Ferdinand views at close quarters the demise of the 20th Foot going down to canister fire |
 |
| Although the Jacobite clans had thinned out considerably on the right flank there were still enough to have reformed and Lord George Murray ordered a renewed attack. Below- their view of the objective |

 |
| Worth noting in the photo two above there are three small French/Jacobite cavalry units heading towards the right flank. This one is The Prince's Lifeguard, but the figures are some of my Minden Royal Dragoons. More significantly this photo shows the gap in the Jacobite line only manned by artillery, that is deliberate. |
 |
| The reason for that is Ken was heading his two French cavalry regiments towards that gap....but it would take a few moves to get into position. Would those artillery batteries be enough to deter Cumberland's attempt to close his line at that point? |
 |
| The British Advance Guard brigade has been diverted away from the bottleneck of Althorp Manor and Garden and heads East towards Cumberland's centre....... |
 |
| Which of course leaves the Highlanders in the Manor, having finished their looting for the moment, free to contemplate the naked flank of the mortar battery |
 |
| Together with a Lowlander clan they line the hedge hoping to see off the gunners without risk. Since the target was now too close for the mortar trajectory the gunners took up muskets and returned fire |
 |
| Back on the Harleston flank the Hanoverian Leib regiment Reuter goes down to the Highland blades |
 |
| British Grenadiers and Highlanders inflict a mutual retreat on each other at 4 Hits..... |
 |
| .....which thins out this flank and creates a natural break in immediate hostilities |
 |
| That proved an adequate result for Cumberland and Ferdinand as they were able to fall back to a more concentrated line from Harleston church through the wintering brassica vegetable gardens. |
To be continued......with another 5 Moves to work out a result for Guy's campaign. Don't miss it!