An enjoyable weekend was had by all, blowing away the cobwebs of lockdown while the Government allowed me now to have a few people in my house. As alluded to in a previous post Back to the 18th Century, Guy Barlow was using the opportunity to give his 28mm Jacobites a rare outing and try on others an idea he had as part of his own Jacobite Rebellion wargame campaign. You can read and download the Briefings and Orders of Battle for both sides in The 18th Century Historical Download Bar at right or here
I played the Jacobites under "Bonnie" Prince Charlie and Ken Marshall played Marshal Wade with the Government Army.
 |
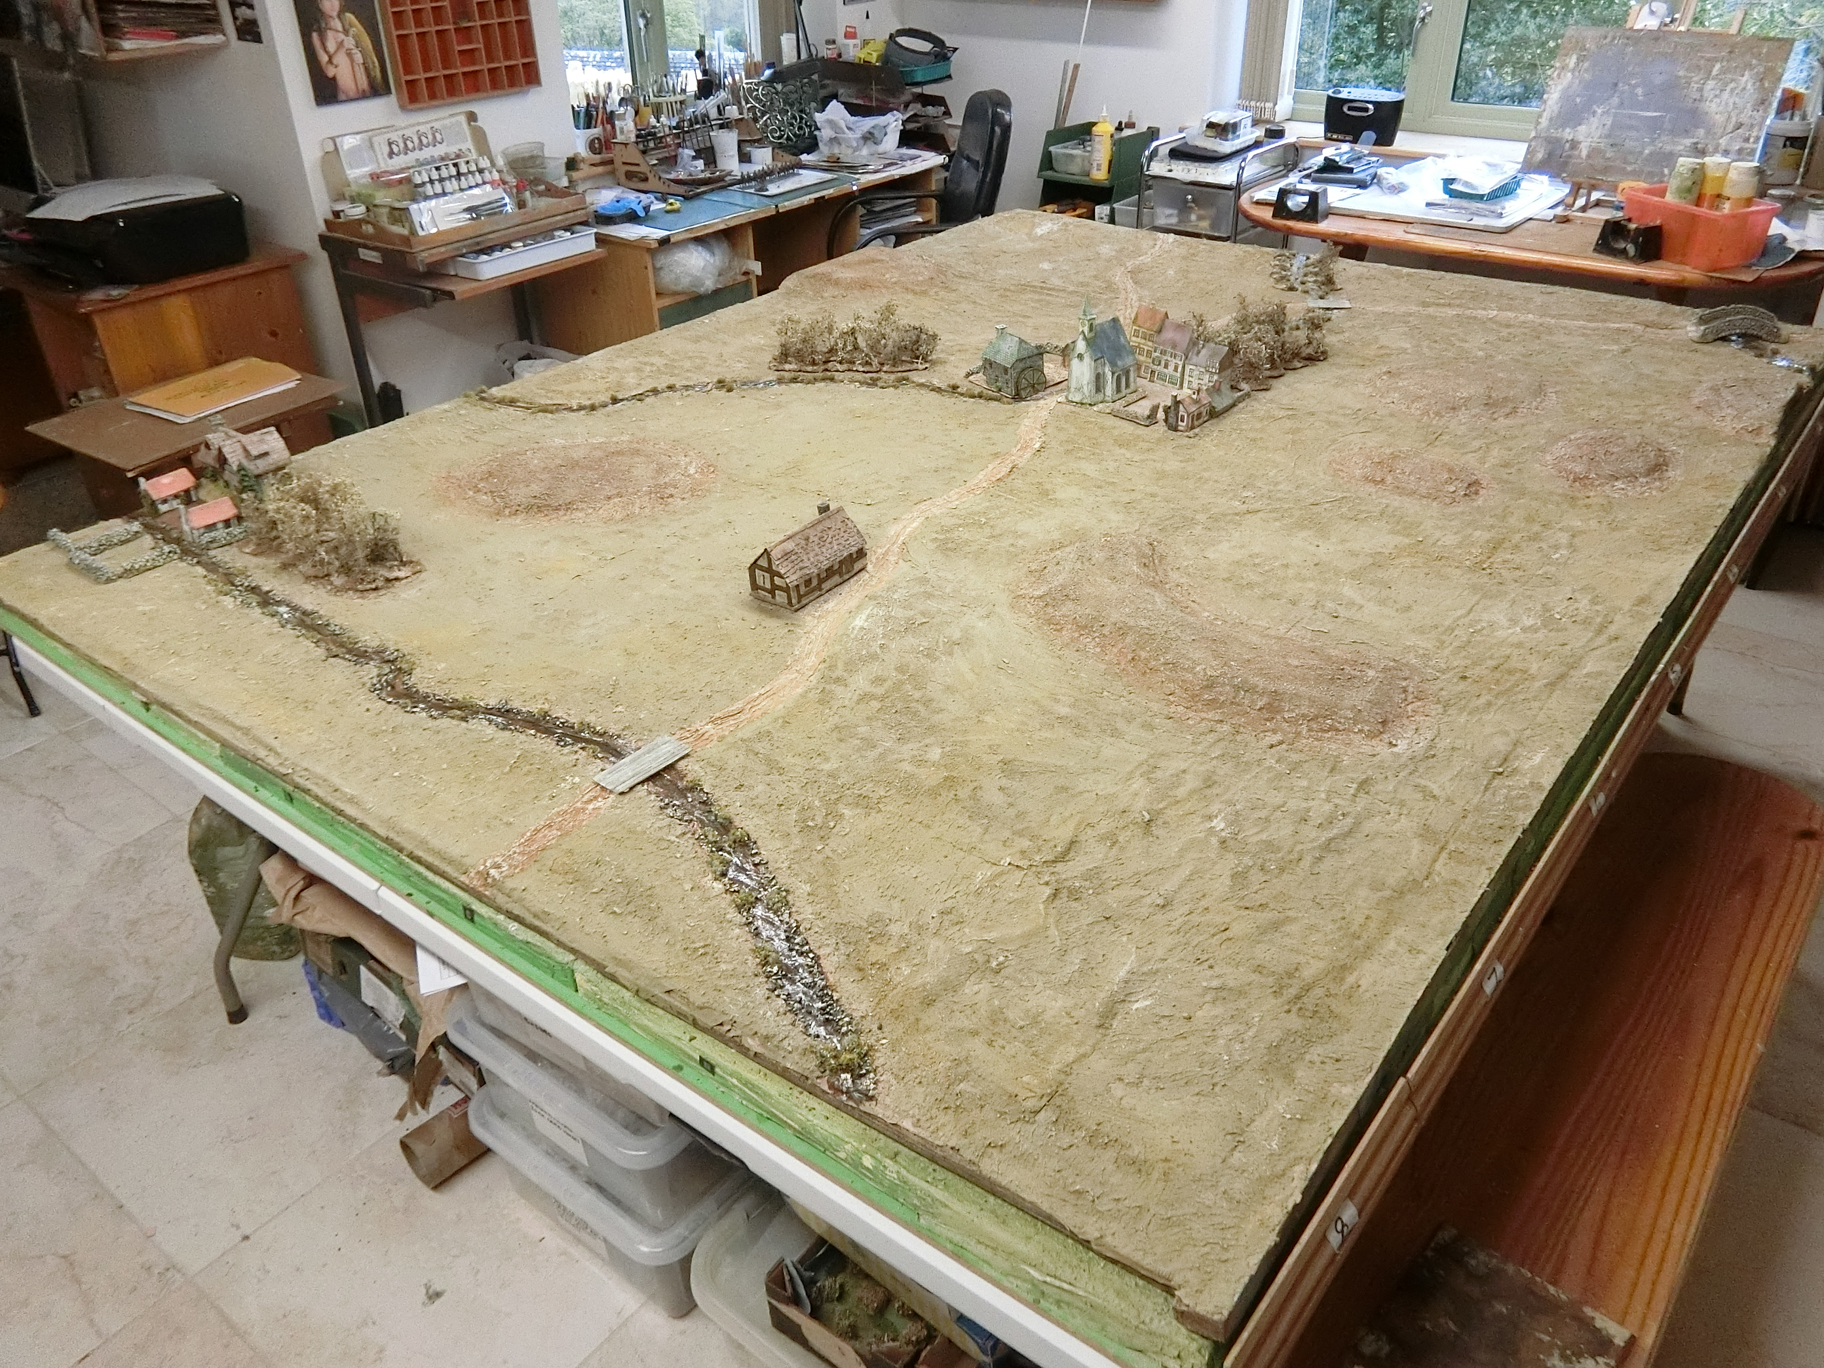
| As a reminder here is the terrain map for the Brampton game |
I set the scene very briefly in that post a few weeks ago, but now the game is done Guy takes up the story of how it went:
Battle of Brampton-game report
Opening positions on the table at about 6.30am on 14th November 1745 as the mist over the beck burnt off.
 |
| Only one clan of the Highland Division (Atholls) is visible, the rest are suggested by markers behind the hills. Lowland Division in the foreground |
The Jacobite forces were already set up with the Highland Division mainly concealed behind the low hills on their left and with the Lowland Division on the right in an arc towards Milton woods. Their artillery piece was well positioned on top of the hill. The French troops occupied Brampton. A messenger had been sent by the Prince towards Carlisle to urge the Duke of Perth’s return with his detached command, post haste.
 |
| My Jacobite deployment map - CG |
The government forces had advanced under General Hawley with two regiments of dragoons (both inferior), a unit of government Scottish troops (also inferior) and a combined British grenadier unit. They took up their positions around a tavern on the Newcastle Road to shield the advancing government troops.
Turn 1
The lowland division acted aggressively from the start and attacked the isolated government Scottish troops who did not put up much of a fight and fled. The grenadier unit advanced and occupied the Tavern. The Dutch brigade advanced onto the table consisting of three Musketeer regiments, a gun and a combined Dutch Grenadier unit. Unfortunately, their commander was dithering, and all the units were classed as small and inferior. This reflected the poor quality of the Dutch troops in Newcastle at that time. General Wade also accompanied these troops.
 |
| Above and below: Chisholm's Highlanders charge out from the woodland edge......giving the Black Watch such a fright that they fled |

 |
| Above and below: My Hessian figures come on masquerading as Dutch mercenaries |

Turn 2
The grenadiers were assaulted by a highland unit from the Lowland division supported by other Lowlanders. As a result of the assault on the tavern the British combined grenadiers were forced to withdraw but they did cause some casualties.
 |
| The Grenadiers can be seen in the Tavern BUA with the building removed for ease of play. Fearing the British Dragoons might seize the ridge crest some of my Highland clans are showing themselves in an attempt to be intimidating! |
 |
| Ken and Guy are busy in Move 2 - the Black Watch have fled off and Chisholms have retired with casualties from Hessian fire. (My latest painting of Countess Gruzinskaya keeps on eye on the off-table figures in the boxes :-)) |
 |
| Cromartie's Highlanders lead the attack on the Tavern; the defended walls blunt their Highland Charge impetus. |
However, on the second move the main British force of four infantry regiments together with a gun came onto the table and started to deploy. Their arrival certainly made a brave sight and the Jacobites withdrew slightly in order to reform their lines. They were also faced with the formed government cavalry units.
 |
| Highland Division has edged forward as the British infantry arrive in front of them. Chisholms are back in the scrubby woods by Quarry Beck ready to charge again. The tavern has been evacuated by all - the whisky must have dried up! |
 |
| Dutch fusiliers about to be charged from the woods |
 |
| The British Dragoons can't pluck up enough courage to attack up the slope and are content to cover for their infantry compatriots. But those double lines are susceptible to even the inferior Scottish artillery |
Turn 3
The final British unit arrived which was a regiment of cavalry. The British troops then started to advance and were lucky to get a double move. They advanced towards the low hill to their front, forming line with the gun and also behind them the light British mortars took station. Compared with their performance in a former game these mortars actually performed rather well and inflicted some casualties on the Jacobite forces.
There was some combat on the government left flank from Milton Woods by a highland unit in the Lowland division. The Dutch troops managed to halt this attack, but it did shake the resolve of the Dutch brigade.
 |
| Above and below: Chisholms make a second charge this time on the Dutch. However, too many hits now and they flee |

 |
| The additional cavalry give the Government army an appearance of organised strength |
 |
| Nice close up of the light mortars |
Turn 4 and 5
It was at this stage that the first units of the Duke of Perth's command from Carlisle started to make their appearance and because all the fighting was taking place on the other end of the table, they were able to make a swift march towards the town of Brampton to reinforce the Jacobite forces. Turn 4 was a bit of a lull in the fighting save for some cannon fire as the two opposing armies brought their troops into formations for the inevitable final clash. The Dutch troops fell back to reform as they had suffered some casualties.
In turn 5 the opposing forces manoeuvred and took their positions with the British units facing off the massed clans.
 |
| Plenty to think about. Lowland Division is making an orderly withdrawal and practically all clans and battalions having several hits, but they have bought valuable time. Duke of Perth's first clan is just pushing through Brampton |
 |
| Now was the time to bring up Charlie to try to inspire the troops for their Highland charges. On the far side Baggot's Hussars retire from mortar casualties |
Turn 6
We then approached approach the climax as the battle as there was a full-blown highland charge against the British line. Despite suffering casualties, the charge went home, and they were successful in firstly forcing a British gun crew to abandon their gun and also forcing back and effectively knocking out of the game 2 British foot regiments. Some Highland units were also damaged but not to the same extent. The British line was left holding with just two British line regiments, a cavalry regiment and the infamous mortars. This left them looking relatively weak especially as the Jacobite line was being reinforced by the Duke of Perth’s units.
 |
| Above and below: Three clans make a concerted Highland Charge supported by one other and the Hussars. Two battalions and an artillery battery are on the receiving end. |

 |
| A very disjointed aftermath for both sides. In the foreground Highlanders have withdrawn to lick their wounds. A hole is now in the British line and the battery abandoned |
Turn 7
The government commander was therefore left in an invidious position. Marshal Wade’s instructions were very clear. He was not to imperil his army or allow it to be defeated because that would have effectively destroyed the main British force between the north and London. Matters would only change when the British troops returned from Flanders under the Duke of Cumberland.
It was clear that Wade did not have enough strength to defeat the Jacobite army as a number of his units had been irreparably damaged and the only support came from the weak Dutch troops. It was apparent that Wade would have to withdraw towards Newcastle. He had plenty of cavalry available to shield the withdrawal and there was no chance of a successful follow up by the Jacobite forces.
 |
| A British volley finished off Fife's Highlanders who are fleeing |
 |
| But there is also chaos in the British lines, and those Cavalry on the right are now losing hits from a Scots battery in Brampton |
So definitely a tactical victory for the Jacobites as they were left in command of the field, but it was certainly not a crushing victory along the lines of Prestonpans.
The result certainly pleased the Prince because it allowed him now to move towards Carlisle with his full strength and then continue his advance southwards towards London. With hindsight its strategic value was certainly less as Wade continued to have a sizeable force in the Jacobite’s rear and should the Jacobites suffer a reverse further South, such a force may prove decisive.

The whole Jacobite Army has managed to pull back into some kind of order round Brampton and Perth's fresh units are in a position to bolster the centre and threaten any further British aims.
 |
| Recovery of some sort is underway and in the foreground Charlie has called up his Lifeguard cavalry as if to taunt those British Horse |
The campaign continues.
Postscript.
Due to the presence of French troops with the Jacobite, the Dutch troops were obliged to return to Holland due to the terms of their enlistment. Not many tears were shed by Wade or his staff. Wade also made plans to upgrade the Newcastle/Carlisle Road so that he the army’s heavier guns could be taken on the next foray. Carlisle soon fell to the Prince and the Jacobite army started their march into Lancashire.
 |
| Marshal Wade brings on the British Infantry brigade |
Battle of Brampton by Ken
I did start with a plan to bring the Dutch on the table to hold the left flank and use the British Infantry on the right flank to advance and take the fight to the enemy with the dragoons screening the advance. I wasn’t sure what was behind those hills but the mobility of the dragoons should allow them to locate the enemy and stay out of trouble. Once the Jacobites were pinned, the infantry and artillery could be brought up to deal with them. That fell apart when I first walked in the room, saw the table and just how close to my front line the Jacobites were.
 |
| Baggot's Hussars, Glenbucket, Fife and Ogilvy Highlanders. Cameron of Lochiel is still out of sight and the Atholl Brigade takes the post of honour on the right by Brampton town |
The first dice roll compounded that feeling when I lost the initiative and my highlanders and grenadiers found themselves on the receiving end of a highland charge. The Scots managed to get a volley off and inflict a few casualties before they thought better of it and made for the table edge, passing the arriving Dutch troops at high speed and leaving them wondering what they had walked into. Exposed, the grenadiers delayed the inevitable for a few minutes by scrambling into the local tavern, shutting and barring the door where they promptly began to investigate the cellar.
End of the first turn and the remains of my advance guard are still across the stream holding ground although I’m not feeling confident if the Jacobites decide to advance. Although the Dutch are on the table, I really need to create some space otherwise I’m not going to be able to bring the British onto the table.
 |
| General views around Moves Two to Three |

Turn two starts well. Marshal Wade uses his influence and persuades some of the Dutch to advance across the stream where the flanking battalion promptly gets charged by another highland unit. At least that means some of the British can come on the table although they are greeted by the sight of the grenadiers being evicted from the tavern and running down the road towards them. The grenadiers claim to have been saving the whisky stocks weren’t believed.
 |
| Despite the ill training of the gunners this Scots 3pdr battery made a good showing throughout much of the game, especially against the cavalry when two ranks deep |
The next few turns are a blur. The British infantry and cavalry manage to advance and eventually catch up with the Highland division, however they simply don’t have enough good troops to defeat the highlanders. They successfully fight off the first highland line but the lack of reserves meant they can’t stand up to the second line charge and have to pull back.
 |
| The main Highland Charge as seen from the British side |
 |
| Repulsed clans make the Highland line very disjointed by Move 6 |
 |
| The fresh clans stand firm - and this time receive a charge from the inferior quality Dragoons |
The Dutch maintained their position on the left flank and made faces at the Lowland division facing them as Marshal Wade was otherwise occupied on the right flank and couldn’t be spared to encourage them forward. Unfortunately the lowlanders made scarier faces back which upset the Dutch and they decided that they’d rather go home (the result of a "feeble" roll on the initiative dice for their dithering commander which had them going back towards the table edge)
 |
| The Dutch maintain the position they had at 7.30 am! The Number 18 in the foreground Milton BUA is just a "dummy" unit |
An enjoyable game even if it was one of those where the dice should have been painted tartan to show their allegiance.
Brampton by Chris
I hadn't a clue what to expect but knew from the rules that my Highlanders could not charge mounted troops so I was in fear of them all along. My best chance lay in trying to encourage them to attack me with my uphill advantage, but Ken proved far too shrewd to do that!
I was pleased with the Lowland Division performance under "dithering" Colonel Sullivan. and I think he only rolled one "poor" result in the game - at a point I was happy not to advance.
I only brought up Charlie late to try to upgrade Lord George Murray to dashing and that did not work. I think I got one double move in the whole game, so it is a bit misleading to imply the dice were on my side. True , I got very few really bad results, unlike some games. Given the restraints I later found Ken to be under, and his relatively short supply of good troops, he had a difficult job and did well. For my part it felt like a considerable challenge and one I enjoyed coming out of on top! Thanks Guy for all you did and to Ken for being a good sport.
I have been asked about our local amendments for Honours of War and the special rules for the Jacobite Rebellion so I have posted them in the right hand side bar and here is a link. The HoW 45 I believe is an official variant, though we are not convinced we like it all as it is. Guy tells me that Graham Cummings has his own slight variations to this so might enlighten us.