Apologies for the long delay, I thought I ought to get back to this Imagi-Nations mini campaign set in 1760 and here is a link to the blog post with the background to the French/Savoy
attempt on Machtigburg
The first scenario "Vanguards in the Wahlental" was deliberately designed to use the considerable numbers of Light Troops we could muster. It was
petite guerre gone
grande and kept Ken and I amused for a whole day back in June 2017. The full briefs and orders of battle for both sides can be found in the Downloads sidebar at right under Imagi-Nations Collection, or at this
link
The French/Savoy force under General de Busserole (commanded by me) was to enter within 12 inches of points C and D. My force was basically three small legions (acting in the rules as brigades) which between them had light cavalry, light infantry, light artillery, dragoons and grenadiers; there was also a light infantry brigade, a small Grenadier brigade, an independent light battery and the independent Hussars de Bercheny. Busserole's objective was to secure the route through the Wahl Valley by dominating the valley and Korbynisch Hohe beyond so that a reinforcing army could escort the siege train safely from Wahlkreisstadt to Machtigburg.
The Imperial/Reikland force was commanded by Ken in the form of Major General Graf von Draskowitz. His objective was essentially the opposite - to block the main route by occupying the Wahlgebirge ridge and the small tactically important hill known as Farronberg. Capturing both built up areas (BUA) and the river crossings was also part of the plan to dominate the valley. To do it Ken's force was a balance for mine but very differently composed. He had five brigades, an irregular one of Grenzers and Lancers, two of Jaeger/Freicorps, a large Hussar brigade, a small Grenadier brigade, and an independent Jaeger zu Pferd regiment of two small companies - effectively dragoons (in fact the models were Ken's 17th Light Dragoons lookalikes). He entered within 12 inches of points A and B.
We both had a few restrictions on disposing brigades to entry points but basically freely marked up the maps in advance showing our columns of march.
I didn't take any notes and it is over 6 months ago so I will have to let the photos do the talking.
 |
| After the initial move. French at left and Imperial at right. Below are some closer in shots around the table |
 |
| Irregular Brigade - Lancers and Grenzers |
 |
| Facing the Chasseurs de Fischer - horse and foot |
 |
| Grenadiers de Lauzun followed by converged grenadiers move into Maistadt |
 |
| A large Hussar brigade of small units - black uniformed Hussars von Reusch are very popular, both Ken and I have a unit to combine as a big regiment! |
 |
| Bercheny Hussars lead the Fusiliers d'Argentiere on the French left |
 |
Nearer the centre the Comte de Morliere is trying to spread his Legion towards
Ober Farronheit. The Dragoons have sped on over the bridge
towards Korbyndorf (see photo above) |
 |
Freikorps, Jaegers, Grenadiers and the Jaeger zu Pferd look powerful on Ken's
right flank |
 |
| The battle moves on: A clash of light cavalry in the foreground and beyond them a double move has led the dashing General Frieherr von Oberndorff to try to gain ground across the river and on the Farronberg with his Hussar brigade, backed up by 3 Jaeger battalions. Close ups below. |
 |
Fusiliers D'Argentiere are joined by Les Montagnards Ecossais all heading
towards Korbyndorf |
 |
| The Chasseurs de Fischer have destroyed one of General Kotztoter's lancer squadrons |
 |
| Hussars von Reusch have made it nearly to Ober Farronheit unopposed...... |
 |
........but those Grenadiers de la Morliere are hoping to make it hot for them.
However, the Comte has allowed his Dragoons to get out of command range and
an order to attack the Farronberg failed to get through! |
 |
| An overview about Move 3. In the foreground I have opted not to attack with the Chasseurs de Fischer for fear of flanking fire from the Grenzers in the Bauernhof Lukas fields. But by the Sudliche Bruche I have counter attacked with the Hussars de Lauzun in an attempt to open up Ken's flank along the Wahlburg road. Close ups below. |
 |
| This photo well shows what an opportunity I missed with the Morliere Dragoons (right) while Imperial Hussars presented their flanks. The Comte de Morliere feels rather helpless on the far ridge (top centre) |
 |
| Things are developing more slowly round Korbyndorf |
 |
| Overview a Move or two later: In the foreground a bit of fire on the Grenzers has seen one battalion off to reform so I advanced the foot chasseurs and became free to attack the remaining Lancer squadron - small size and inferior quality so it was advantageous for me. Not so at the bridge where my Lauzun Hussars had been defeated and headed back up to the top of the Wahlgebirge. See their view below |
 |
| Lots of Ken's light troops attacking my Fusiliers de la Morliere in the marsh, while my Dragoons receive fire from Jaegers- ouch! |
 |
Things began to hot up as light troops from both sides contest Korbyndorf
but the Imperial side had got in first |
 |
A couple of light artillery batteries above Korbyndorf helped improve the
Imperial advantages on that flank |
 |
| Late afternoon sun is spoiling the photo but this gives some idea of game progression by about Move 6 or 7. In the foreground Chasseurs de Fischer a Cheval have attacked and routed the irregular lancers while their foot comrades, backed up by Grenadiers, are trying to eject a battalion of Grenzers from the fields. Imperial Hussars have mostly withdrawn to consolidate, for reasons that will become clearer in the following photos. Jaegers are defending the marsh against the Dragoons de la Morliere who have finally got moving. Korbyndorf has become a desperate struggle |
 |
My concentration of light guns and Lauzun Grenadiers in Maistadt, together with
the reforming Lauzun Hussars, has made a distinctive lack of welcome
on the Wahlgebirge slopes for any Imperial hussars |
 |
| A concerted infantry attack on the leading Grenzer battalion |
 |
Another converged Grenadier battalion supports the Chasseurs in outflanking
the Lukas farm |
 |
The view towards Ober Farronheit while the Imperial Hussars reform. Some squadrons
had suffered at the hands of the Fusiliers de la Morliere and Morliere artillery on the ridge |
 |
Their place had been taken by the Morliere Dragoons in a desperate downhill charge
to try to discourage the Imperial Jaegers from pressing on up the ridge |
 |
Those light guns had a good view of the Montagnards Ecossais as they attacked
the Korbyn orchard |
 |
The Bercheny Hussars are wary of attacking uphill where the Jaegers zu Pferd
are ready to counter-attack |
 |
| Nearing the end now........My right flank cavalry are nicely distracting several squadrons of Imperial Hussars but there is an impasse at the Farm. I've had to give up any idea of preventing occupation of the Farronberg as the Morliere Dragoons have been beaten back from the marsh. The battle still rages round the fringes of Korbyndorf but the cavalry have finally clashed on the very far flank. |
 |
View over Maistadt. Savoy troops very much in charge to secure this part of the
line of communication |
 |
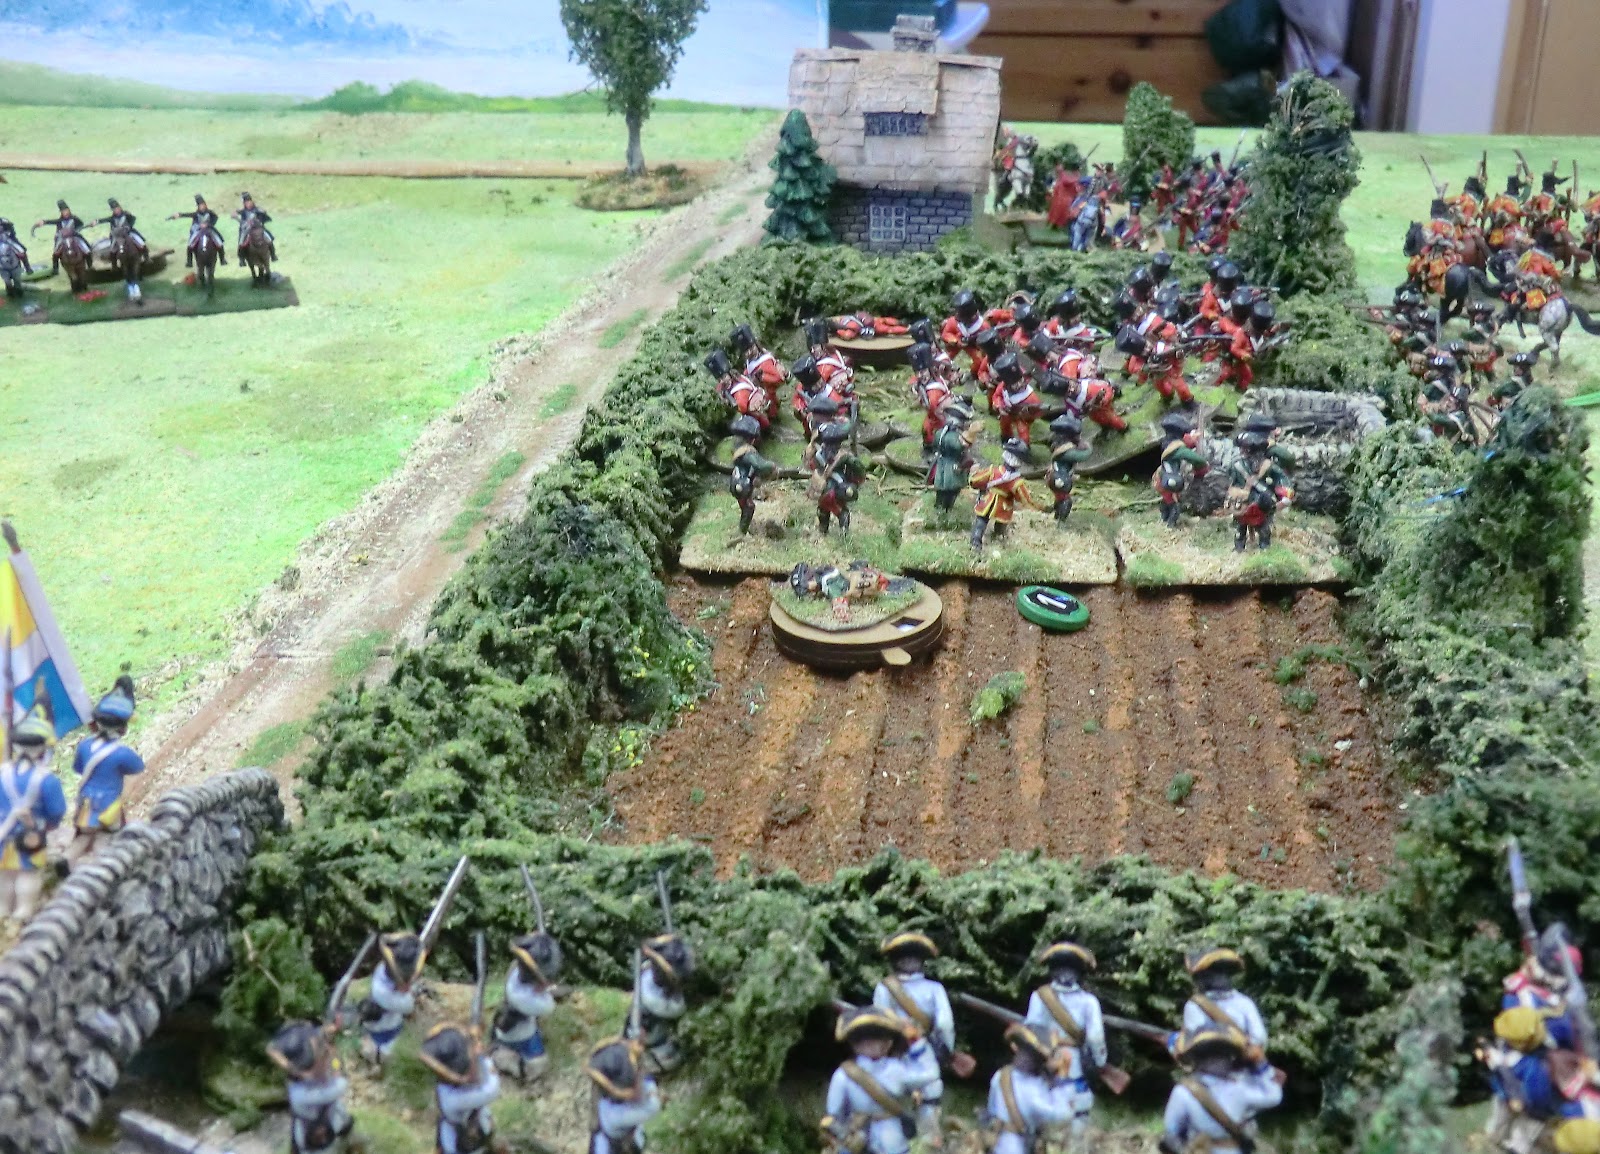
| The Grenzers gave too good an account of themselves! |
 |
| The Montganards have destroyed themselves in the attack on the Korbyn orchard which freed up a Freikorps battalion to join in defending the village. |
 |
Facing two light battalions and two Grenadier battalions my Fusiliers d'Argentiere
no longer had any chance of getting a foothold in Korbyndorf |
 |
Ken's Jaeger brigade consolidates its gains in the marsh and Farronburg overlooking
a small River Wahl crossing point, while the Legion de la Morliere licks its wounds
around Ober Farronheit |
 |
| Unsurprisingly Ken was well pleased with his day's work......and we both went off in high spirits to enjoy a meal at "The Butchers Arms" |
This was my first original game using "Honours of War". I was keen to test the rules thoroughly for light and irregular/inferior units and Legions within the command structure of the rules, as well as get a result we could use as the basis for the next game. Both aims were achieved and HoW once again, proved a vehicle for a highly entertaining mid-18th century game with lots of ebb and flow and unpredictability.
Ken is an opponent not to be be underestimated and he showed great skill in achieving limited but useful objectives while preserving, I think, all but two of his units. Securing Korbyndorf and the Farronberg would prove to be highly useful in contesting the passage of the French Army towards Machtigburg, as we shall see in the next scenario.........


