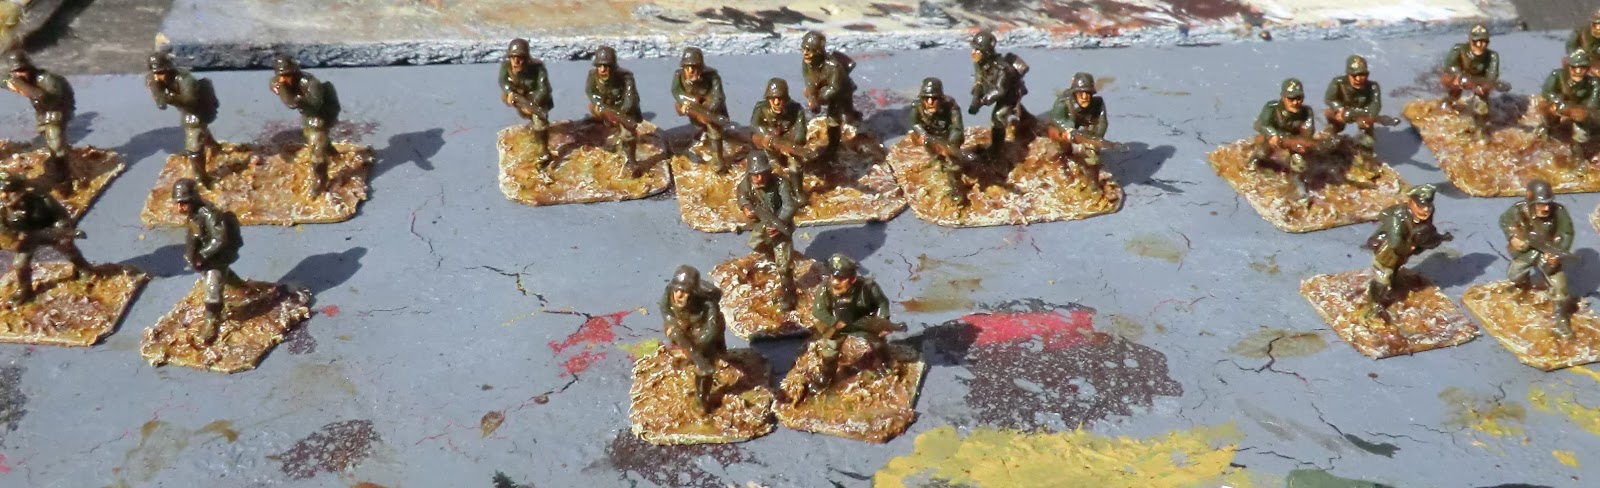
But recently I acquired a nice batch of 30 Perry designed Foundry Miniatures 20mm World War Two Germans and, as these figures are so good I thought painting them slightly differently to usual could be a good relaxation and diversion from my two-dimensional art. Also I think the German uniform of the early war period was pretty cool even if the motives of the soldiers inside them might have been questionable. Just as a taster here is a photo of the finished result with a squad of Landsers advancing across my back garden on a sunny day.

I prefer low profile bases so the family is now well used to me asking for out of date credit cards, plastic store cards or membership cards and the like and I find them strong and easy to cut but don't interfere with the aesthetic value of the figures as they are so thin. I clean up the figures, not that there was much "flash" on these, and then glue them to the bases I had cut ready. This makes them easy to handle and it was a short step to spray the whole lot in one thorough coat of a basic grey. This acts as undercoat and basic uniform colour but will be mostly covered. I used "Carplan" Grey primer from a local motor parts store.
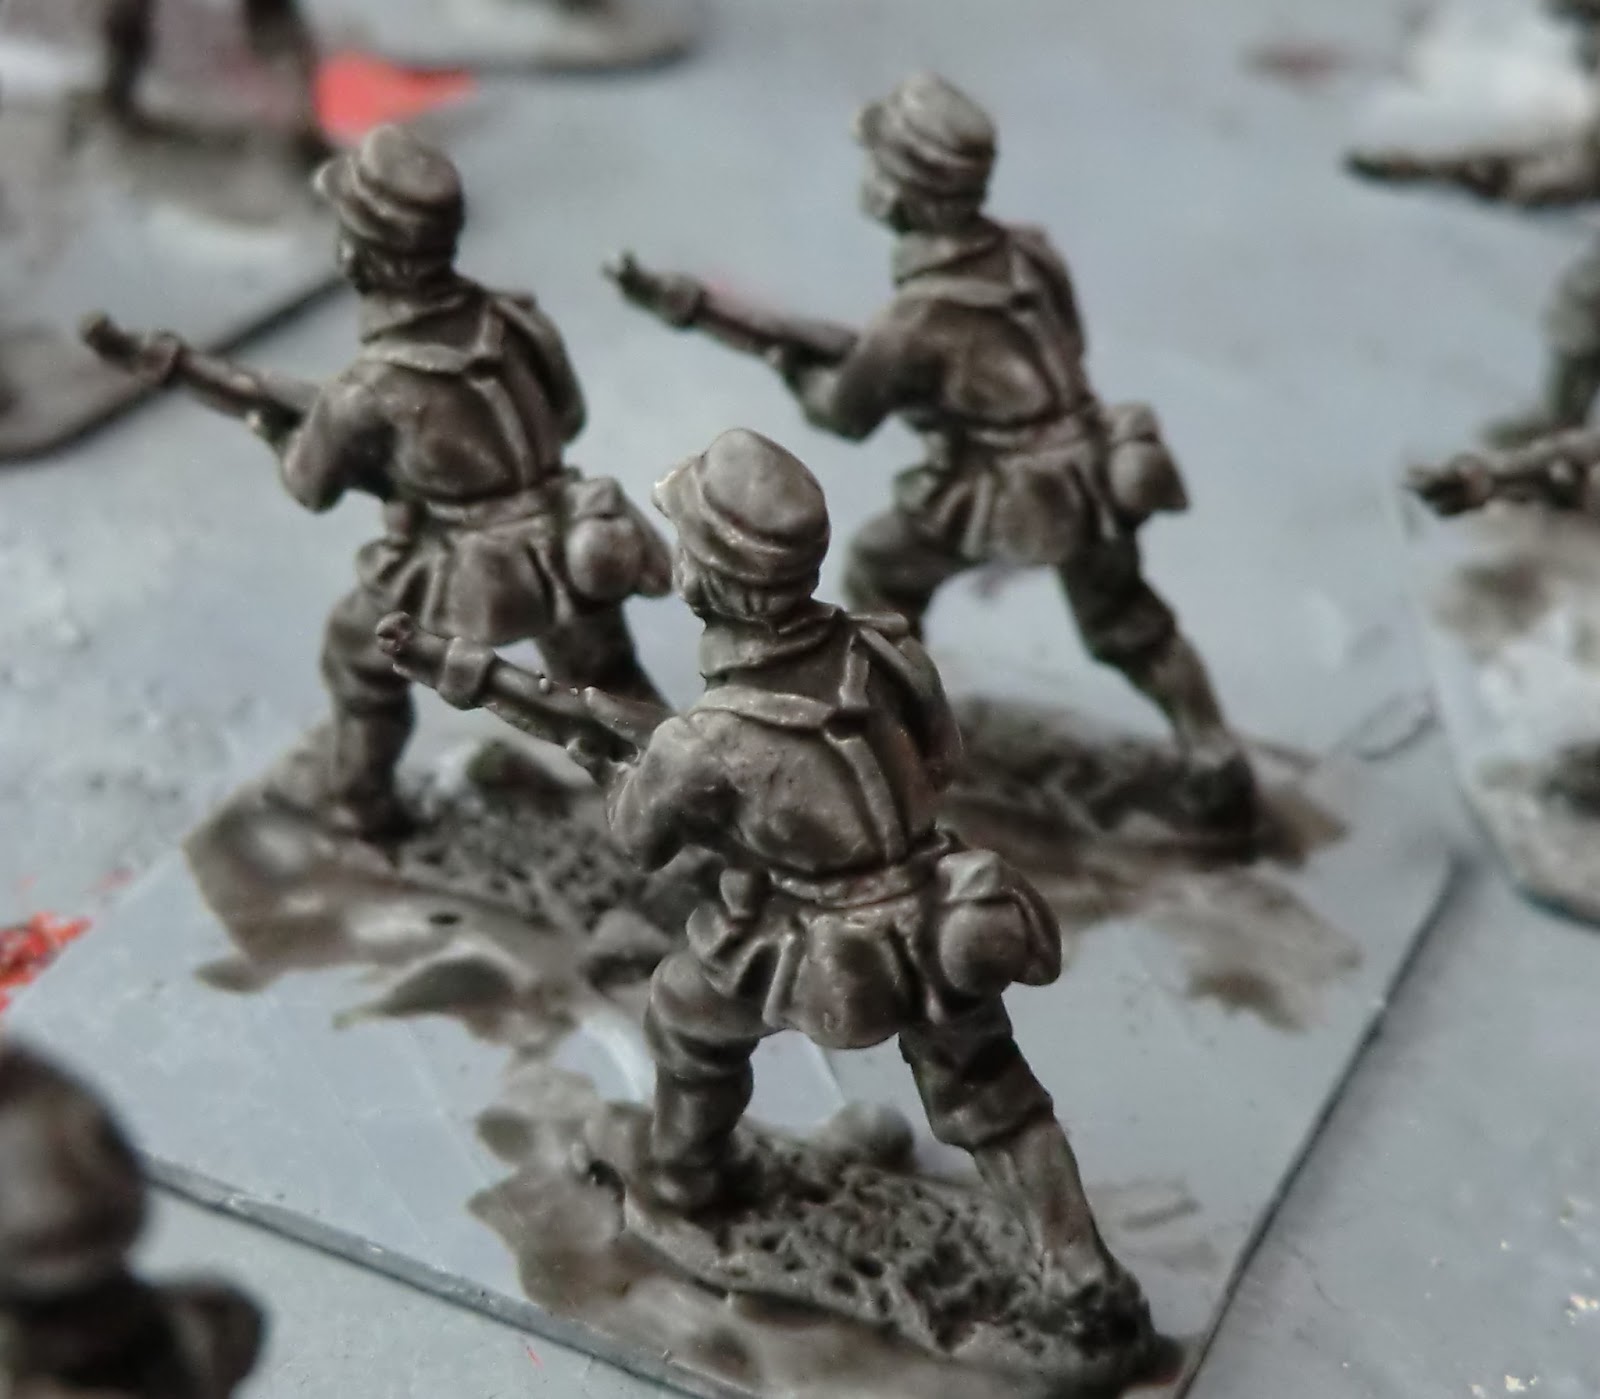
Now here is where I used my Army Painter Quickshade, dark tone, not at the end of the process but the beginning. Happily I was near the very end of a tin and, I guess for some technical reason, the Quickshade dried matt instead of the glossy you may be used to. I put it on with an old brush, not the dipping and shaking method the manufacturers recommend. As I hoped, when dry, it picked out all the lovely sculpted detail a treat, and would also act like black undercoat for outlining but without concealing the detail from me while I painted.
Here are some of them at this stage


..........and on the jackets with GW Knarloc Green.


Once the figures were entirely painted, including fine detail like collar patches and shield motifs on helmets, it was time to landscape the bases. Where I want a particularly good effect I use Winsor and Newton Acrylic Structure Gel as this can be applied with a brush and fills up the spaces between the metal figure bases. It can also be manipulated and textured to some extent and then dries hard to give ruts and puddles etc. I mixed GW Ivanden Dark Sun (a kind of yellow ochre) and a small amount of fine sawdust with it so that saves another step. Again it's a bit bright but that can be dealt with.


This is "muddy" when you put it on but does dry clear with a highly glossy finish that actually makes them feel satisfyingly protected from whatever the wargame battlefield can throw at them "Take cover! incoming dice!!!"


I next decided that I needed to give the bases a highlight with GW Bleached Bone.
Obviously this is now getting into the territory of personal taste and, for WW2, leaving the bases like this would probably have wider deployment possibilities but I think it looks a bit depressing so prefer to cheer them up with some touches of green. I just use small patches of PVA glue and dip into a pot of Spring or Summer effect imitation grass and then the odd dab of a rubberised fine clumping to look like weeds.

Finally it was time to give them a good coat of Matt Spray varnish as this obviously reduces the glossy shine to a more realistic look but also ensures the grass effects get a durable bonding on the bases. (Remember to shake the can really, really well to get the matt finish)
If you'd like to see several images of the final effects please see these items for sale on Ebay.
And if you've found this interesting or instructive please leave your comments. thanks